EMET Electronic Medical Twin
  1. EMET Education
  2. Musculoskeletal
  3. Shoulder
  4. Clavicle fracture

3D model · Shoulder

Clavicle Fracture 3D Model

Reproduce your patient's fracture during the visit, and show in 3D the treatment you recommend. They leave with their model on their phone.

Designed by an orthopedic surgeon

Opens in your browser, no sign-up. For orthopedic surgeons, emergency physicians, sports medicine physicians, physiatrists and primary care physicians.

How it works

In the visit, in three steps

Structured information in a few minutes, which the patient can review at home.

  1. 1

    Show

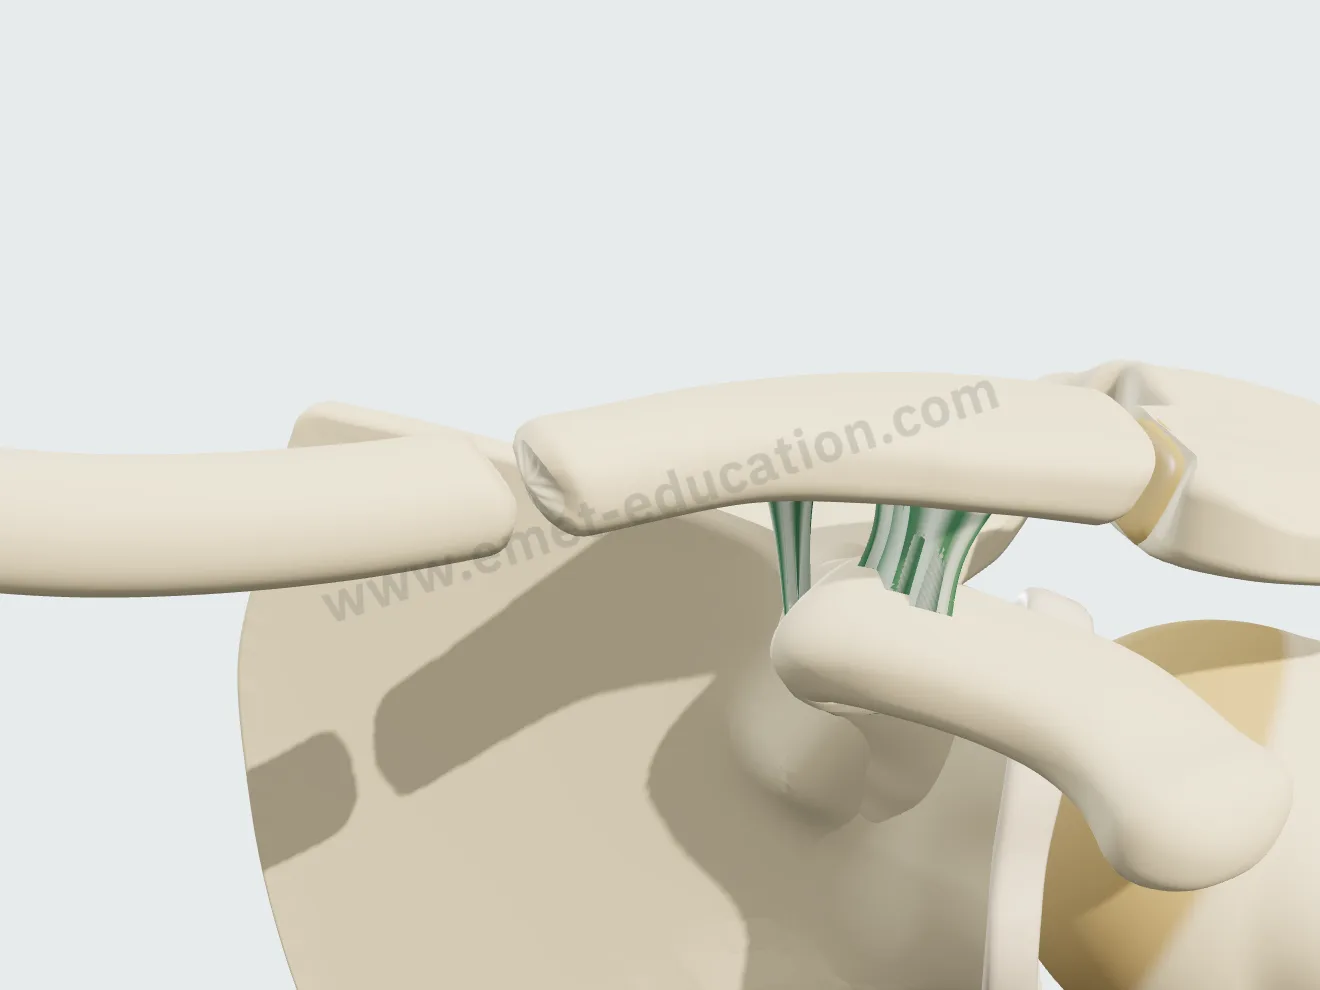
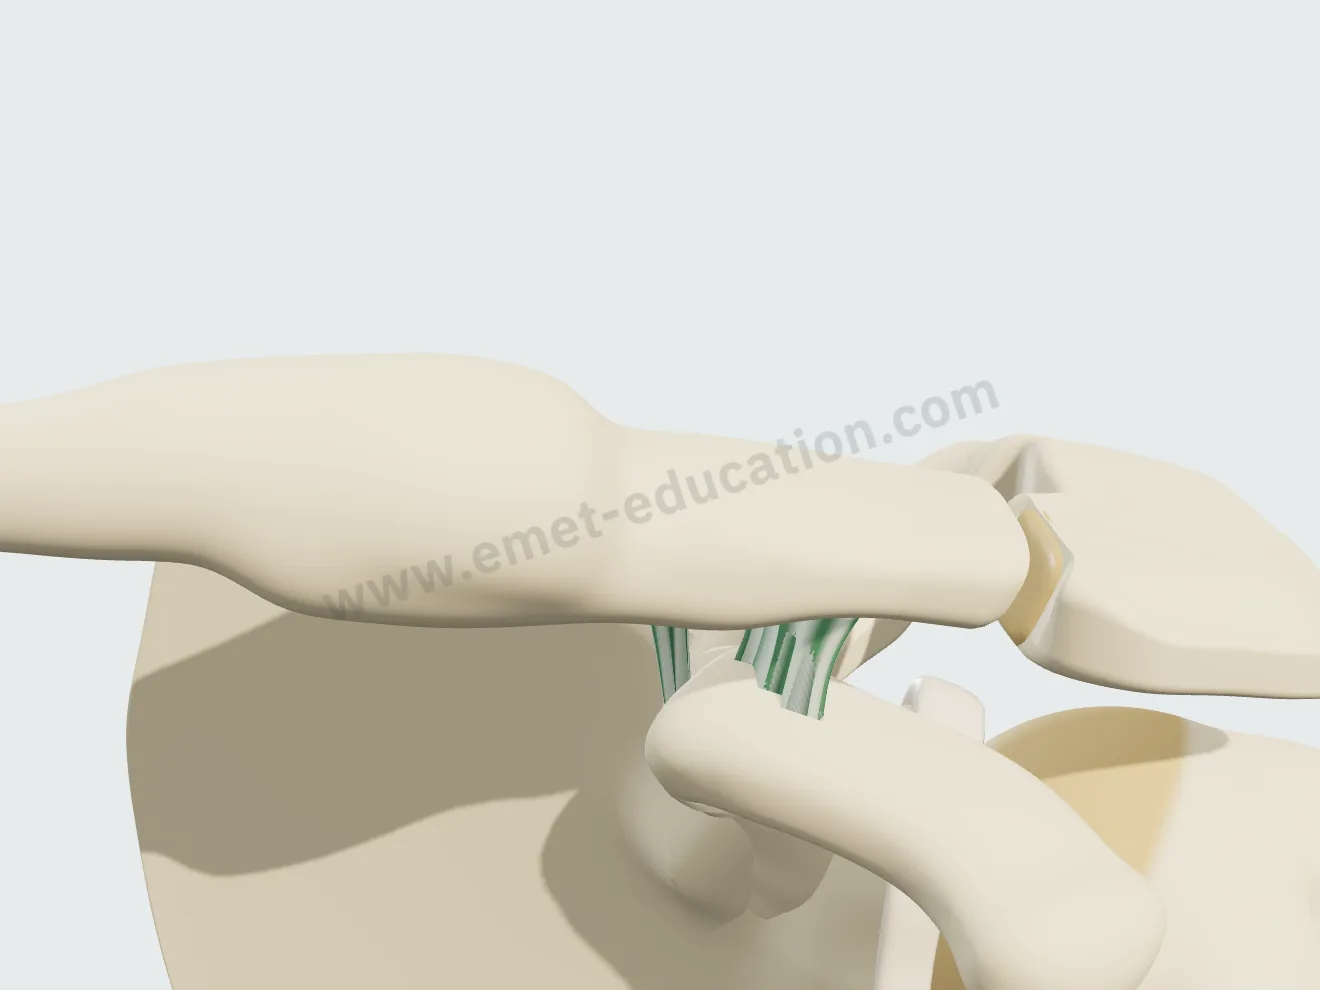
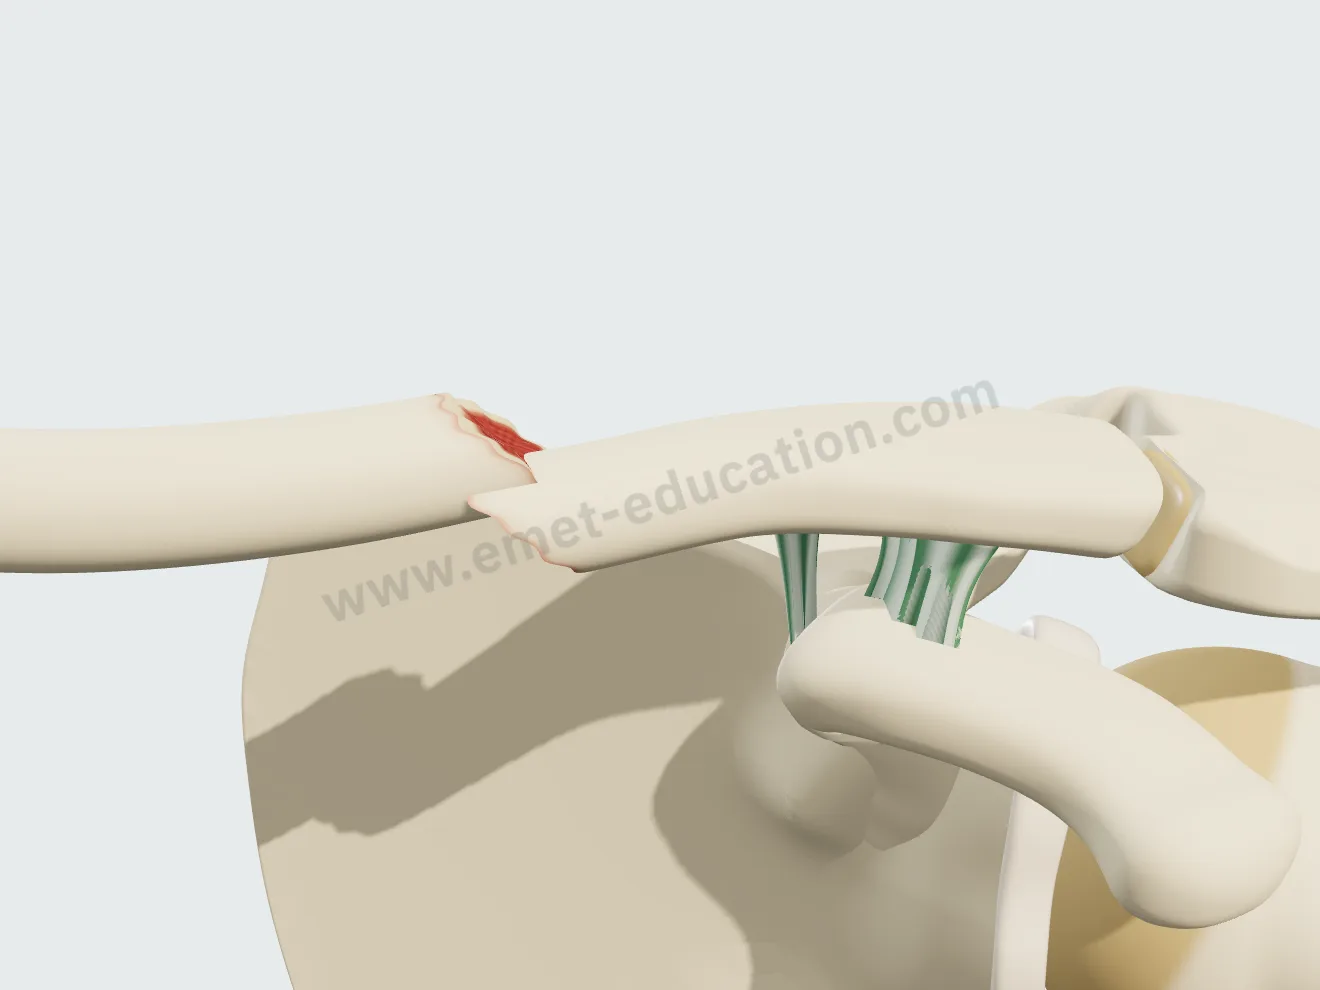
    Open the model and walk through the anatomy: clavicle, acromioclavicular joint, coracoid, conoid and trapezoid ligaments.

  2. 2

    Reproduce

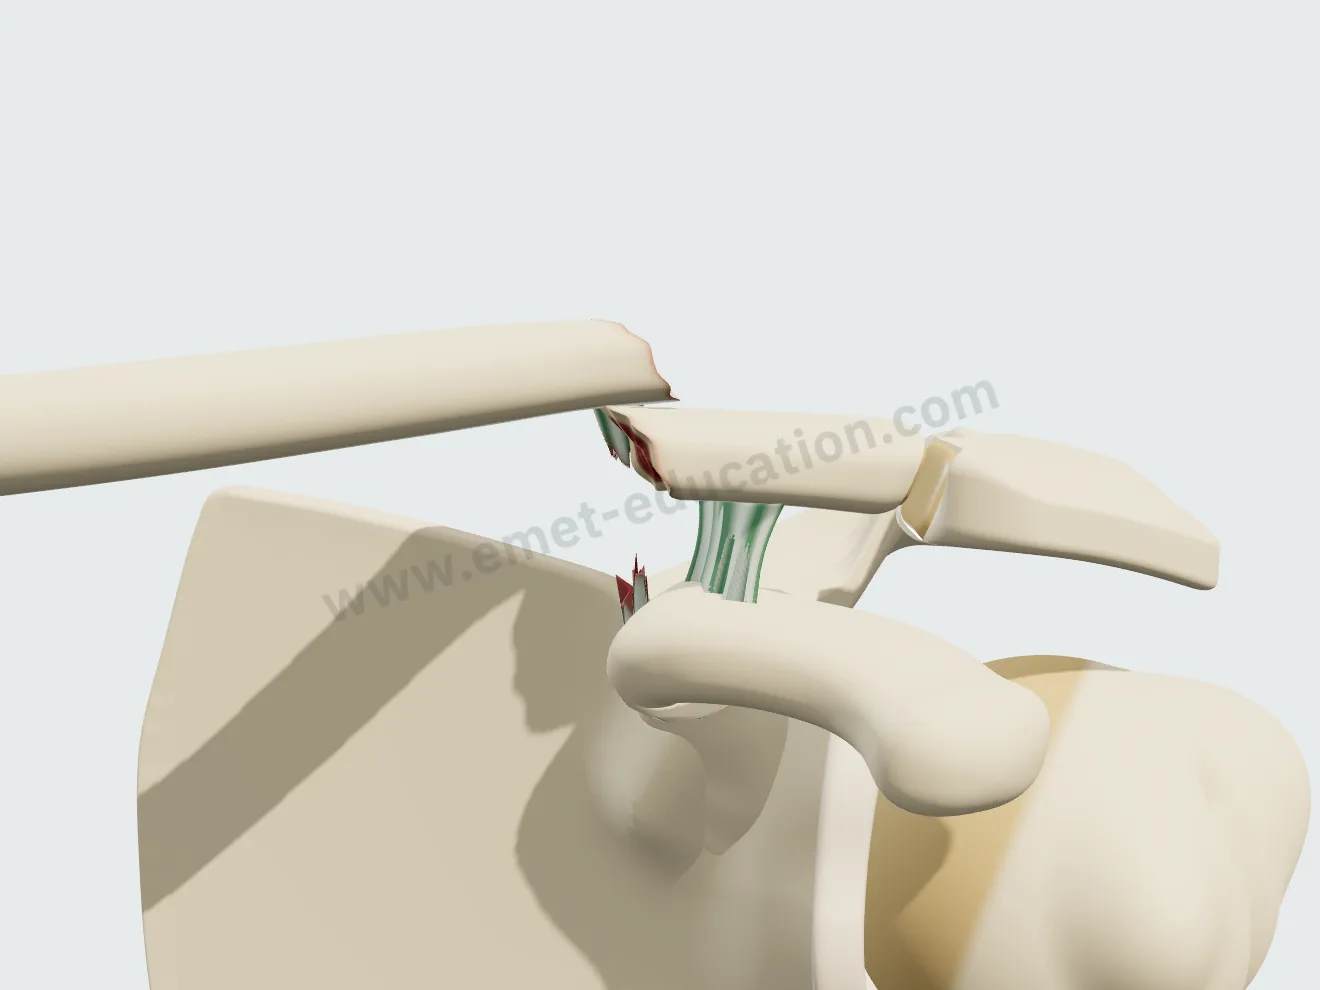
    Set the fracture from the radiographs: location, pattern, displacement, shortening. Then walk through the proposed treatment, nonoperative or surgical, step by step.

  3. 3

    Share

    Give the patient the QR code or an image: they find their own case, in their language.

Features

Explain in detail during the visit

Every setting updates the model live: you reproduce the fracture from your patient's radiographs in front of them, then walk through the treatment you recommend.

The fracture, described in a few clicks

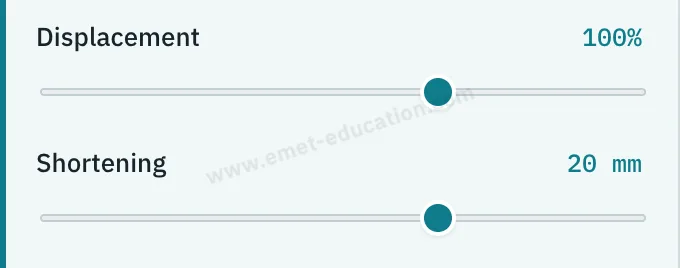
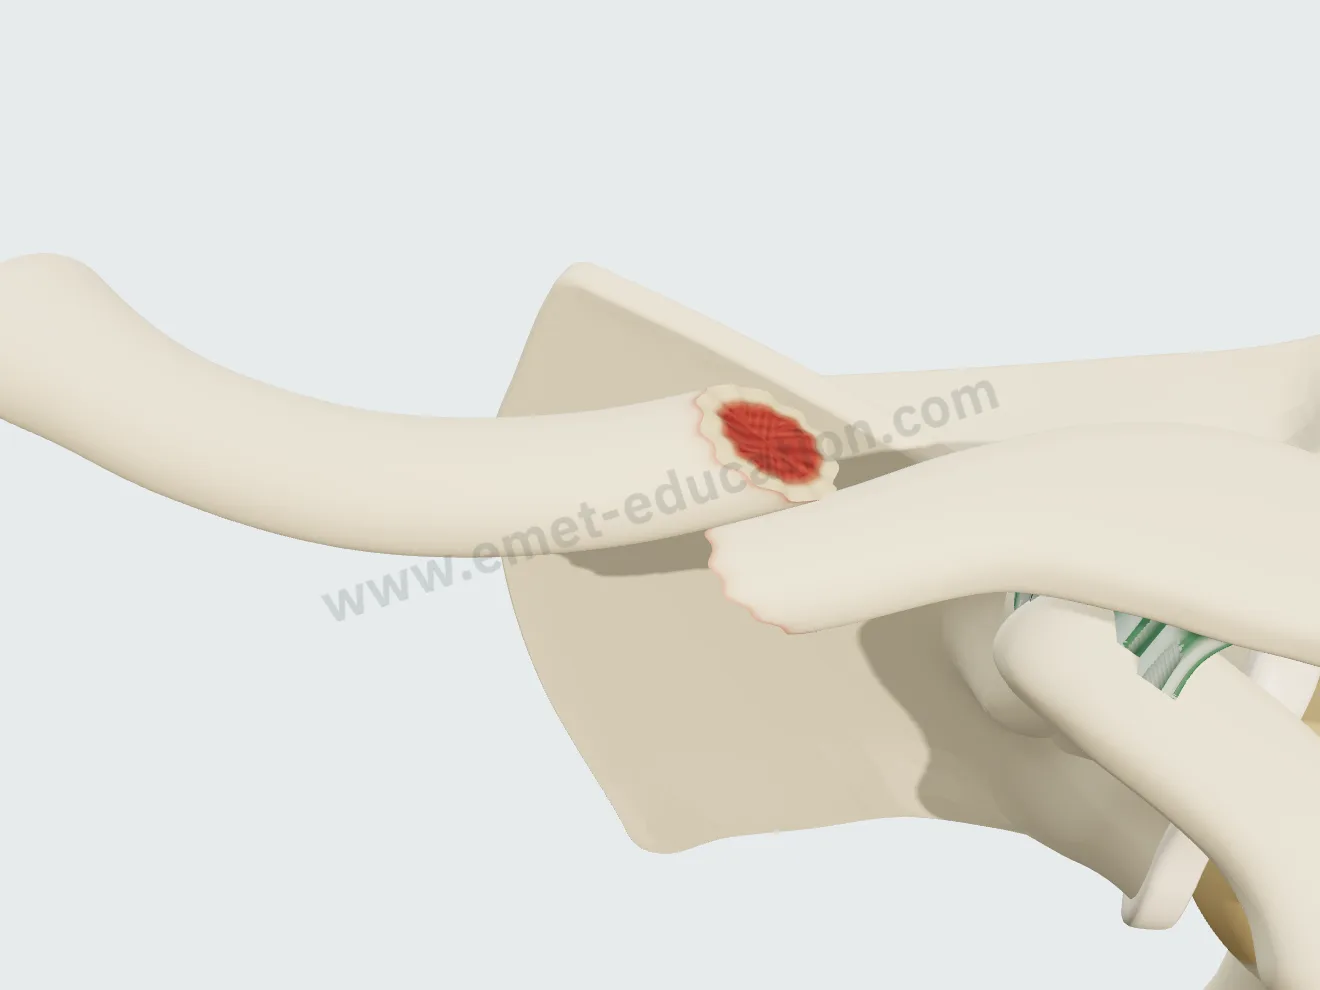
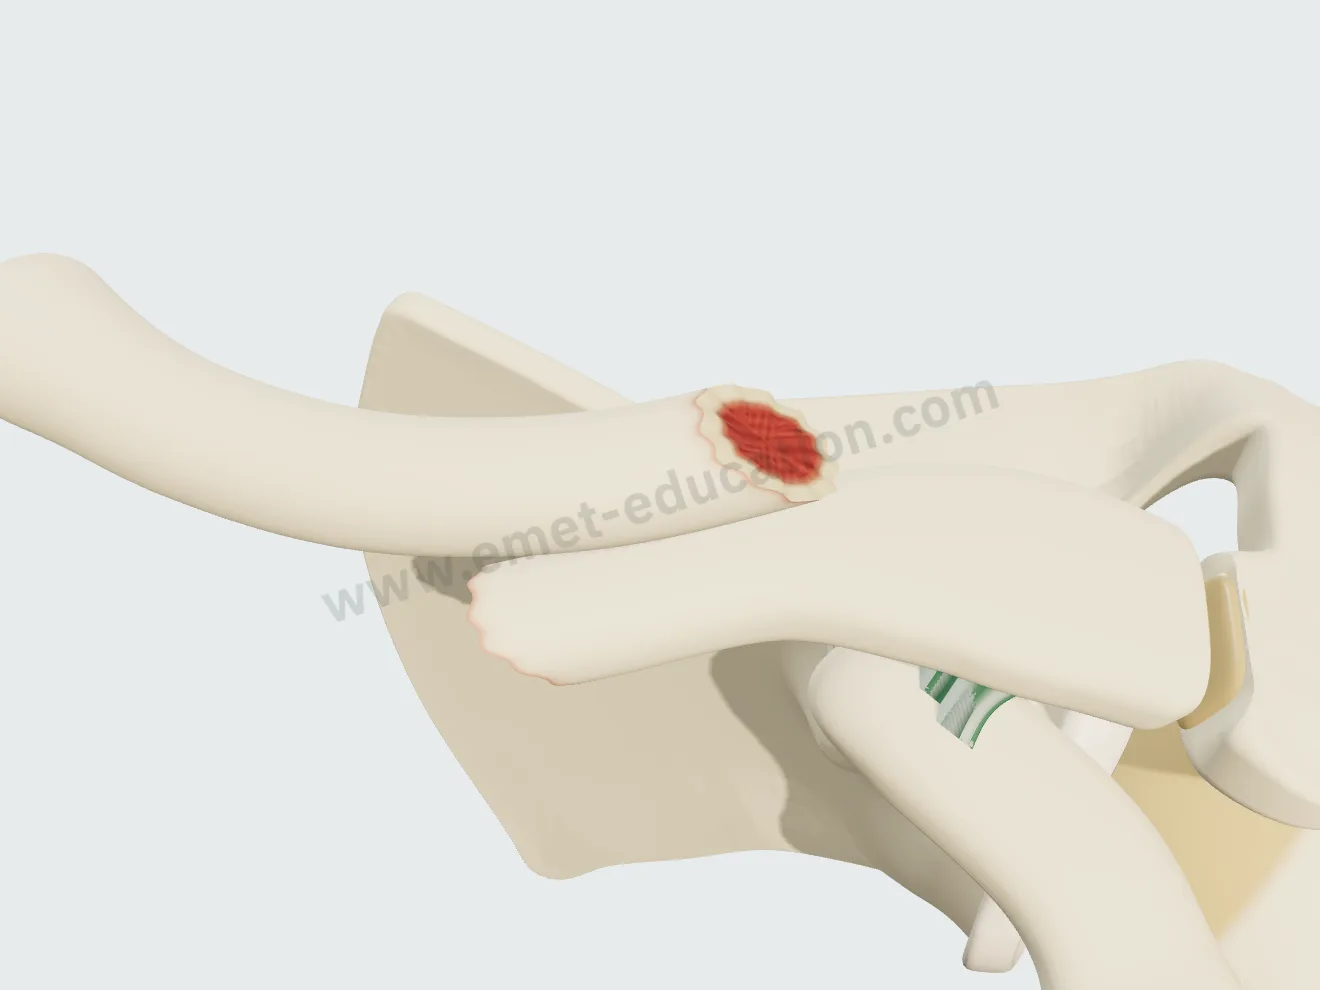
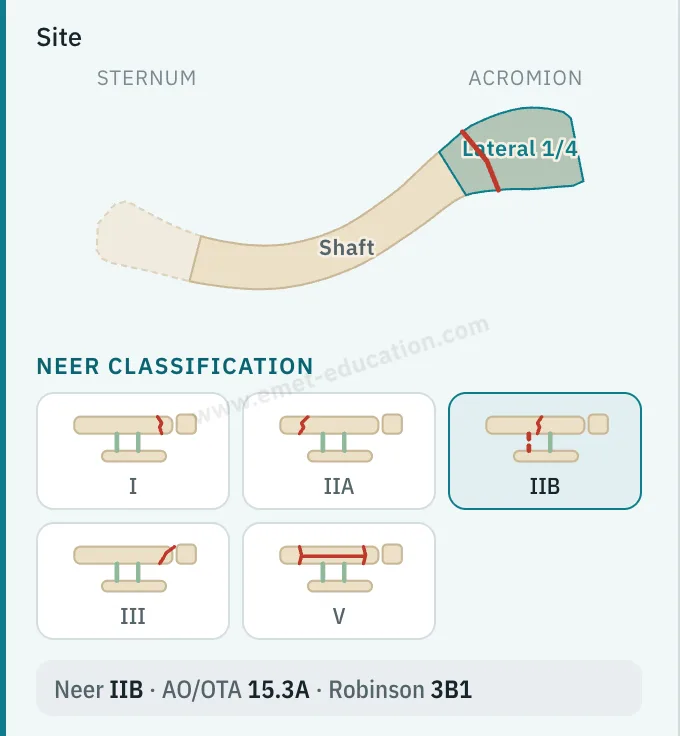
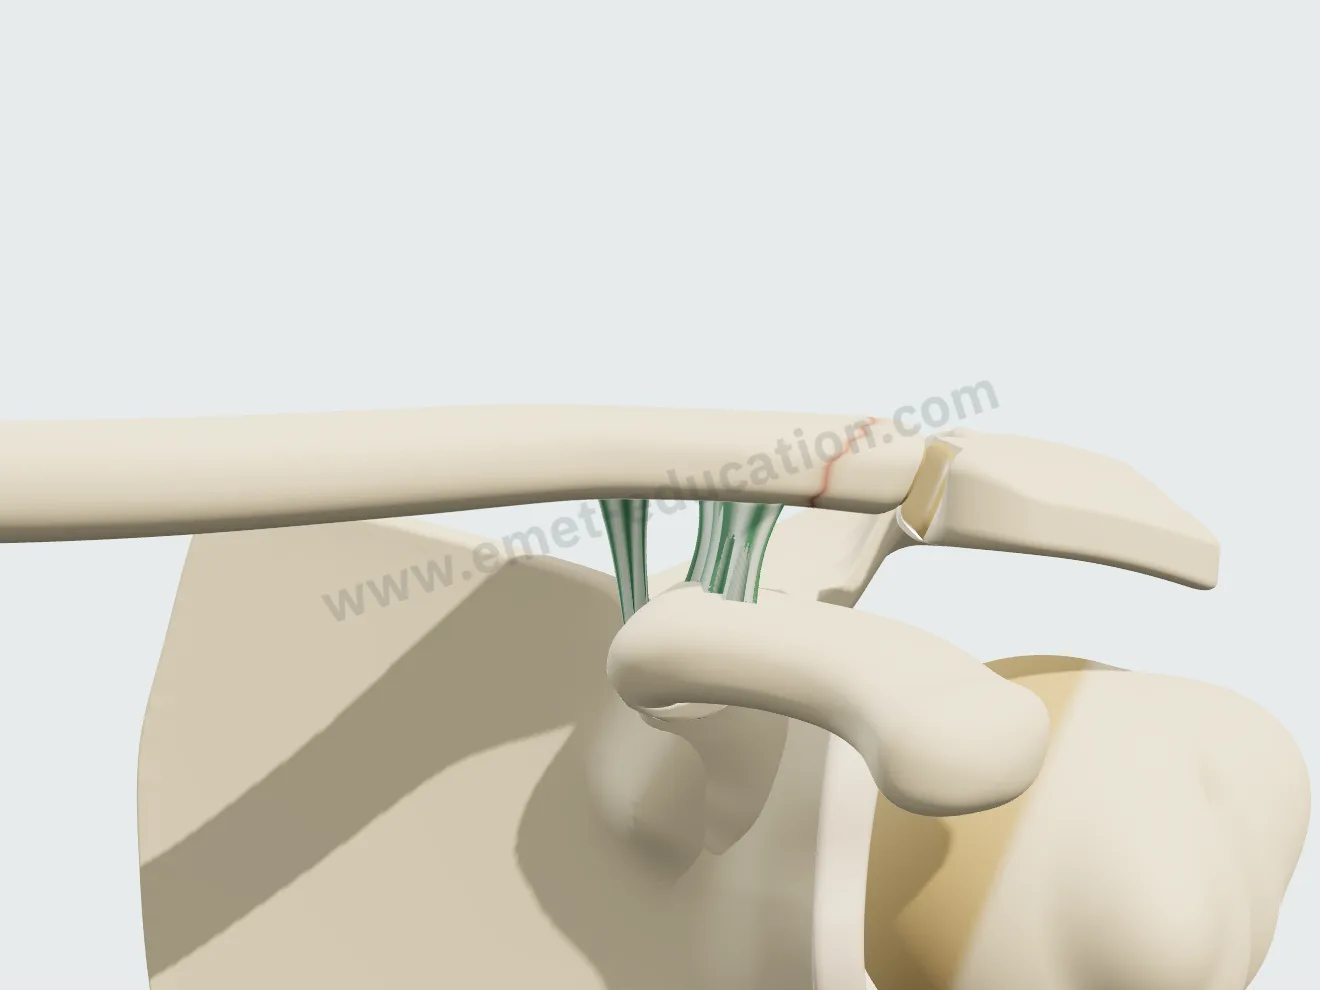
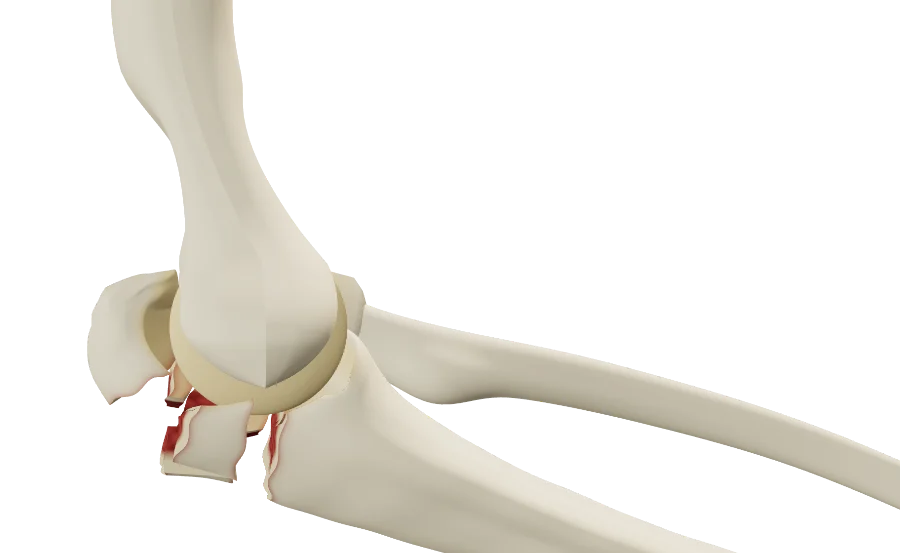
The “Pathology & lesions” panel describes the fracture: its location on a clavicle diagram, the fracture pattern, displacement and shortening. The AO/OTA and Robinson classifications are displayed live.

Seven patterns, grouped per AO/OTA

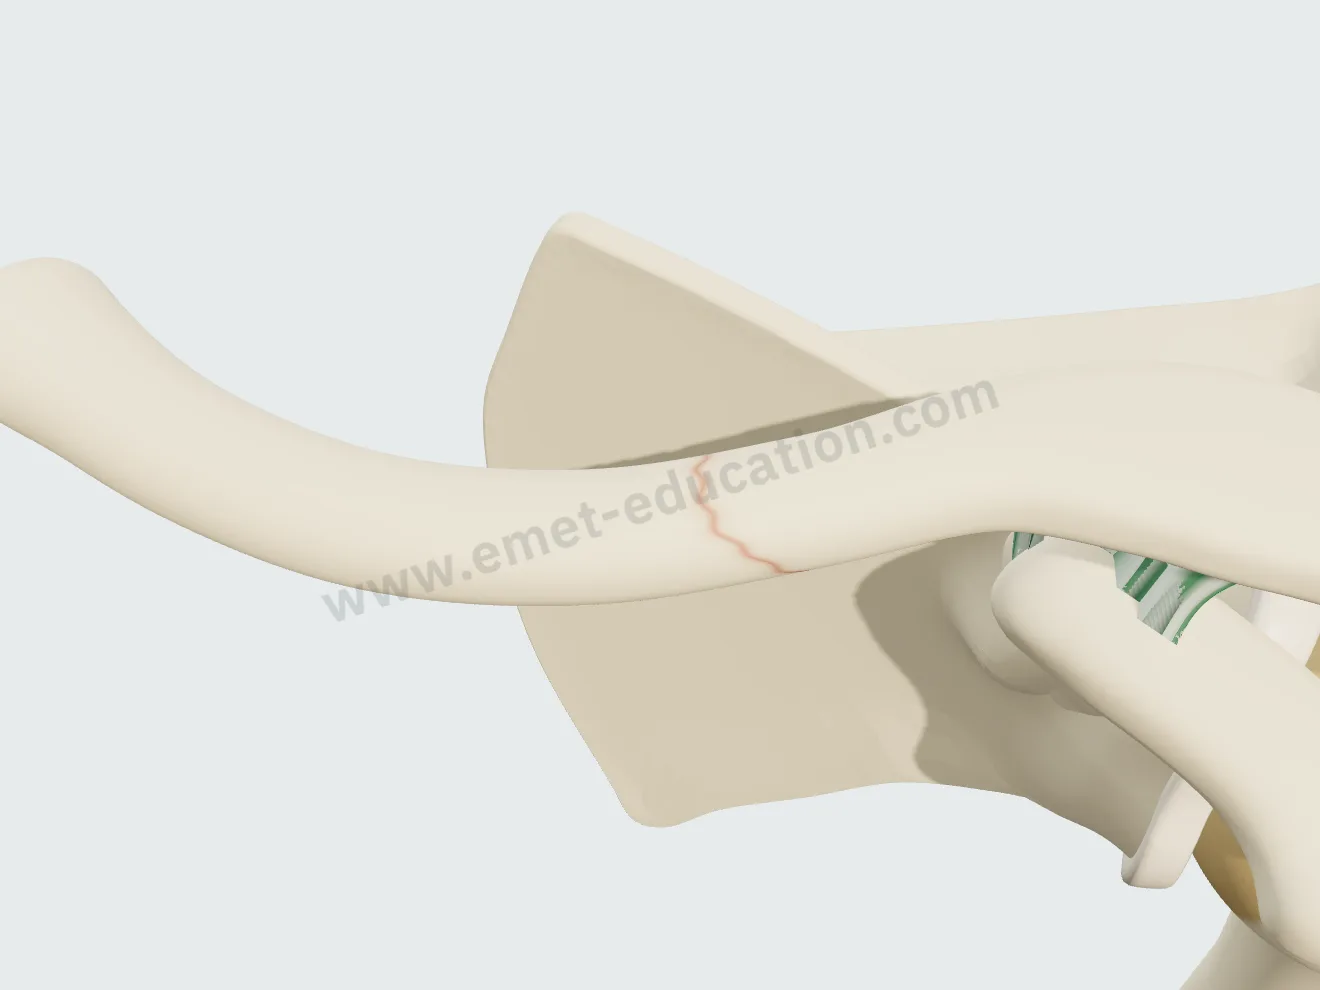
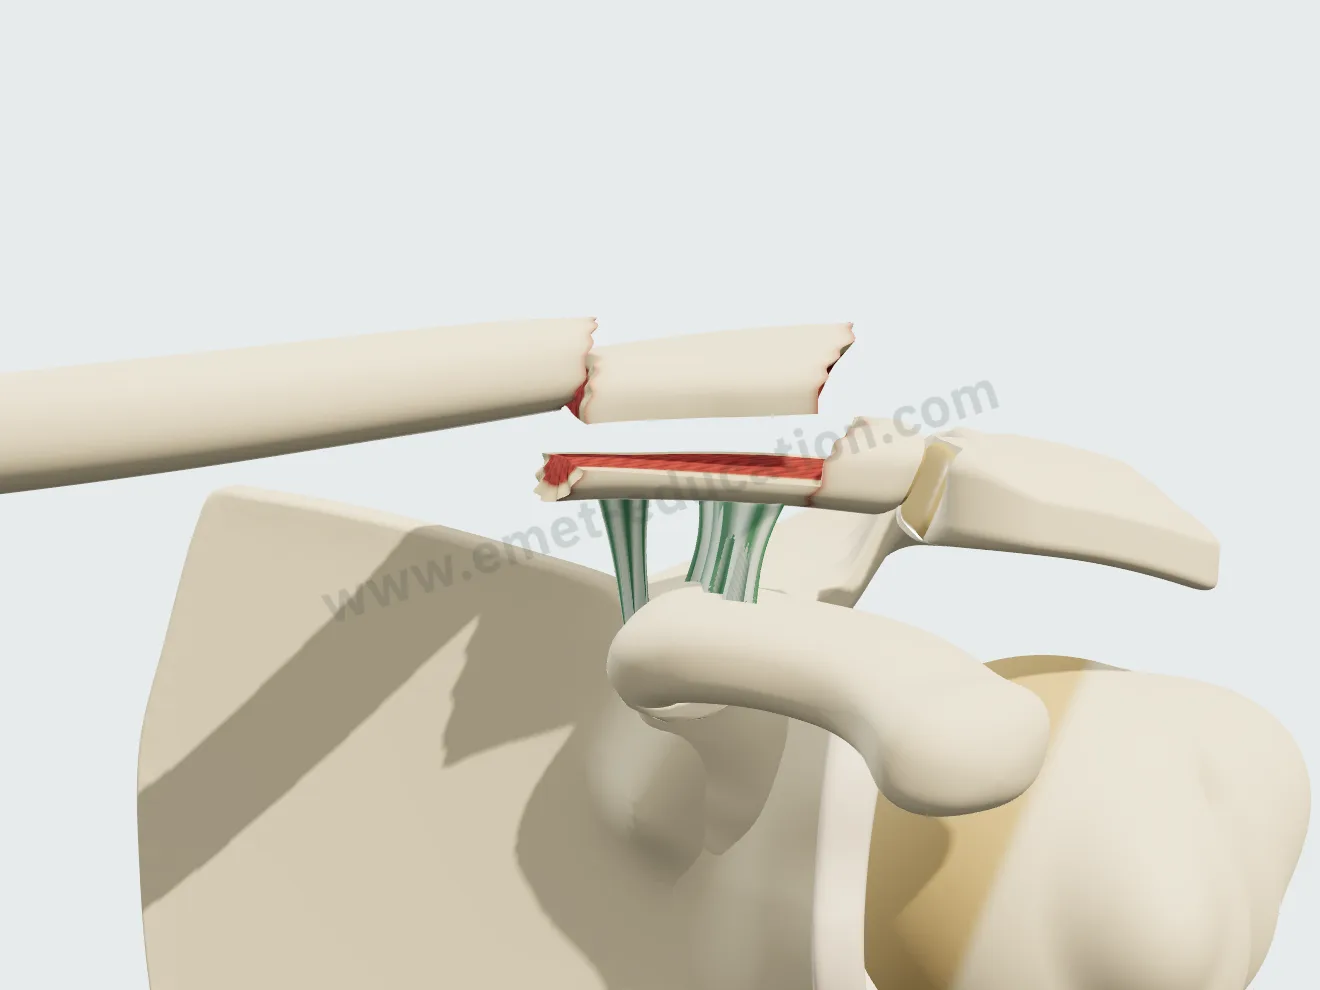
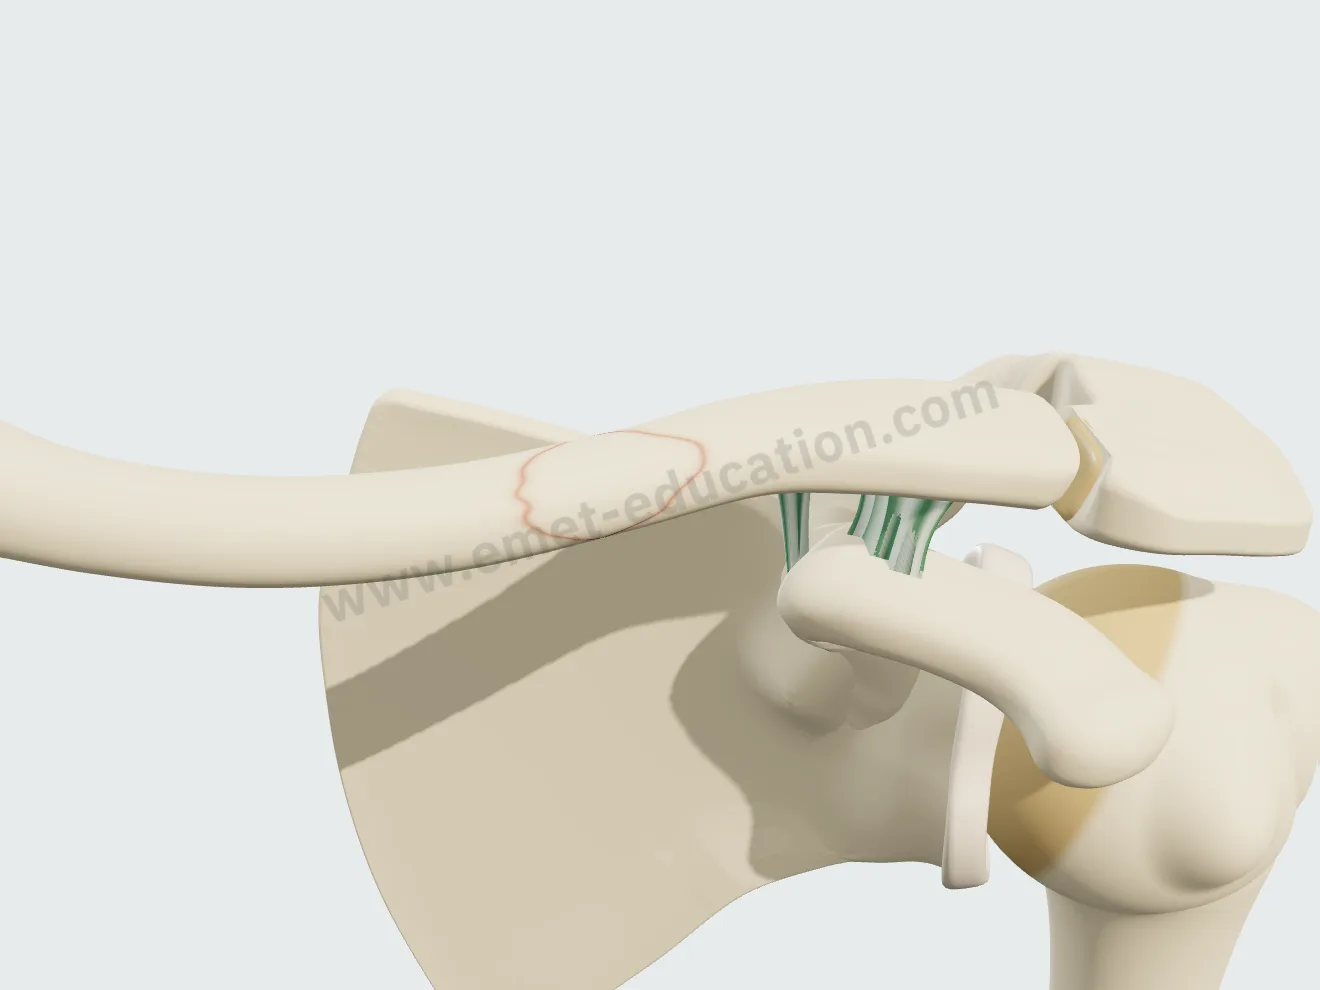
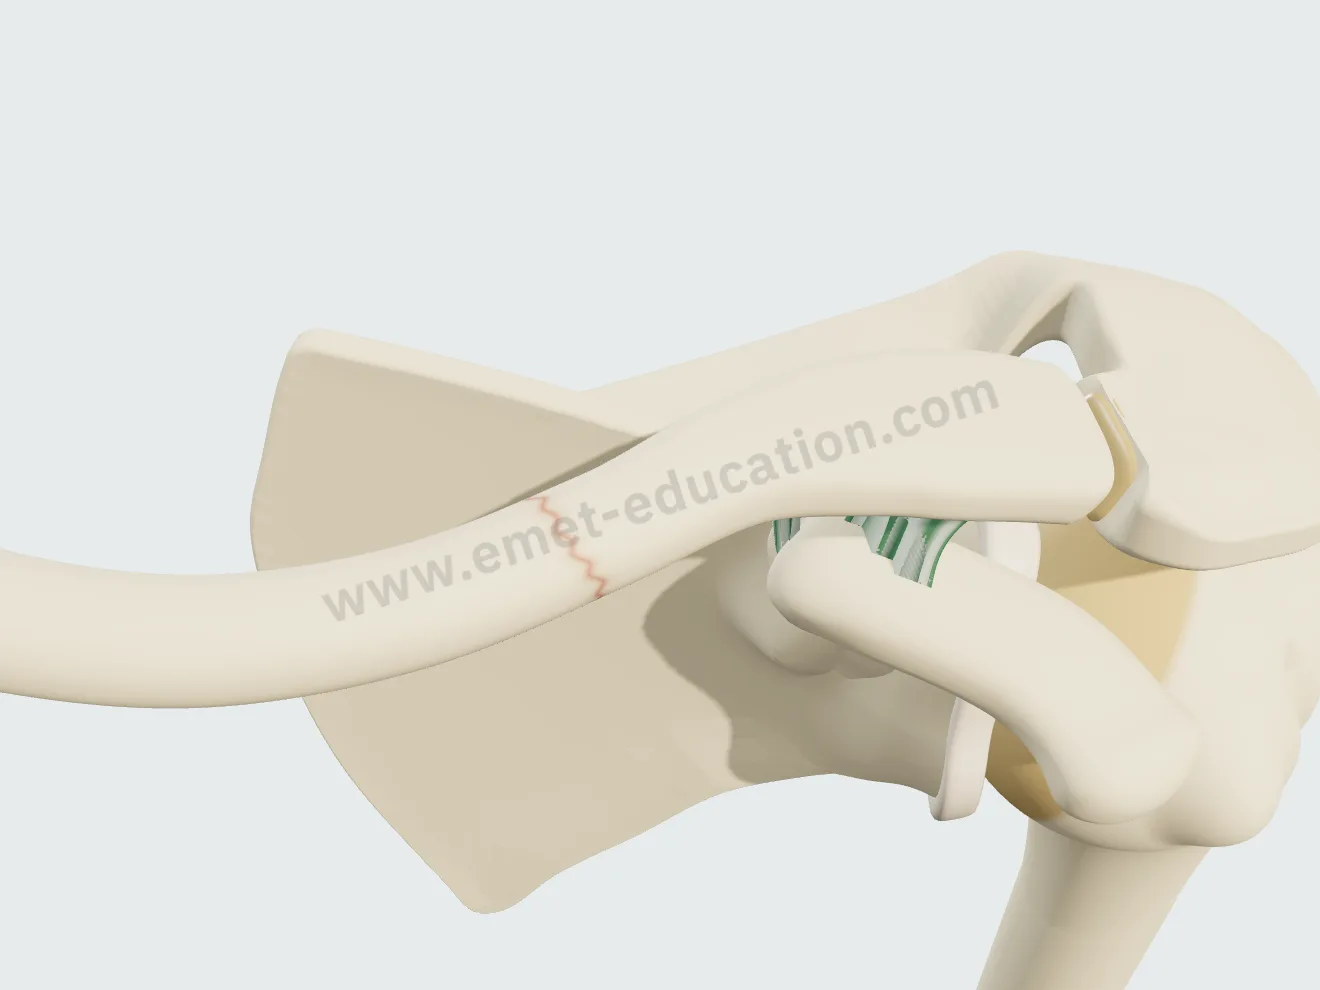
Simple (transverse, oblique, spiral), wedge (intact or fragmentary wedge), multifragmentary (segmental, comminuted). The cut surface shows cortex and cancellous bone; a red outline makes an undisplaced fracture line visible.
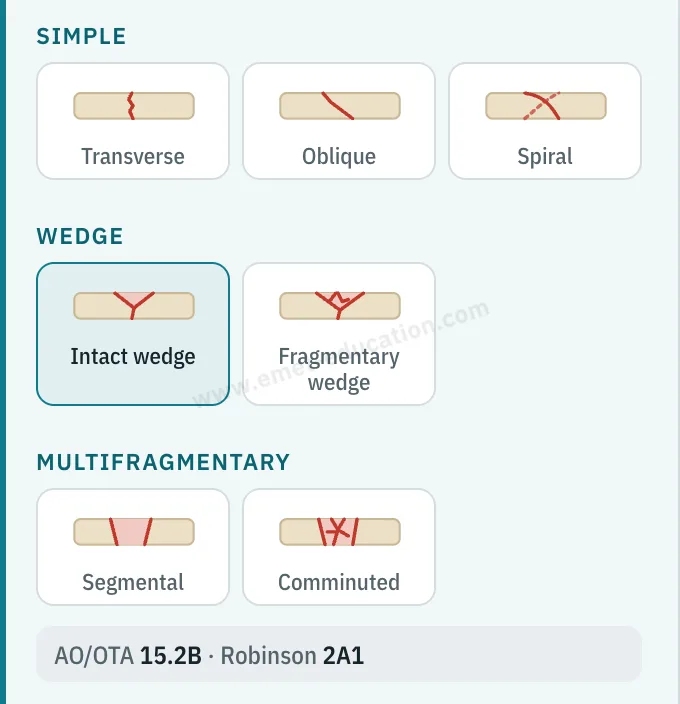
Model panel: seven fracture pattern pictograms (transverse, oblique, spiral, intact wedge, fragmentary wedge, segmental, comminuted), intact wedge selected, AO/OTA 15.2B, Robinson 2A1.
Oblique clavicle shaft fracture (AO/OTA 15.2A), 50% displaced: fragments with pointed ends.
15.2A · oblique
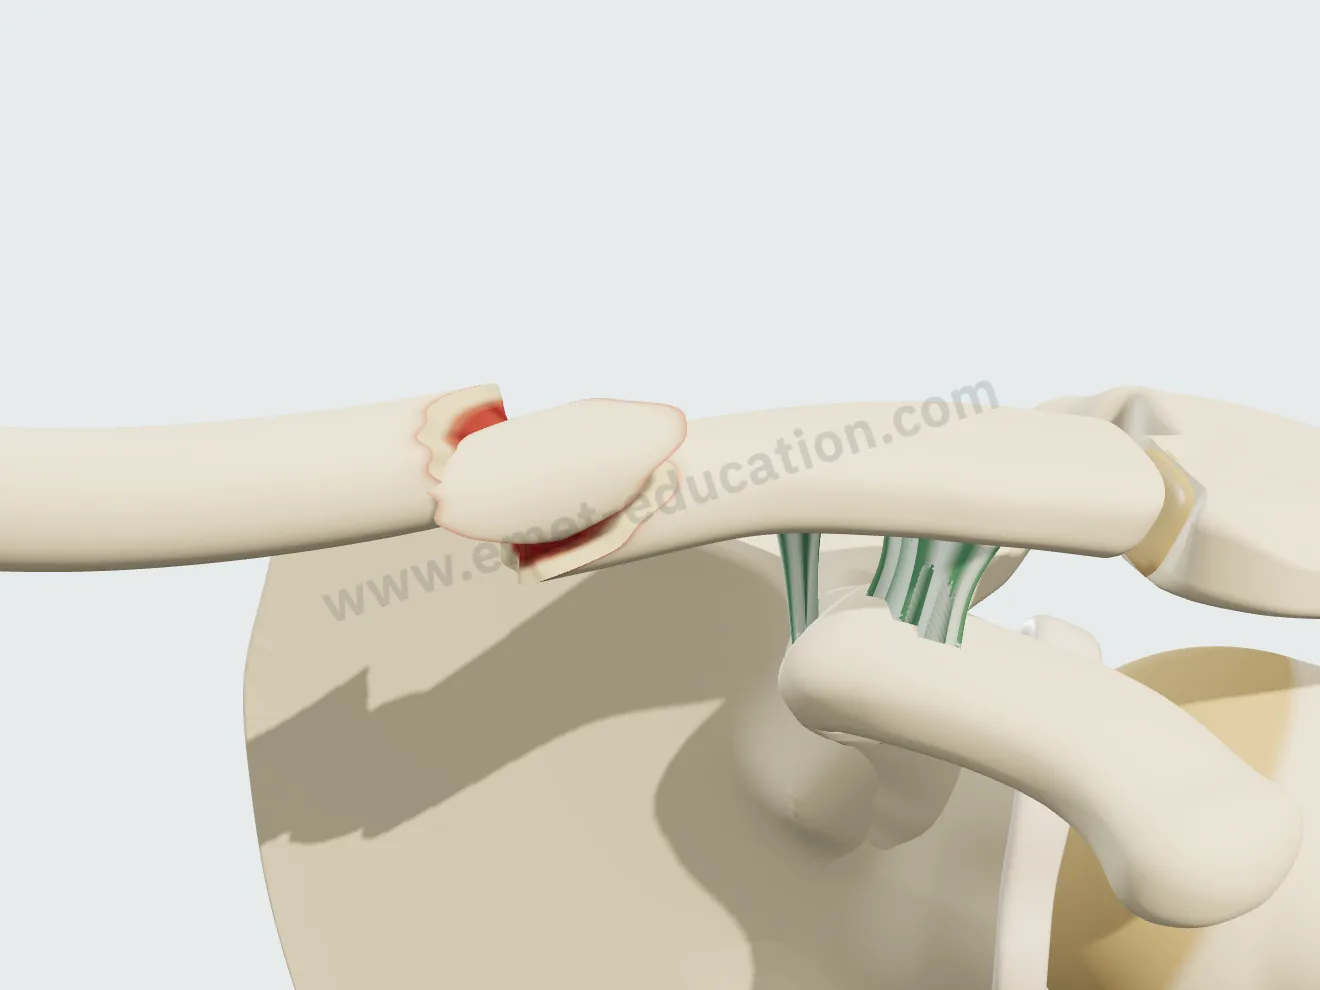
Clavicle shaft fracture with a third wedge fragment (AO/OTA 15.2B), 50% displaced.
15.2B · intact wedge
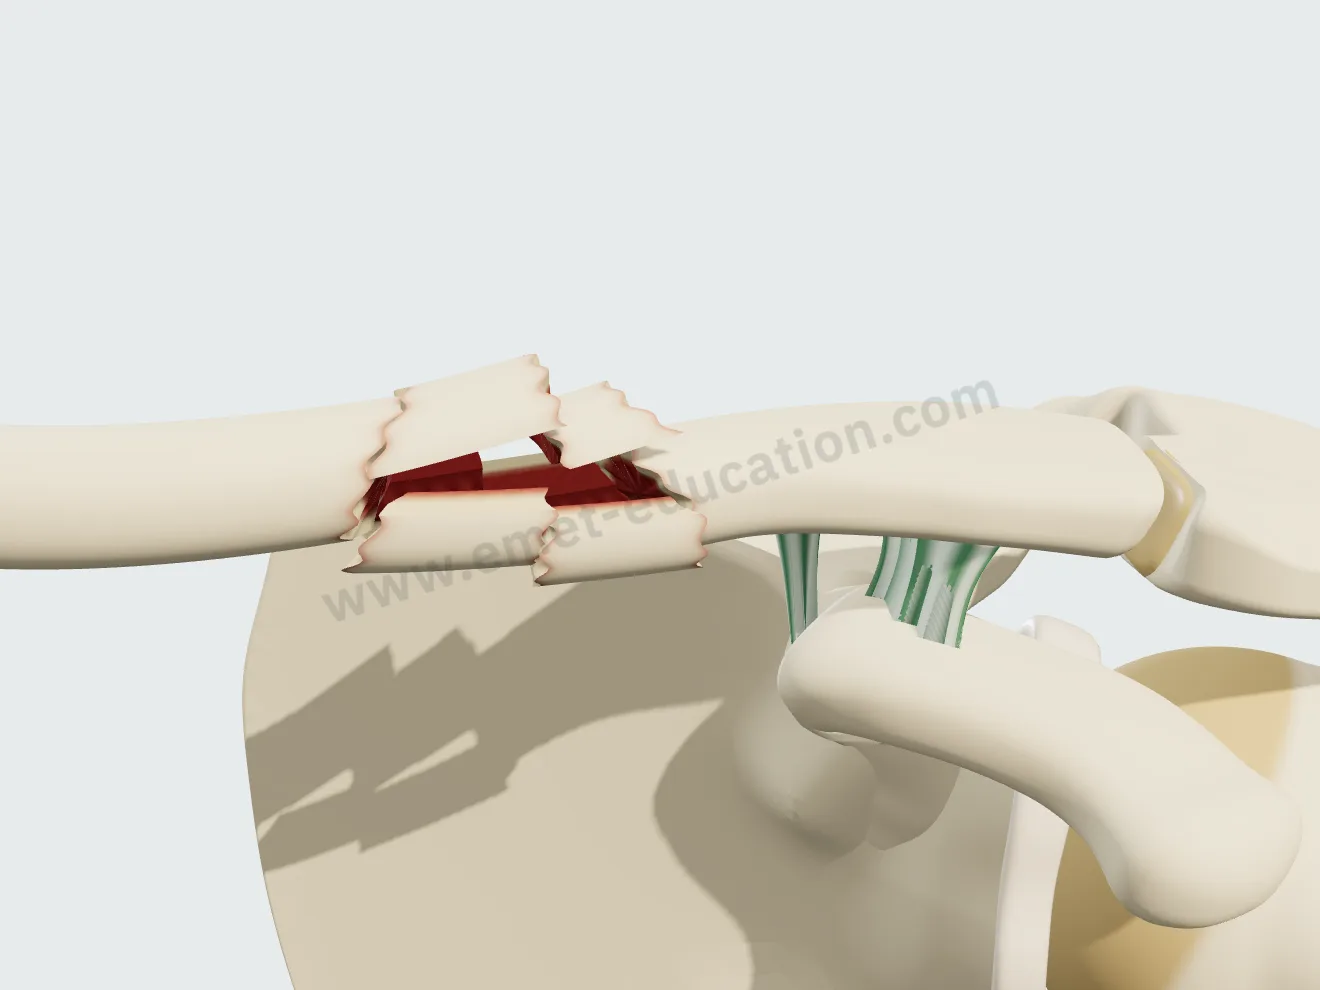
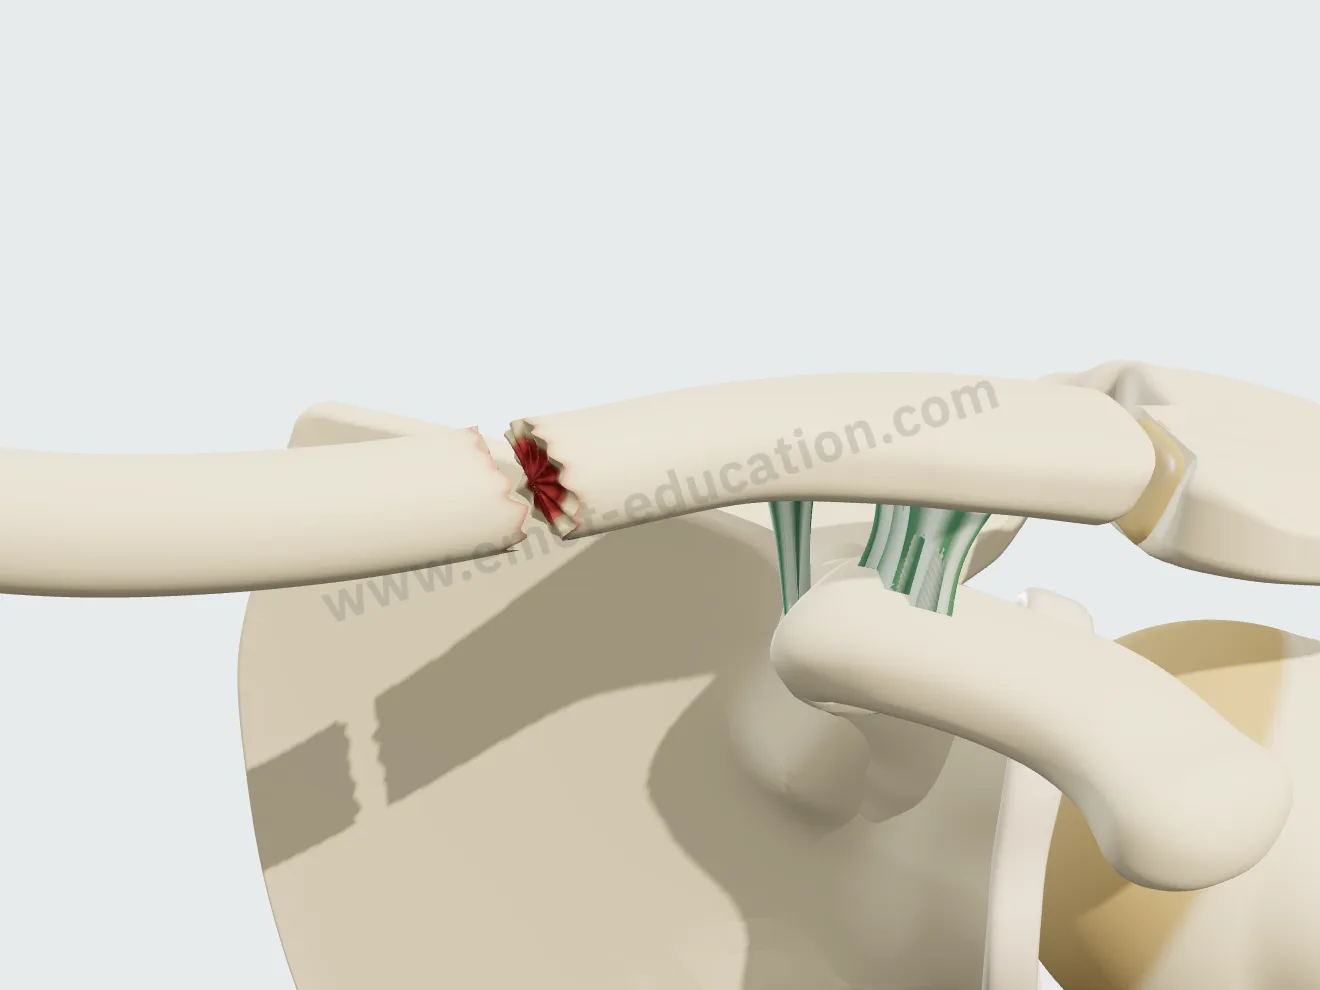
Comminuted clavicle shaft fracture (AO/OTA 15.2C): the fracture site broken into small fragments.
15.2C · comminuted

The treatment, step by step

Nonoperative treatment and four fixation techniques, played step by step, continuously or one step at a time. Each procedure builds on the fracture you set: location, pattern, fragments.

Nonoperative treatment

No reduction: the callus heals the fracture as displacement left it, down to the residual bump.

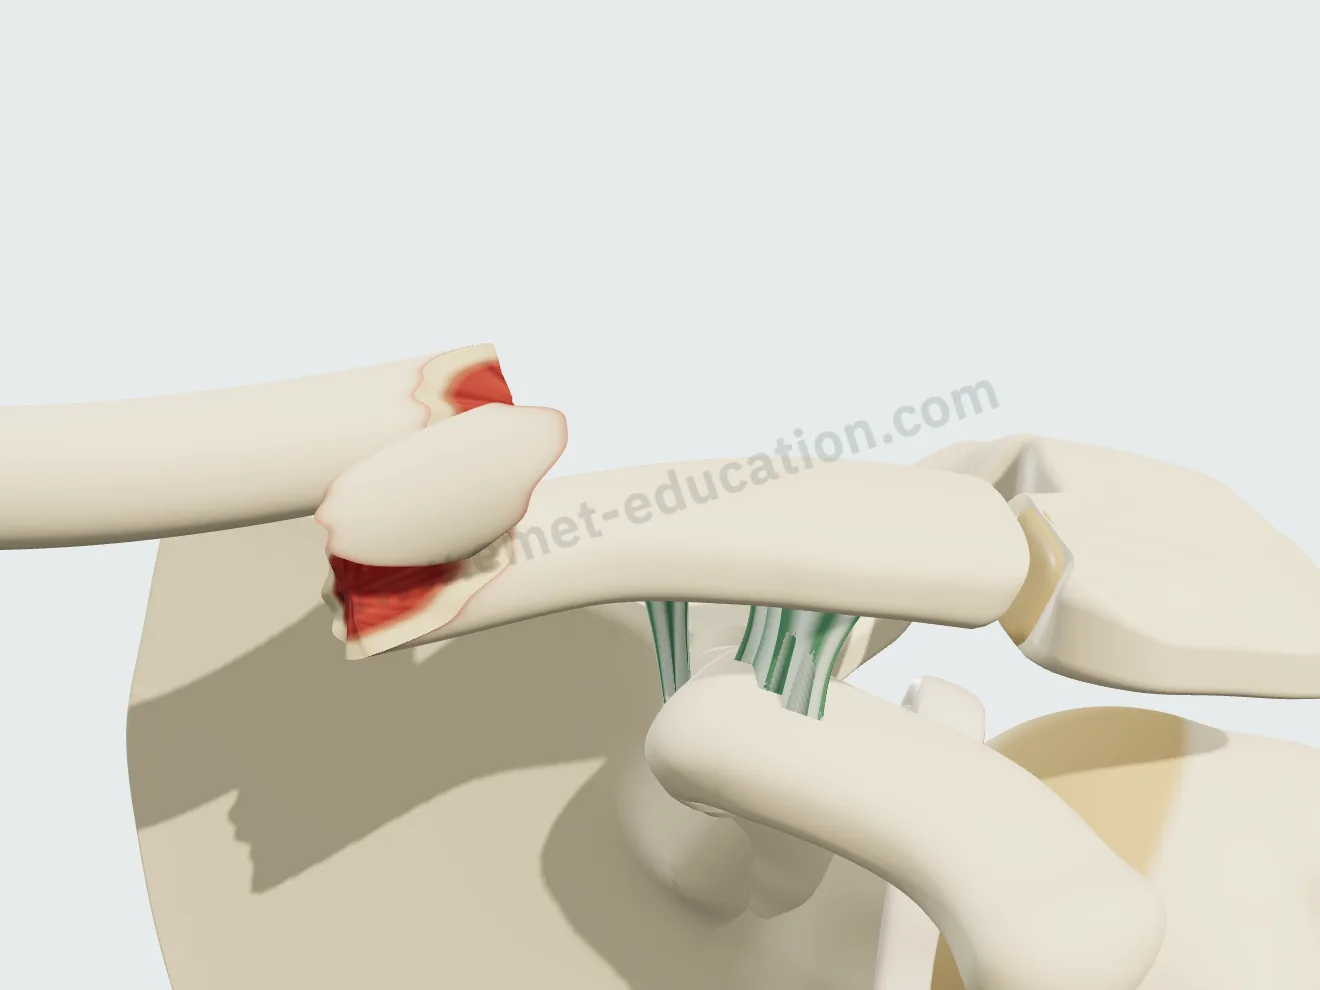
Nonoperative treatment, starting point: shaft fracture with a third fragment, displaced and shortened.
1Fracture
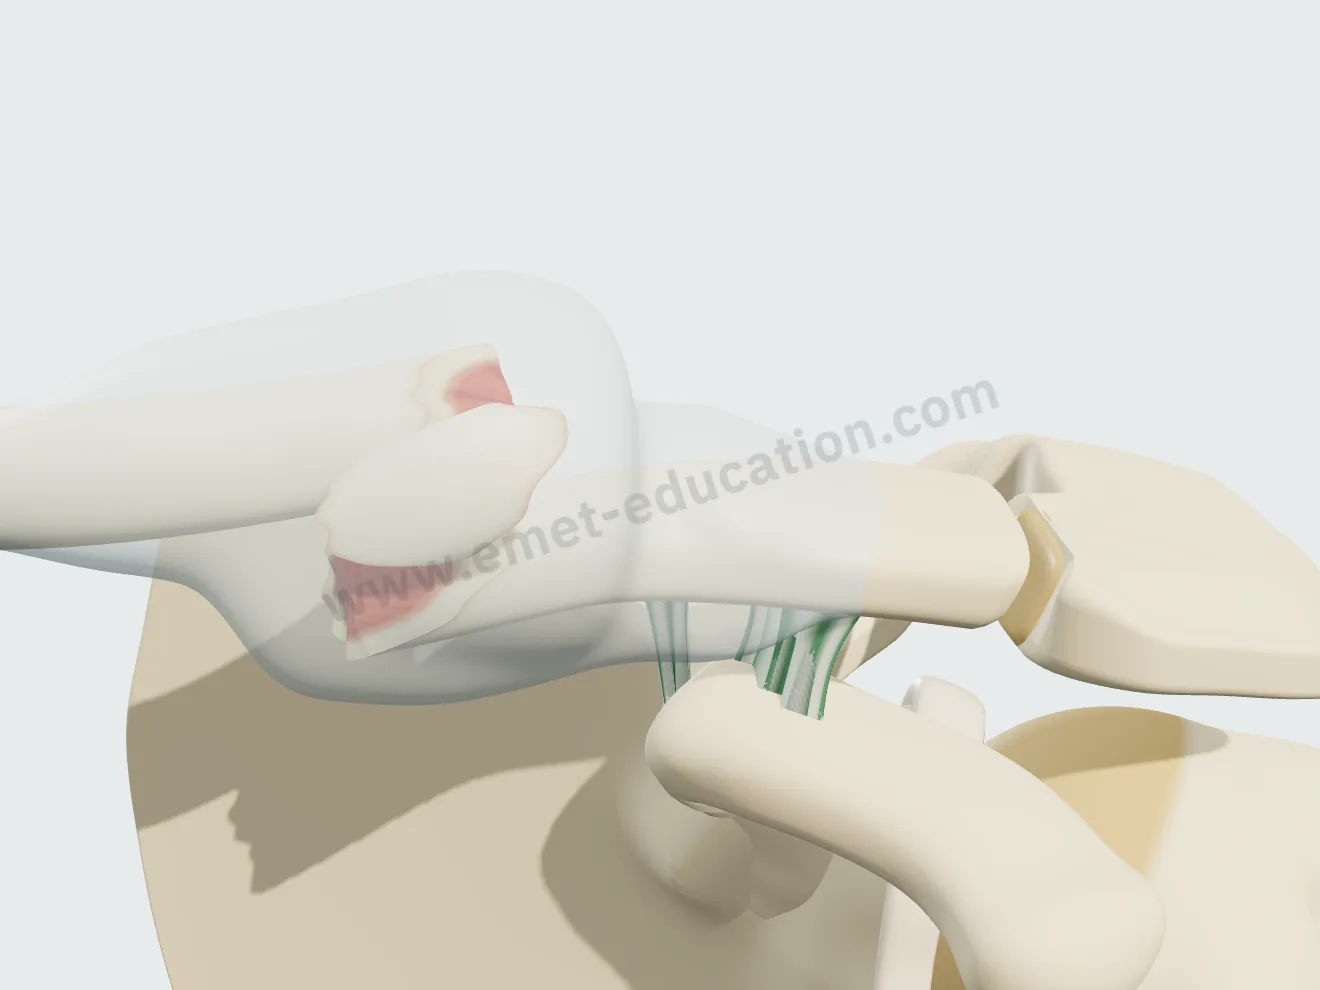
Nonoperative treatment, step 2: the soft callus, a translucent sleeve around the fracture.
2Soft callus
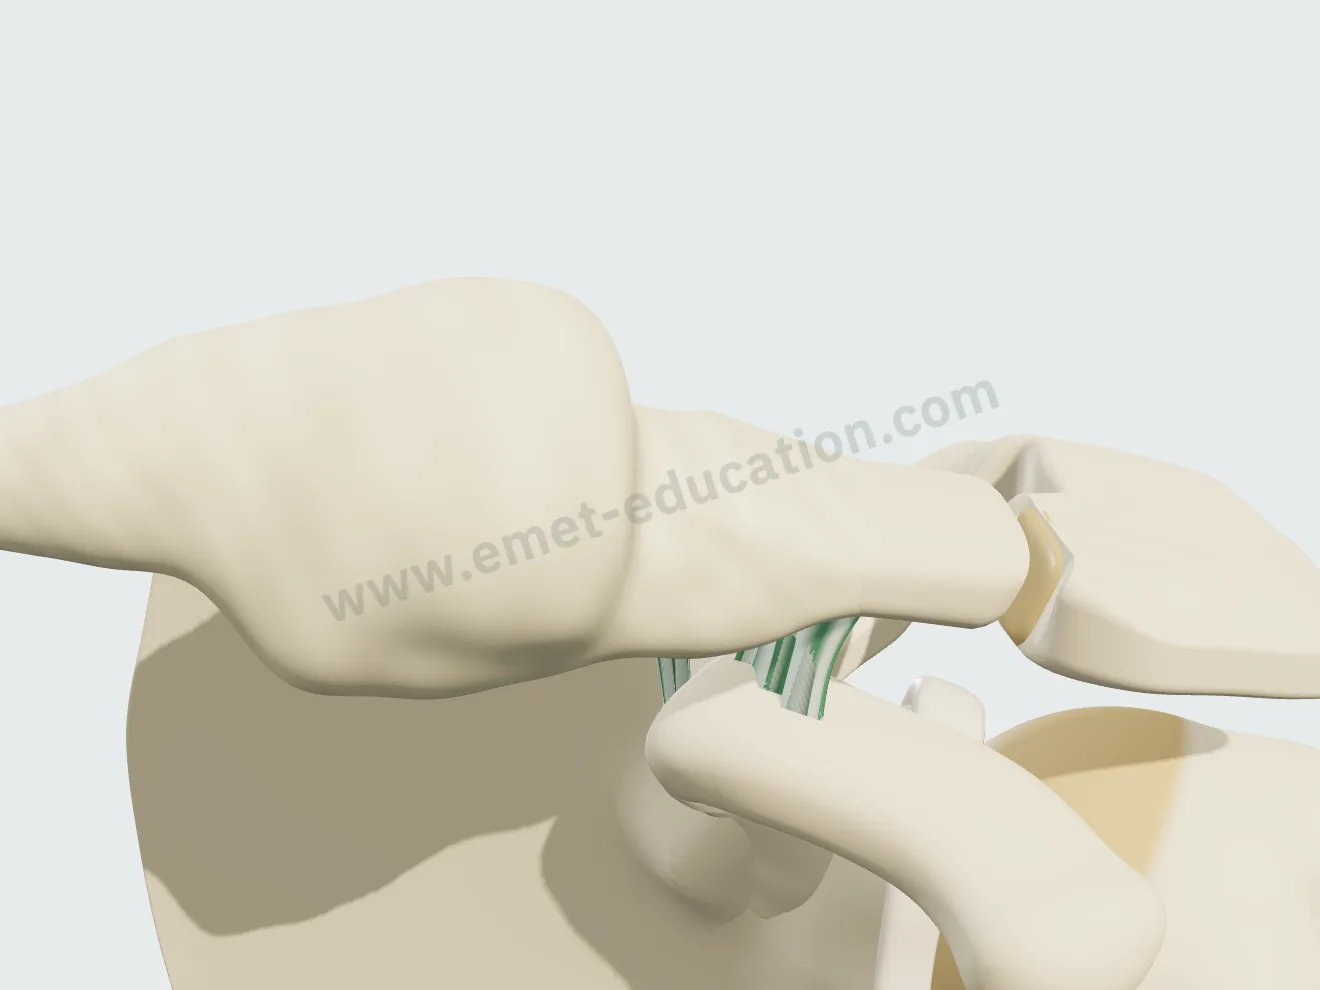
Nonoperative treatment, step 3: the hard callus, mineralized and bumpy.
3Hard callus
Nonoperative treatment, step 4: remodeling, a continuous clavicle that keeps a residual bump.
4Remodeling

Plate fixation

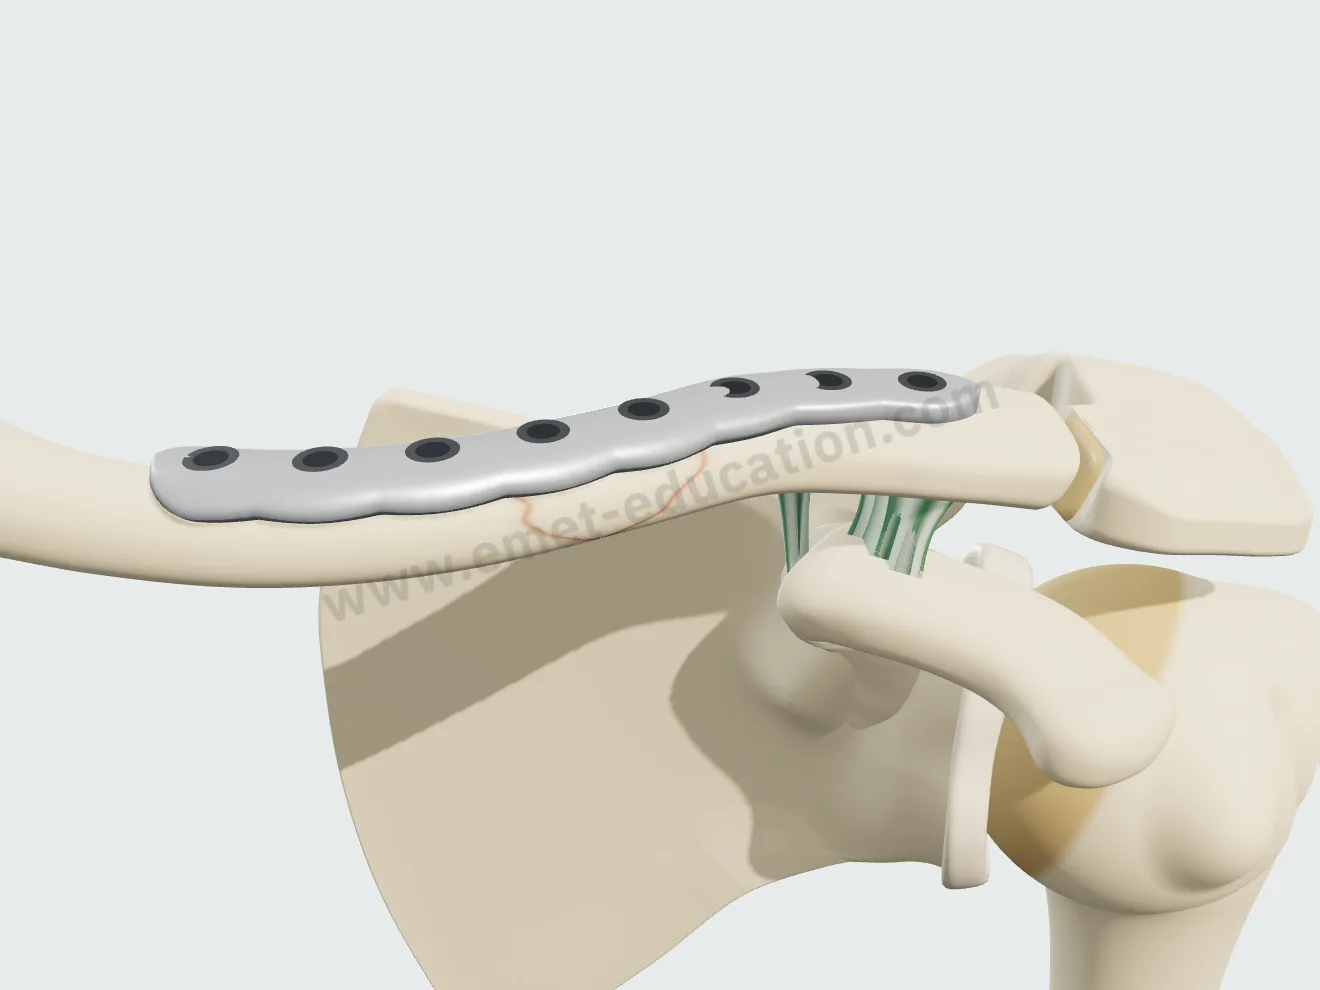
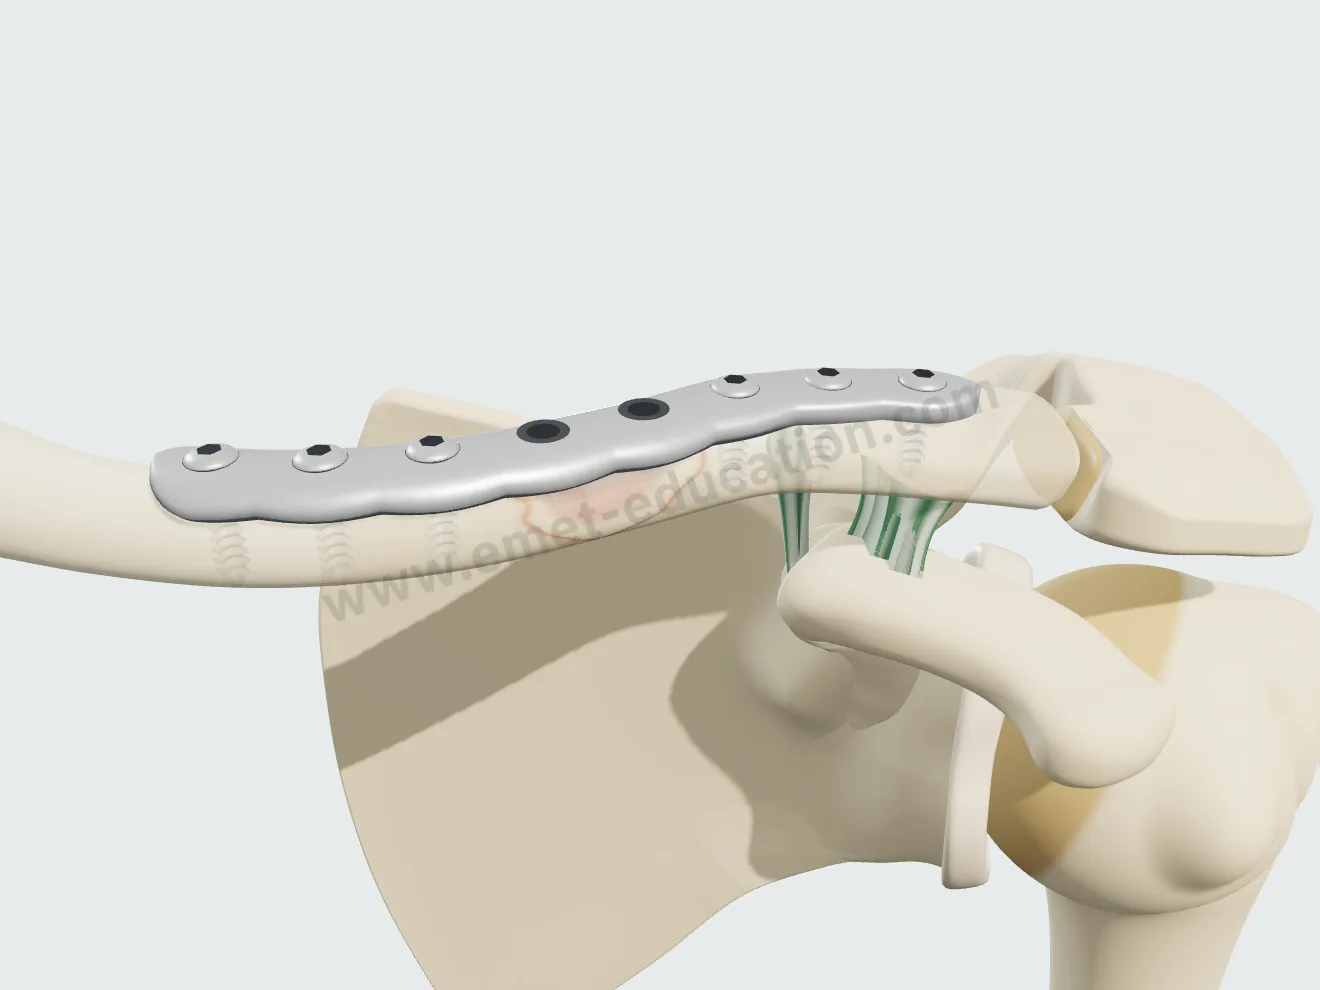
Precontoured superior plate, three bicortical screws on each side of the fracture; it bridges a multifragmentary fracture.

Plate fixation, step 1: reduction.
1Reduction
Plate fixation, step 2: plate.
2Plate
Plate fixation, step 3: screws.
3Screws
Plate fixation, step 4: healing.
4Healing

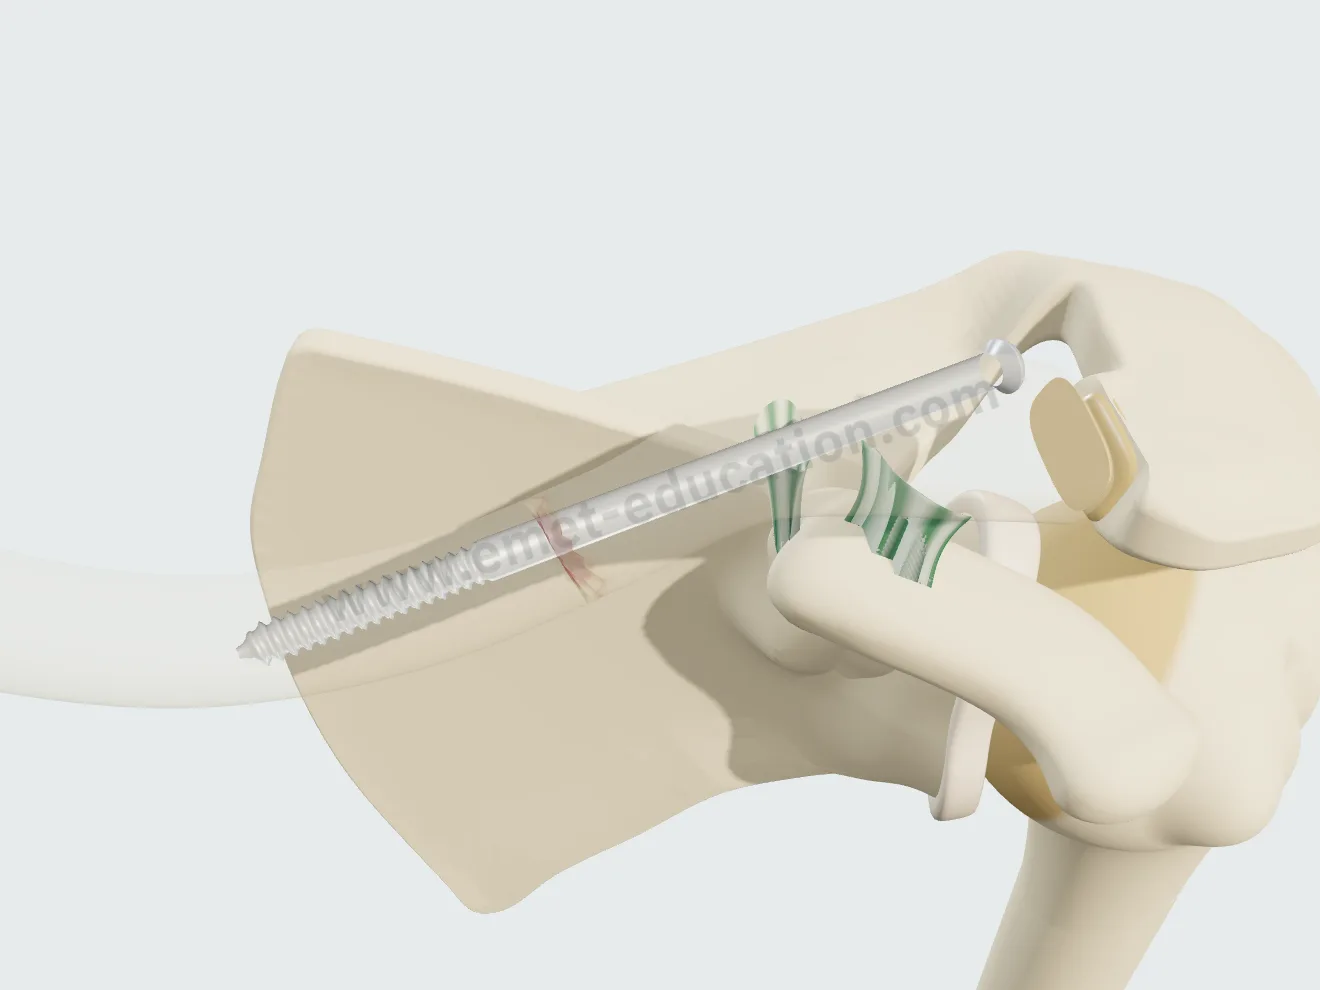
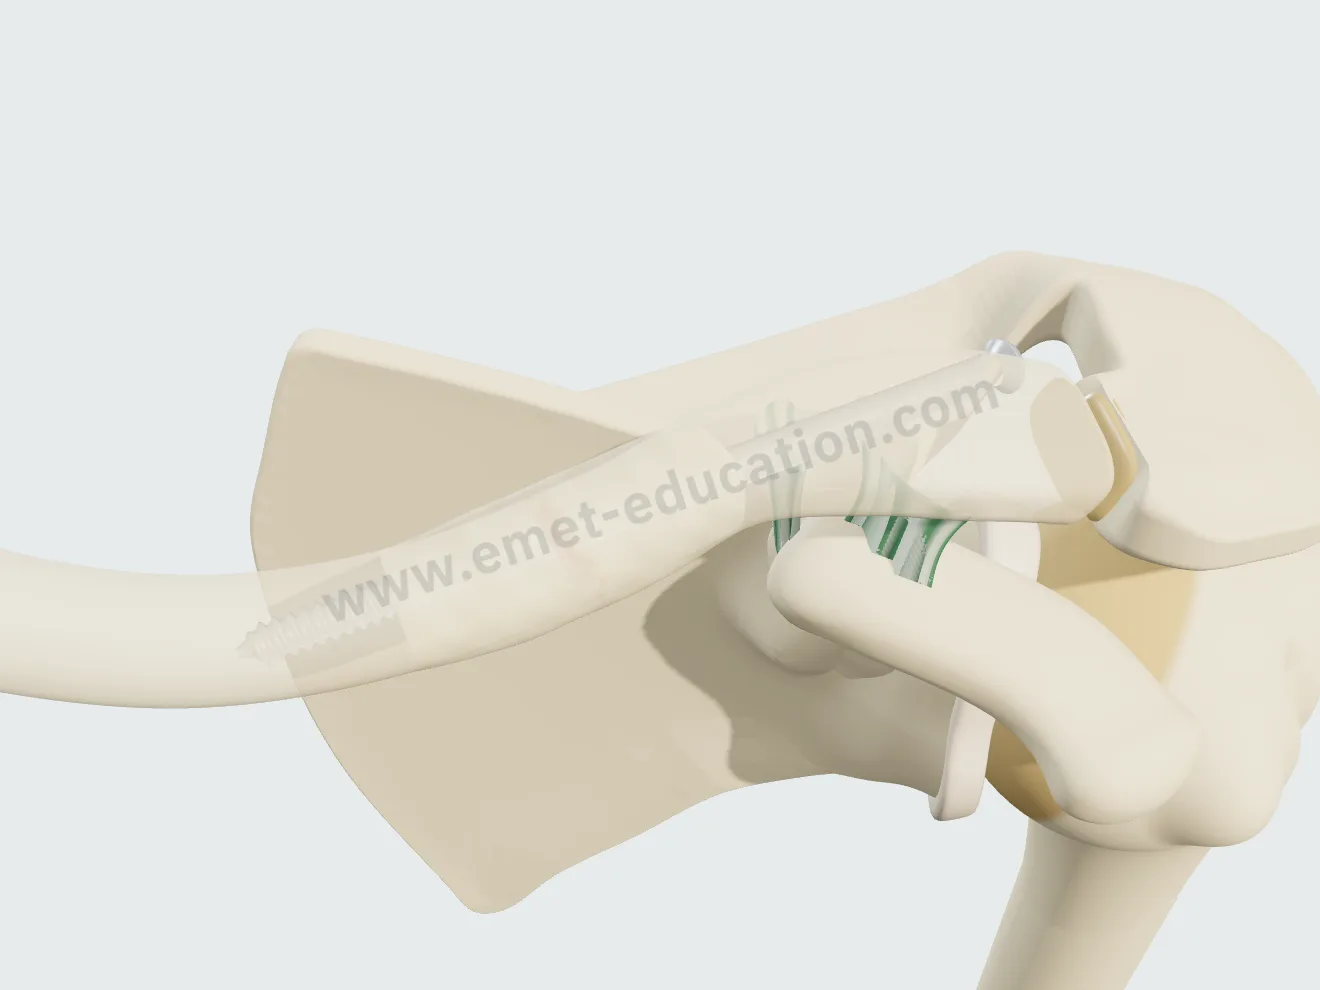
Intramedullary screw

A 4 mm screw inserted from the lateral end, its threads entirely in the medial fragment.

Intramedullary screw, step 1: reduction.
1Reduction
Intramedullary screw, step 2: the screw advances from lateral to medial, the clavicle faded.
2Intramedullary screw
Intramedullary screw, step 3: healing.
3Healing

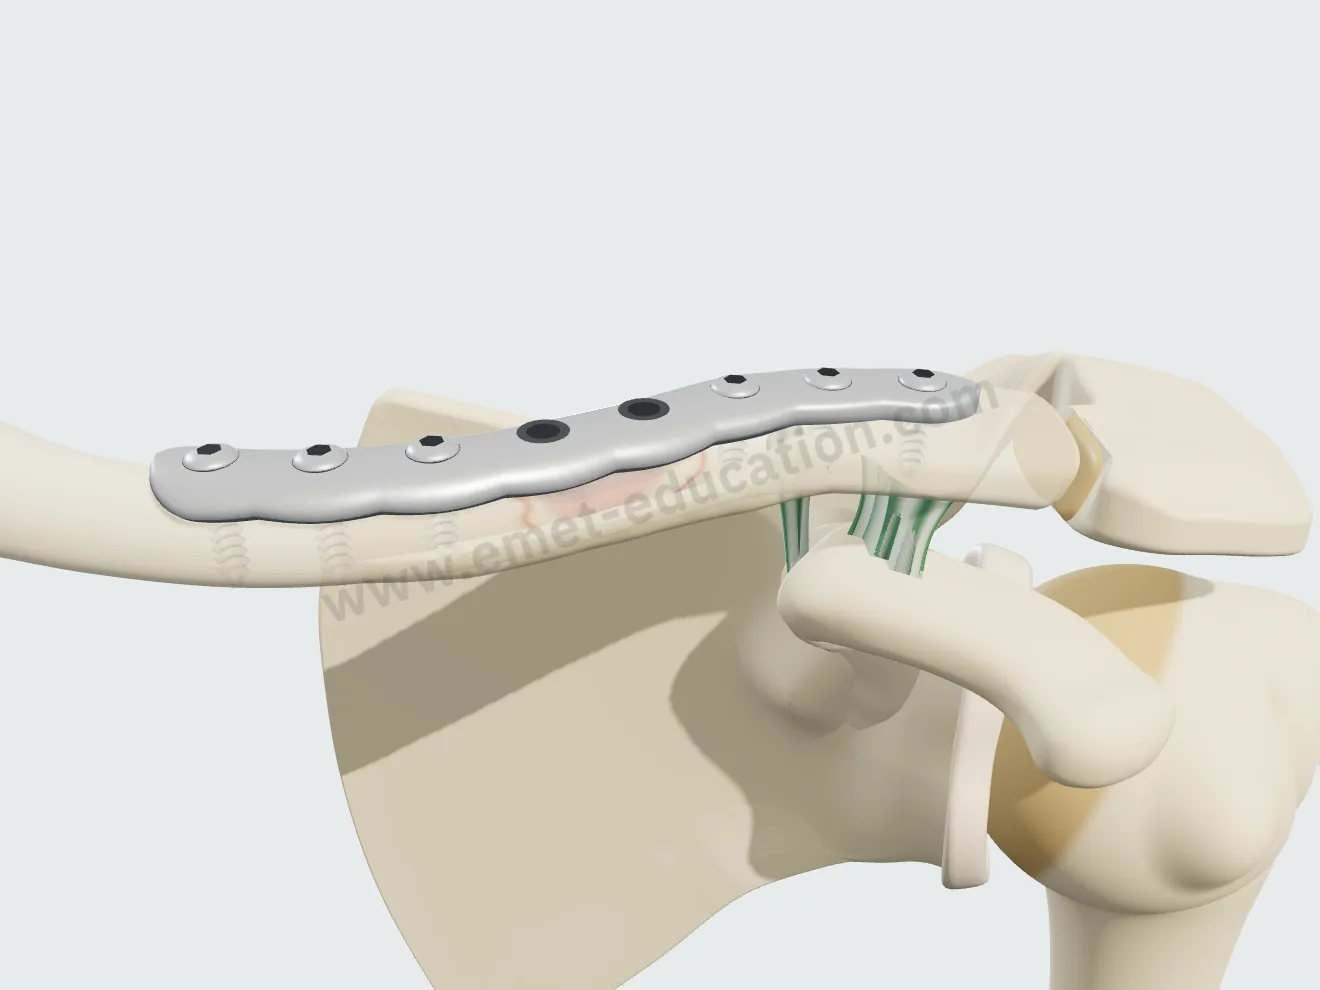
Lateral locking plate

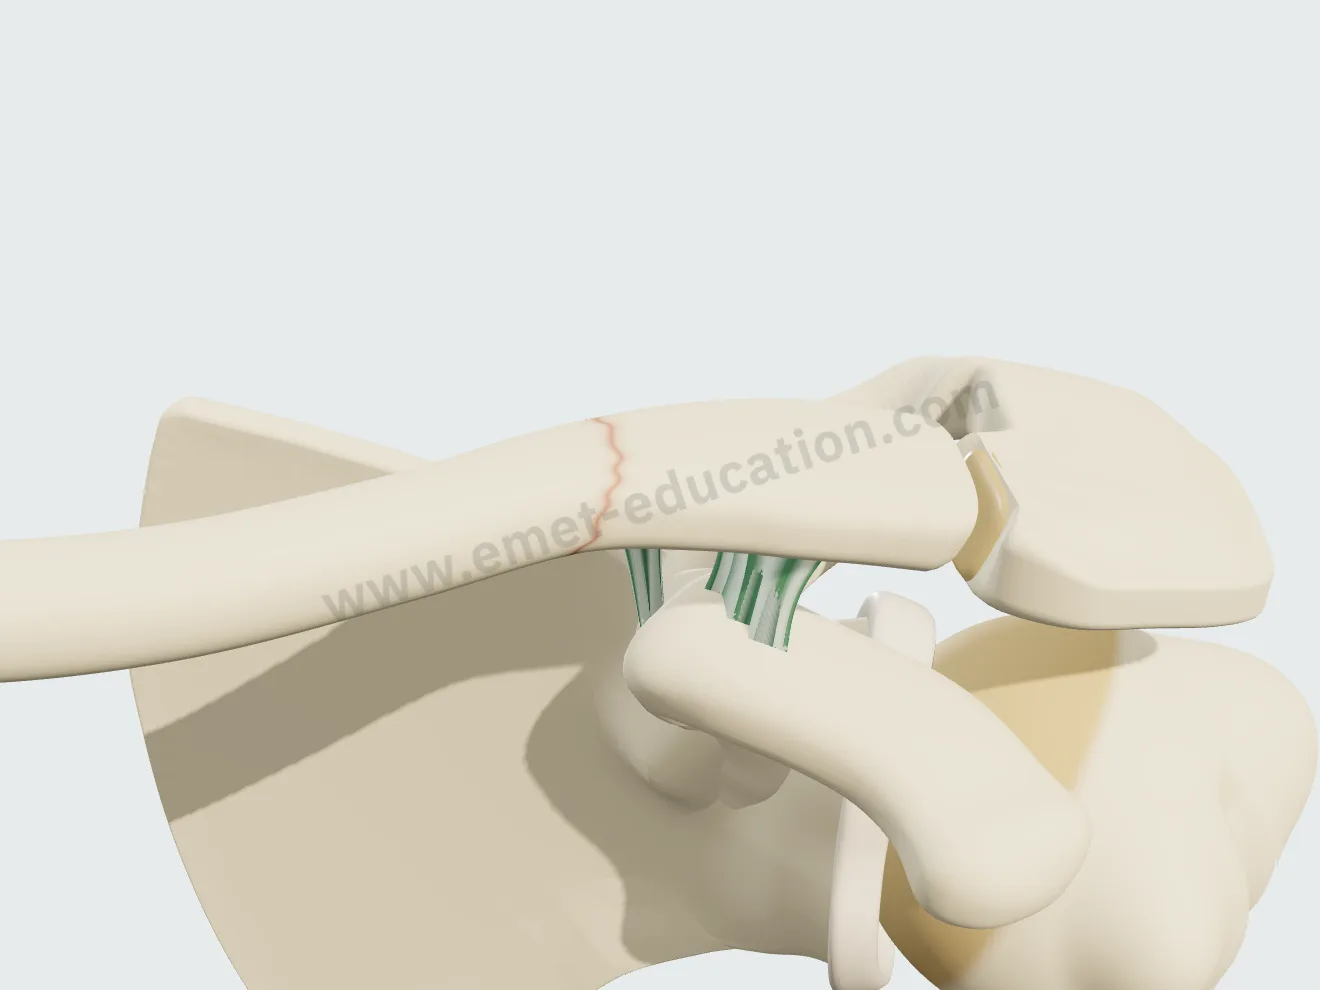
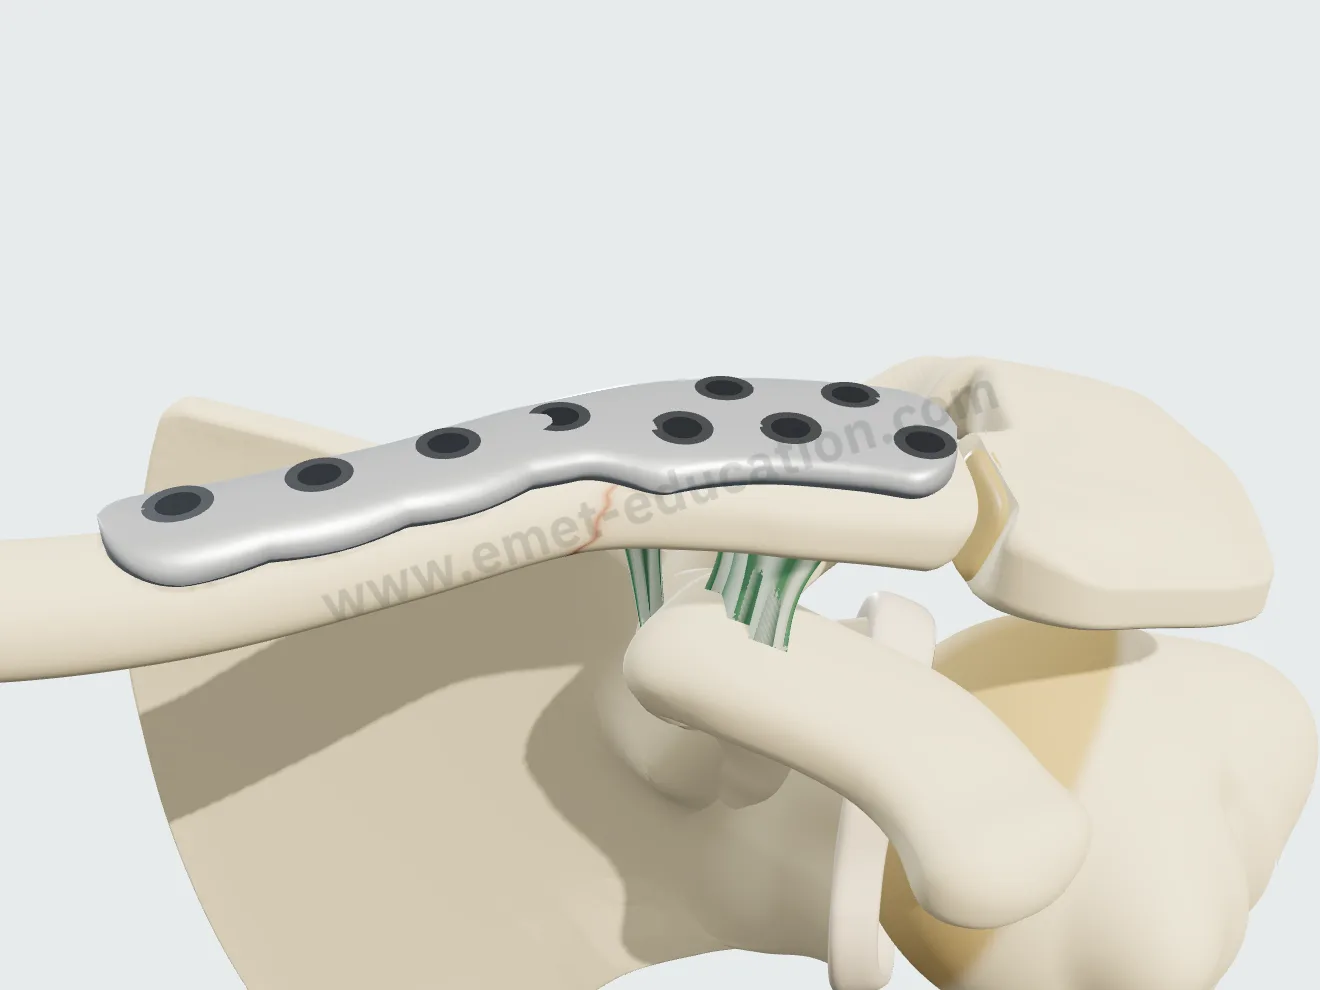
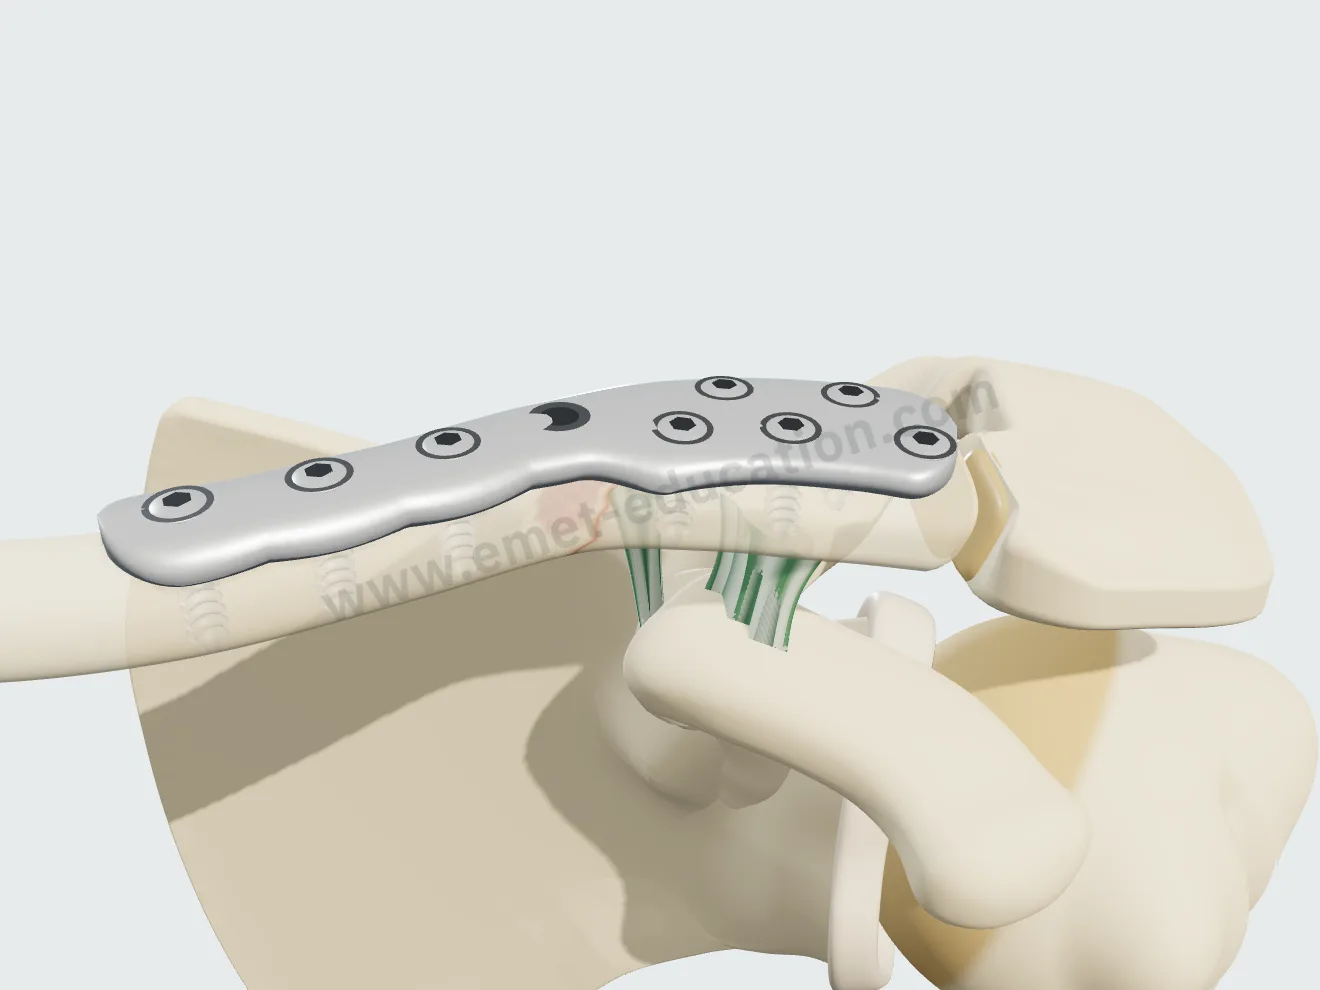
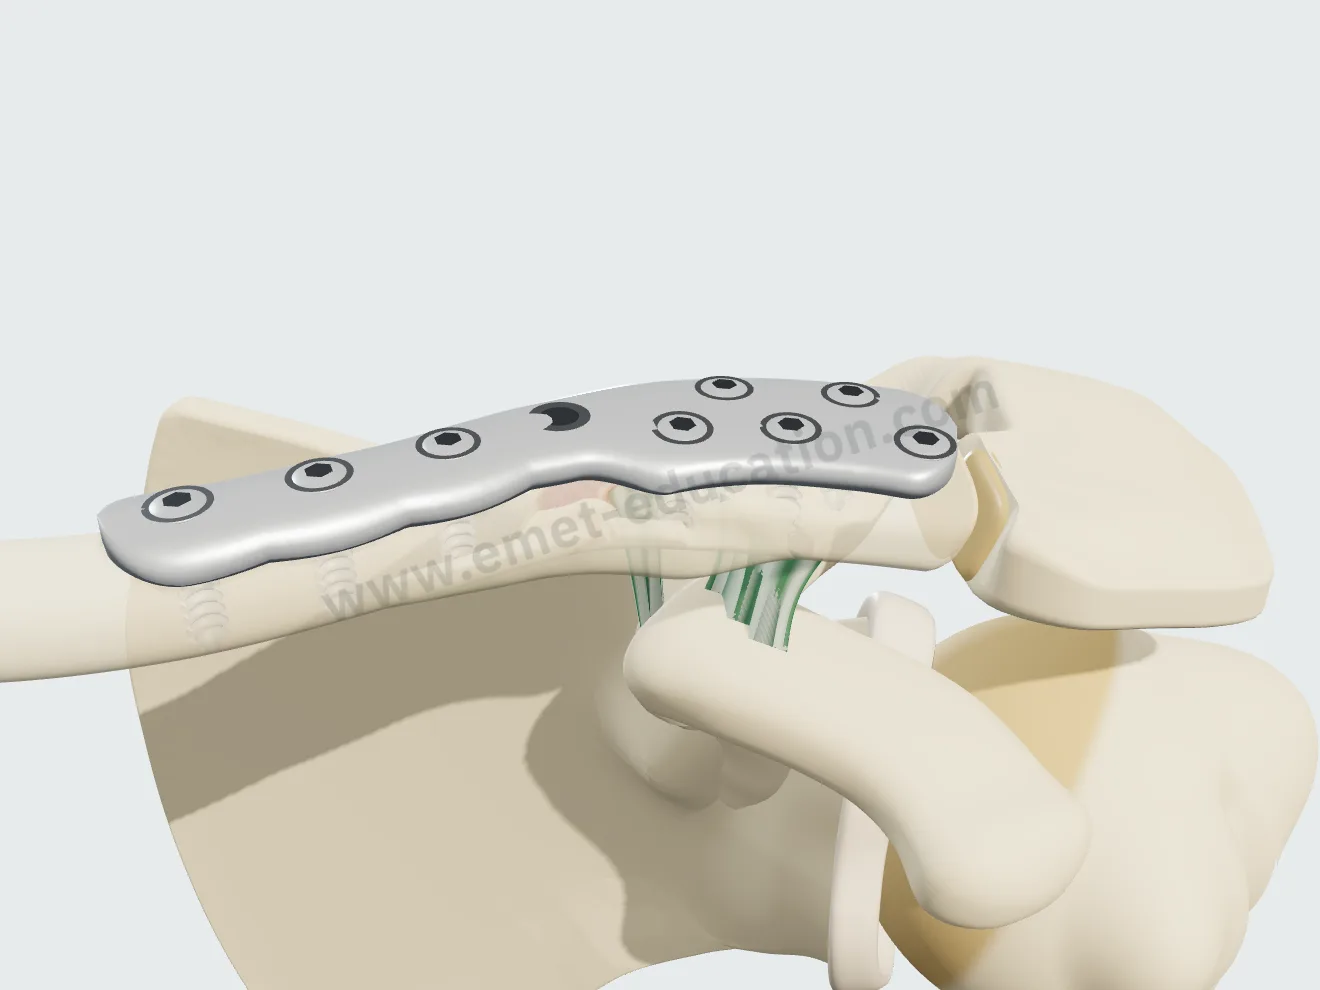
Wider paddle on the lateral fragment, staggered locking screws; Neer IIA and IIB.

Lateral locking plate, step 1: reduction.
1Reduction
Lateral locking plate, step 2: plate.
2Plate
Lateral locking plate, step 3: screws.
3Screws
Lateral locking plate, step 4: healing.
4Healing

Coracoclavicular button

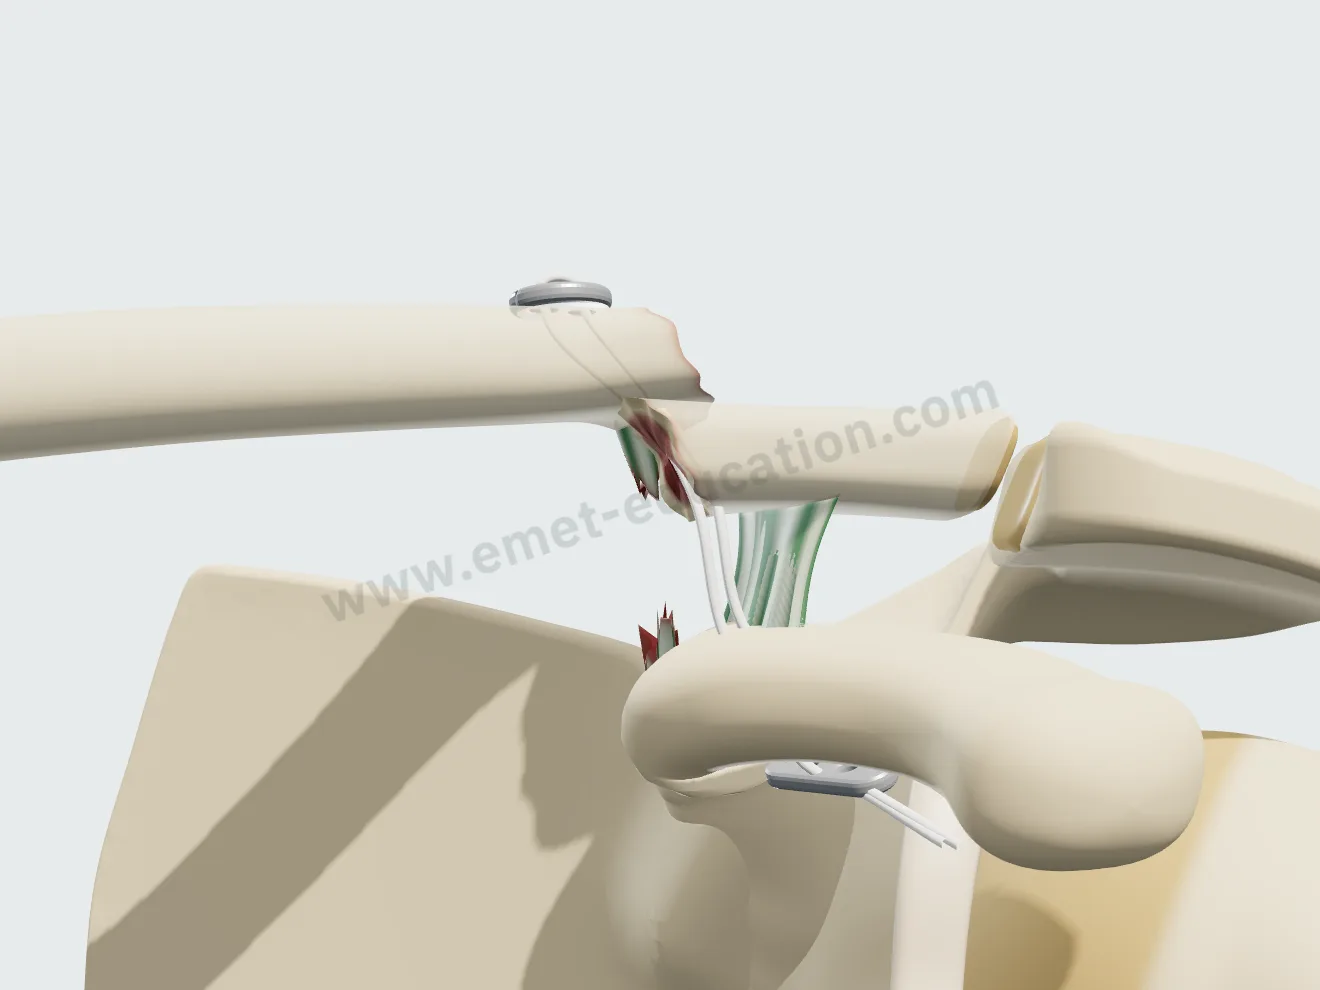
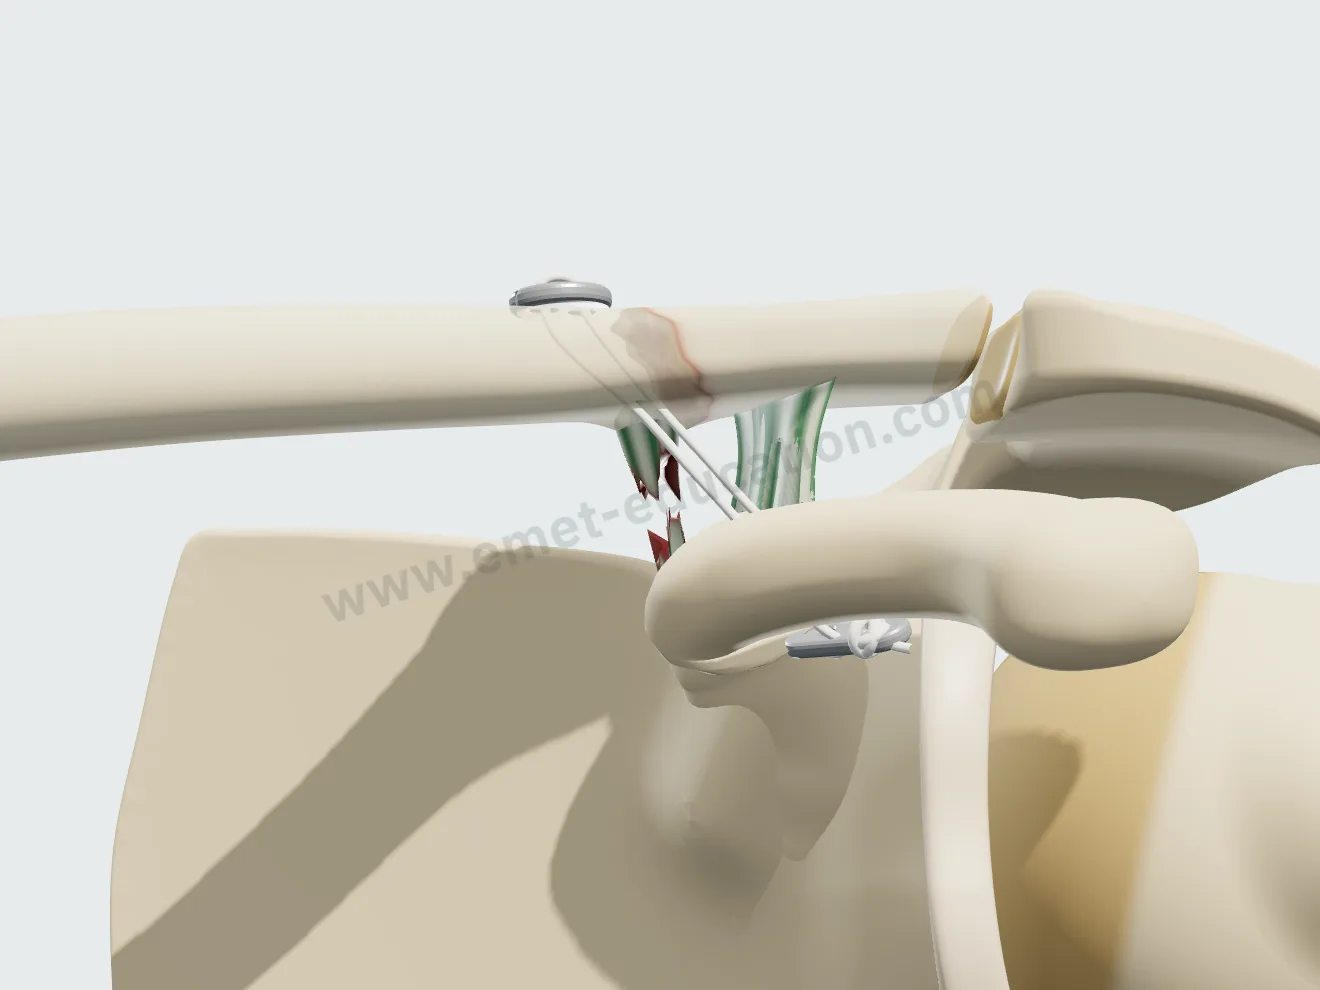
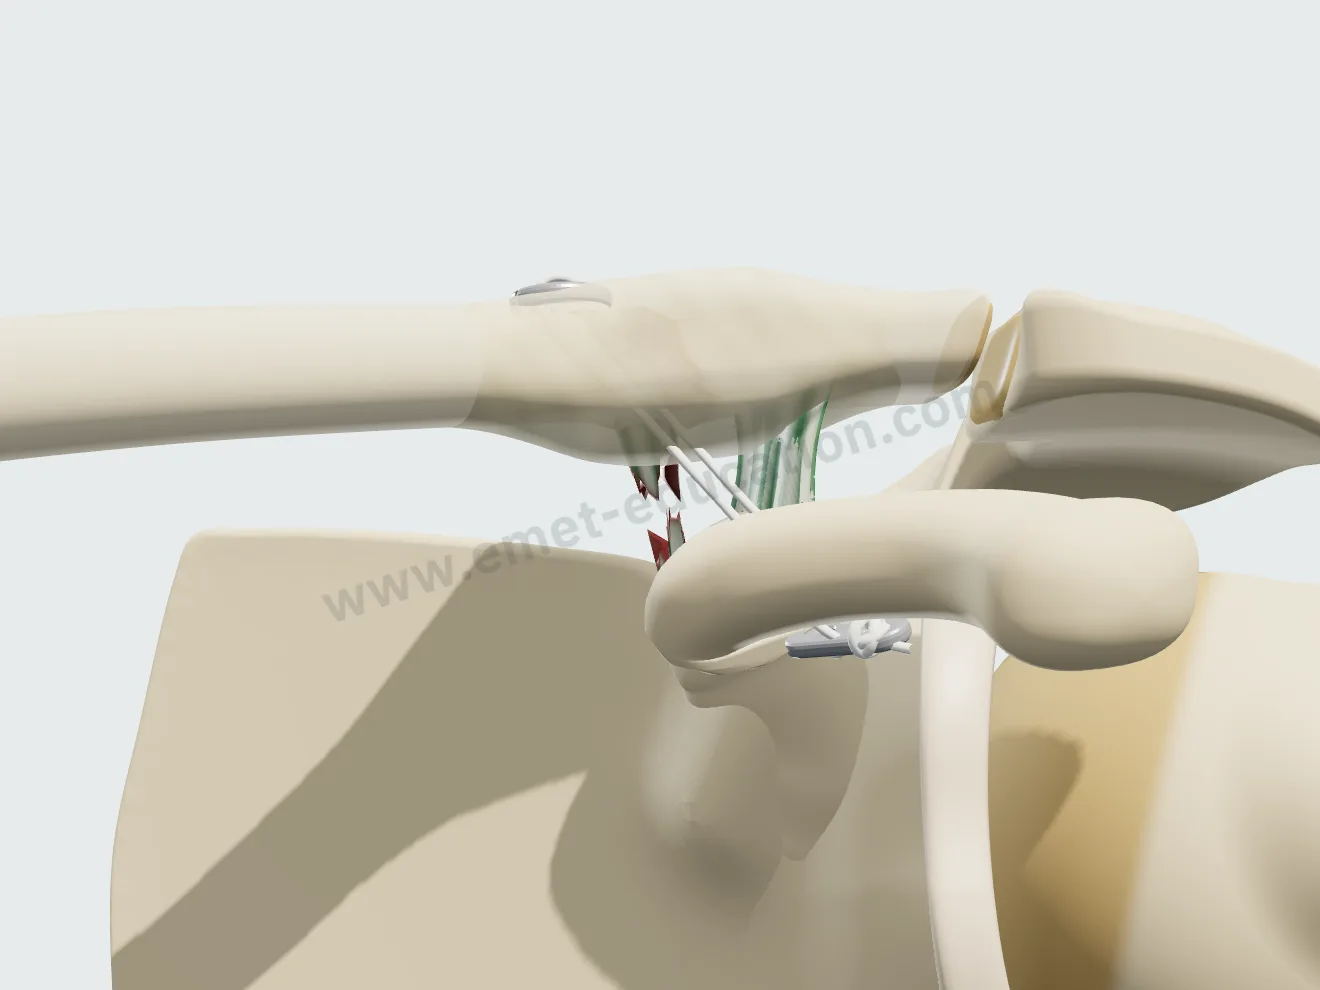
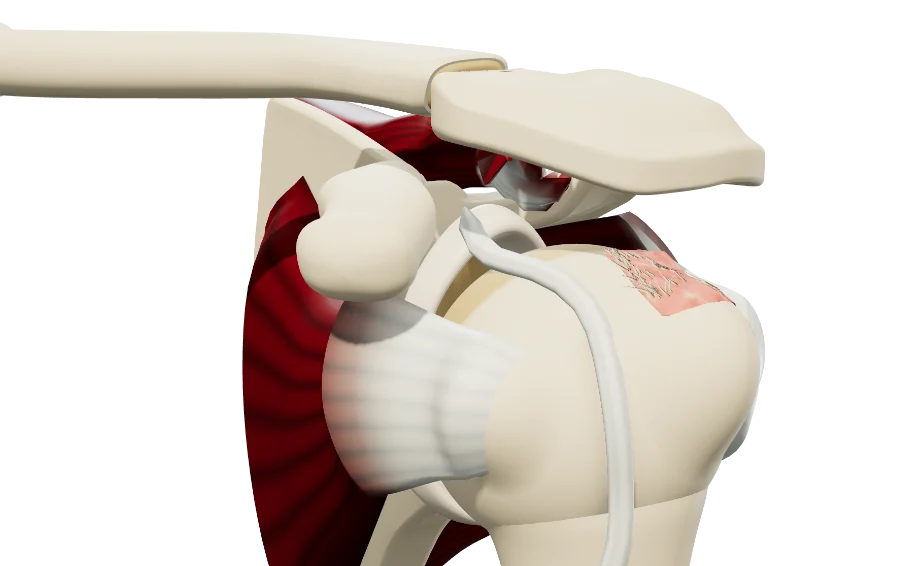
A tunnel through the clavicle and the coracoid, braided sutures tied under the coracoid: tightening reduces the fracture.

Coracoclavicular button, step 1: buttons and sutures in place.
1Buttons and sutures
Coracoclavicular button, step 2: tightening the knot, the scapula rises toward the medial fragment.
2Tightening the knot
Coracoclavicular button, step 3: healing.
3Healing

After the visit

The patient leaves with their 3D model

They scan the QR code: the model, their findings and the proposed treatment follow them on their phone, in their language.

The model, exactly as you set it

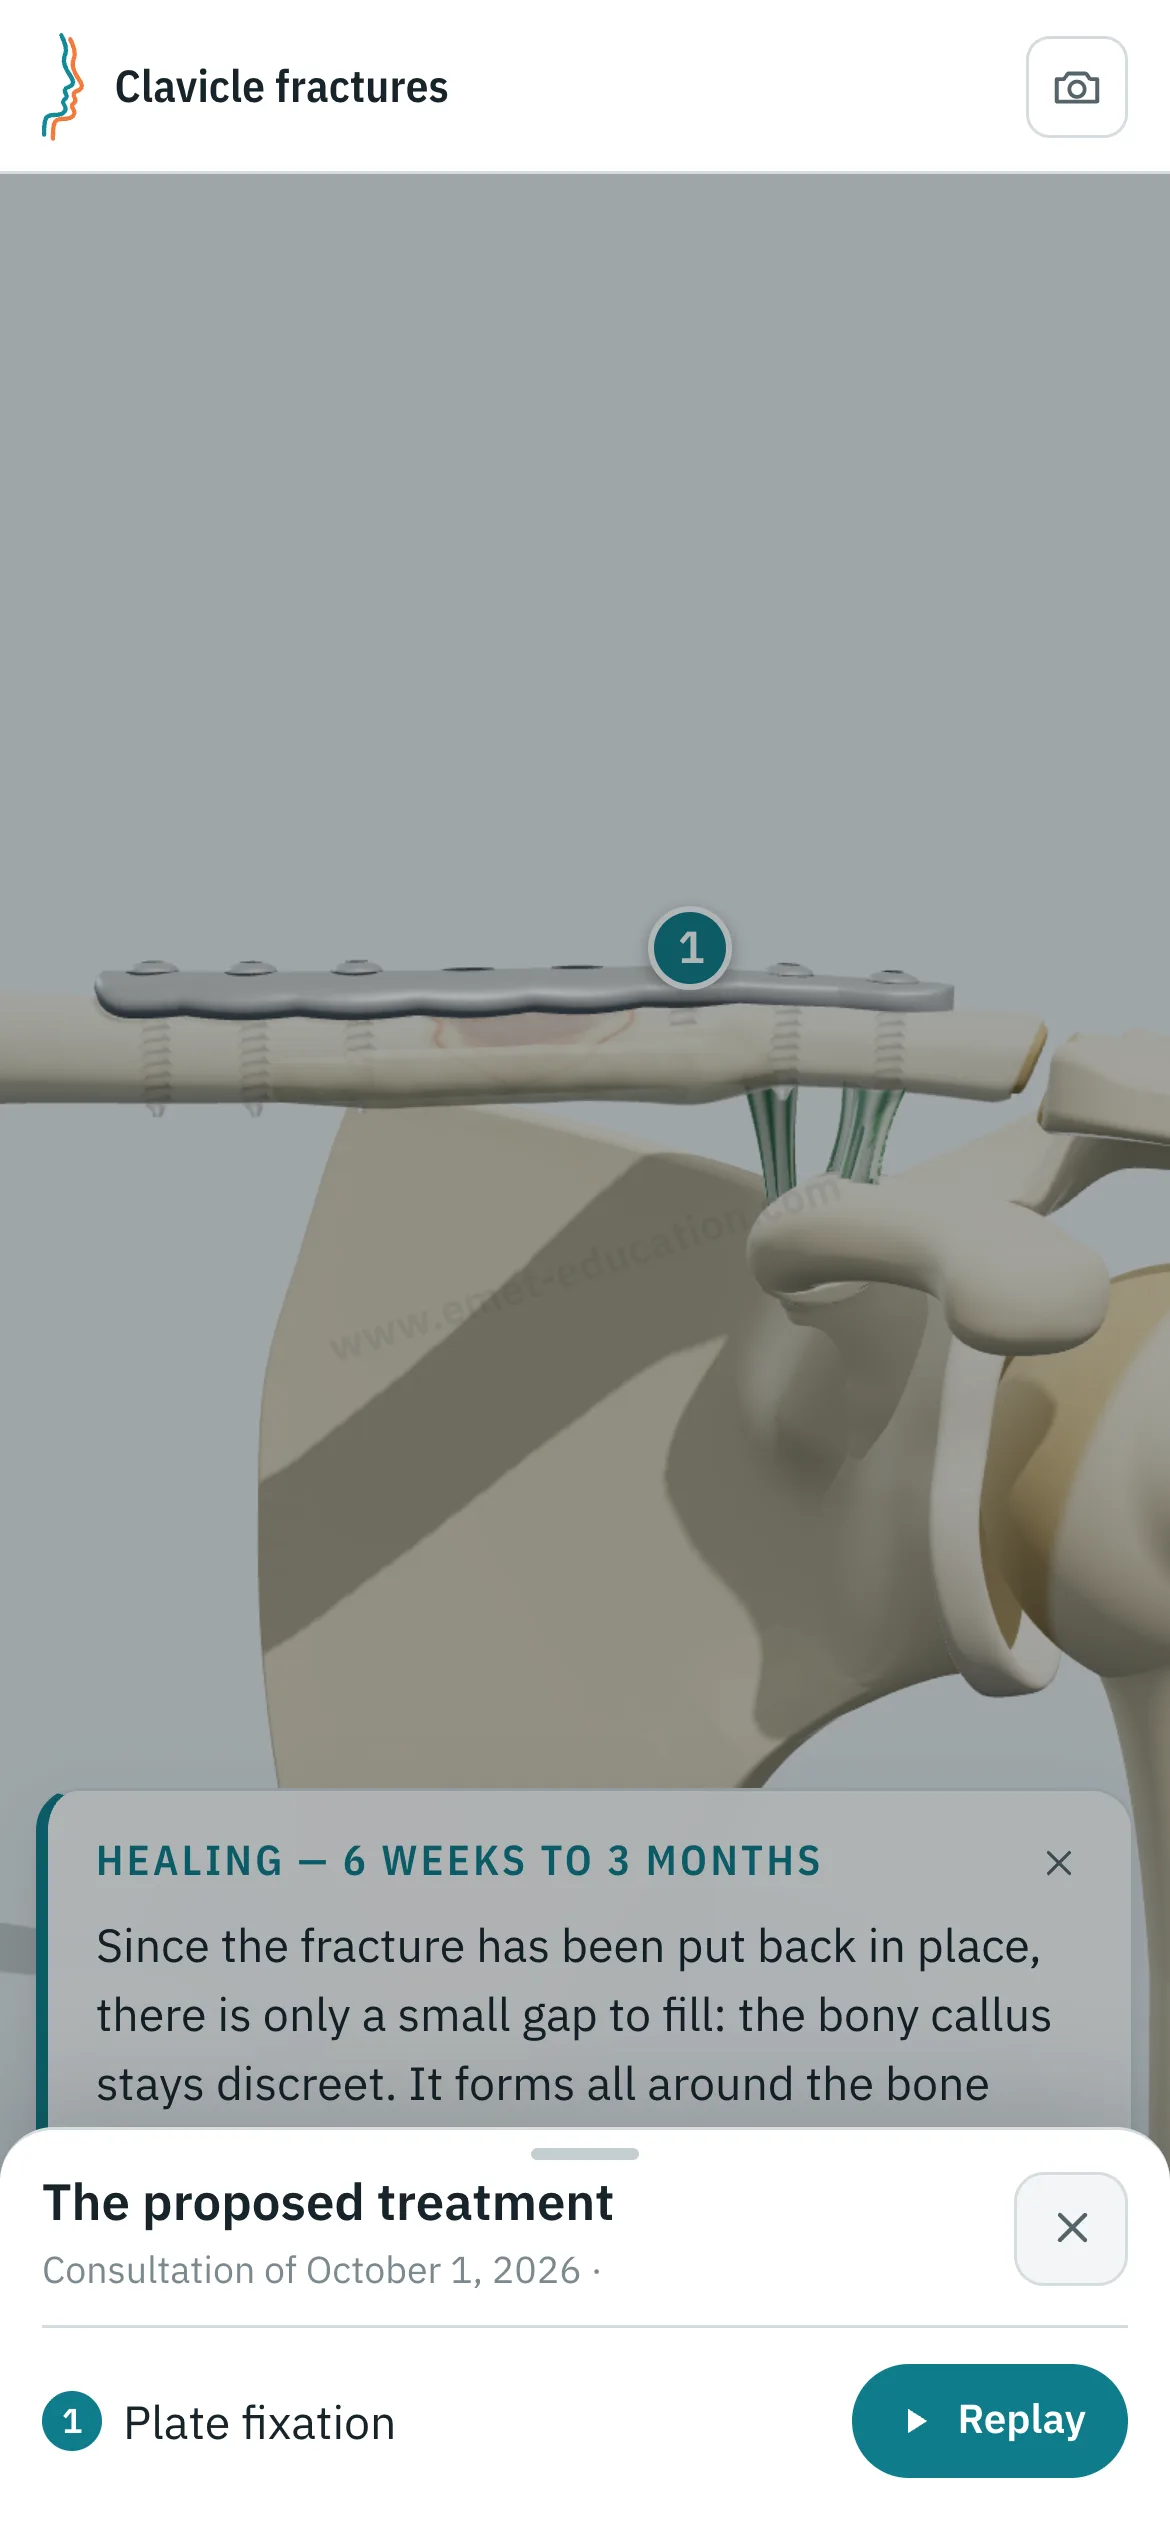
At the end of the visit, the Consultation panel shows the anatomical findings, the proposed treatment and a QR code. The patient scans it and finds the model on their phone exactly as you set it, in their language.

  • Their fracture, and the proposed treatment to replay step by step.
  • Their anatomical findings and the explanatory card.
  • No identifying data in the link.
Patient view on a phone: the clavicle after plate fixation, the card “Healing — 6 weeks to 3 months,” and the “The proposed treatment” panel open: plate fixation, “Replay” button.
What the patient sees after scanning the QR code

Every structure explains itself on tap

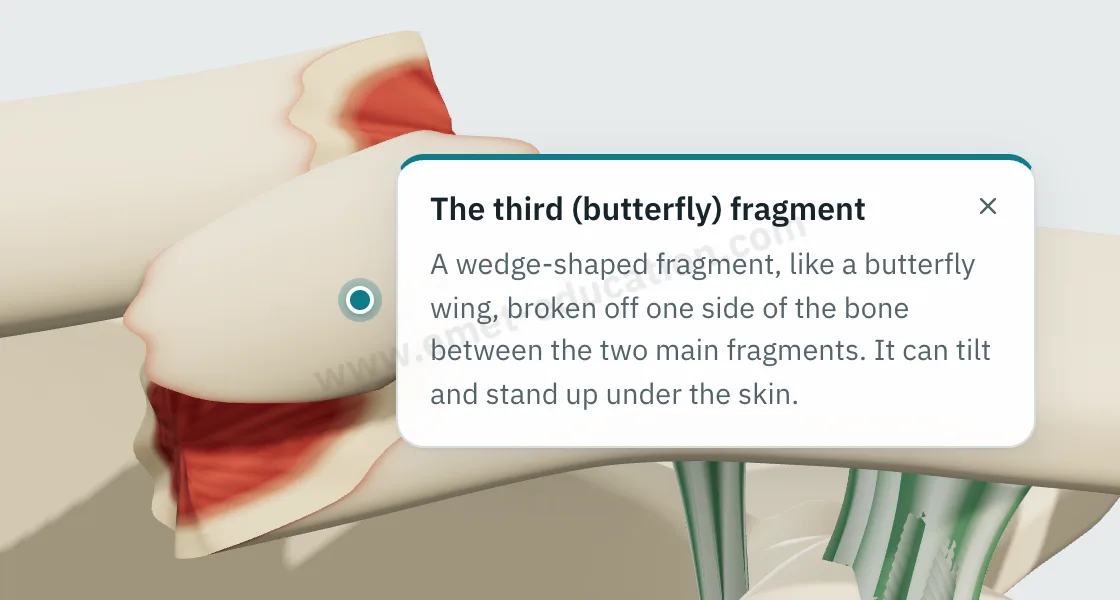
Tap a fragment, a ligament, the plate or a screw: its name and an explanation appear.

  • One explanation per structure: fragments, fracture line, coracoclavicular ligaments, callus, plate, screws, button.
  • Written for the patient, in their language.
  • They can reread it on their own, on the tablet or at home.
Explanation bubble “The third (butterfly) fragment” shown after tapping the fragment.
“What is this?” on tap

They can replay the treatment step by step

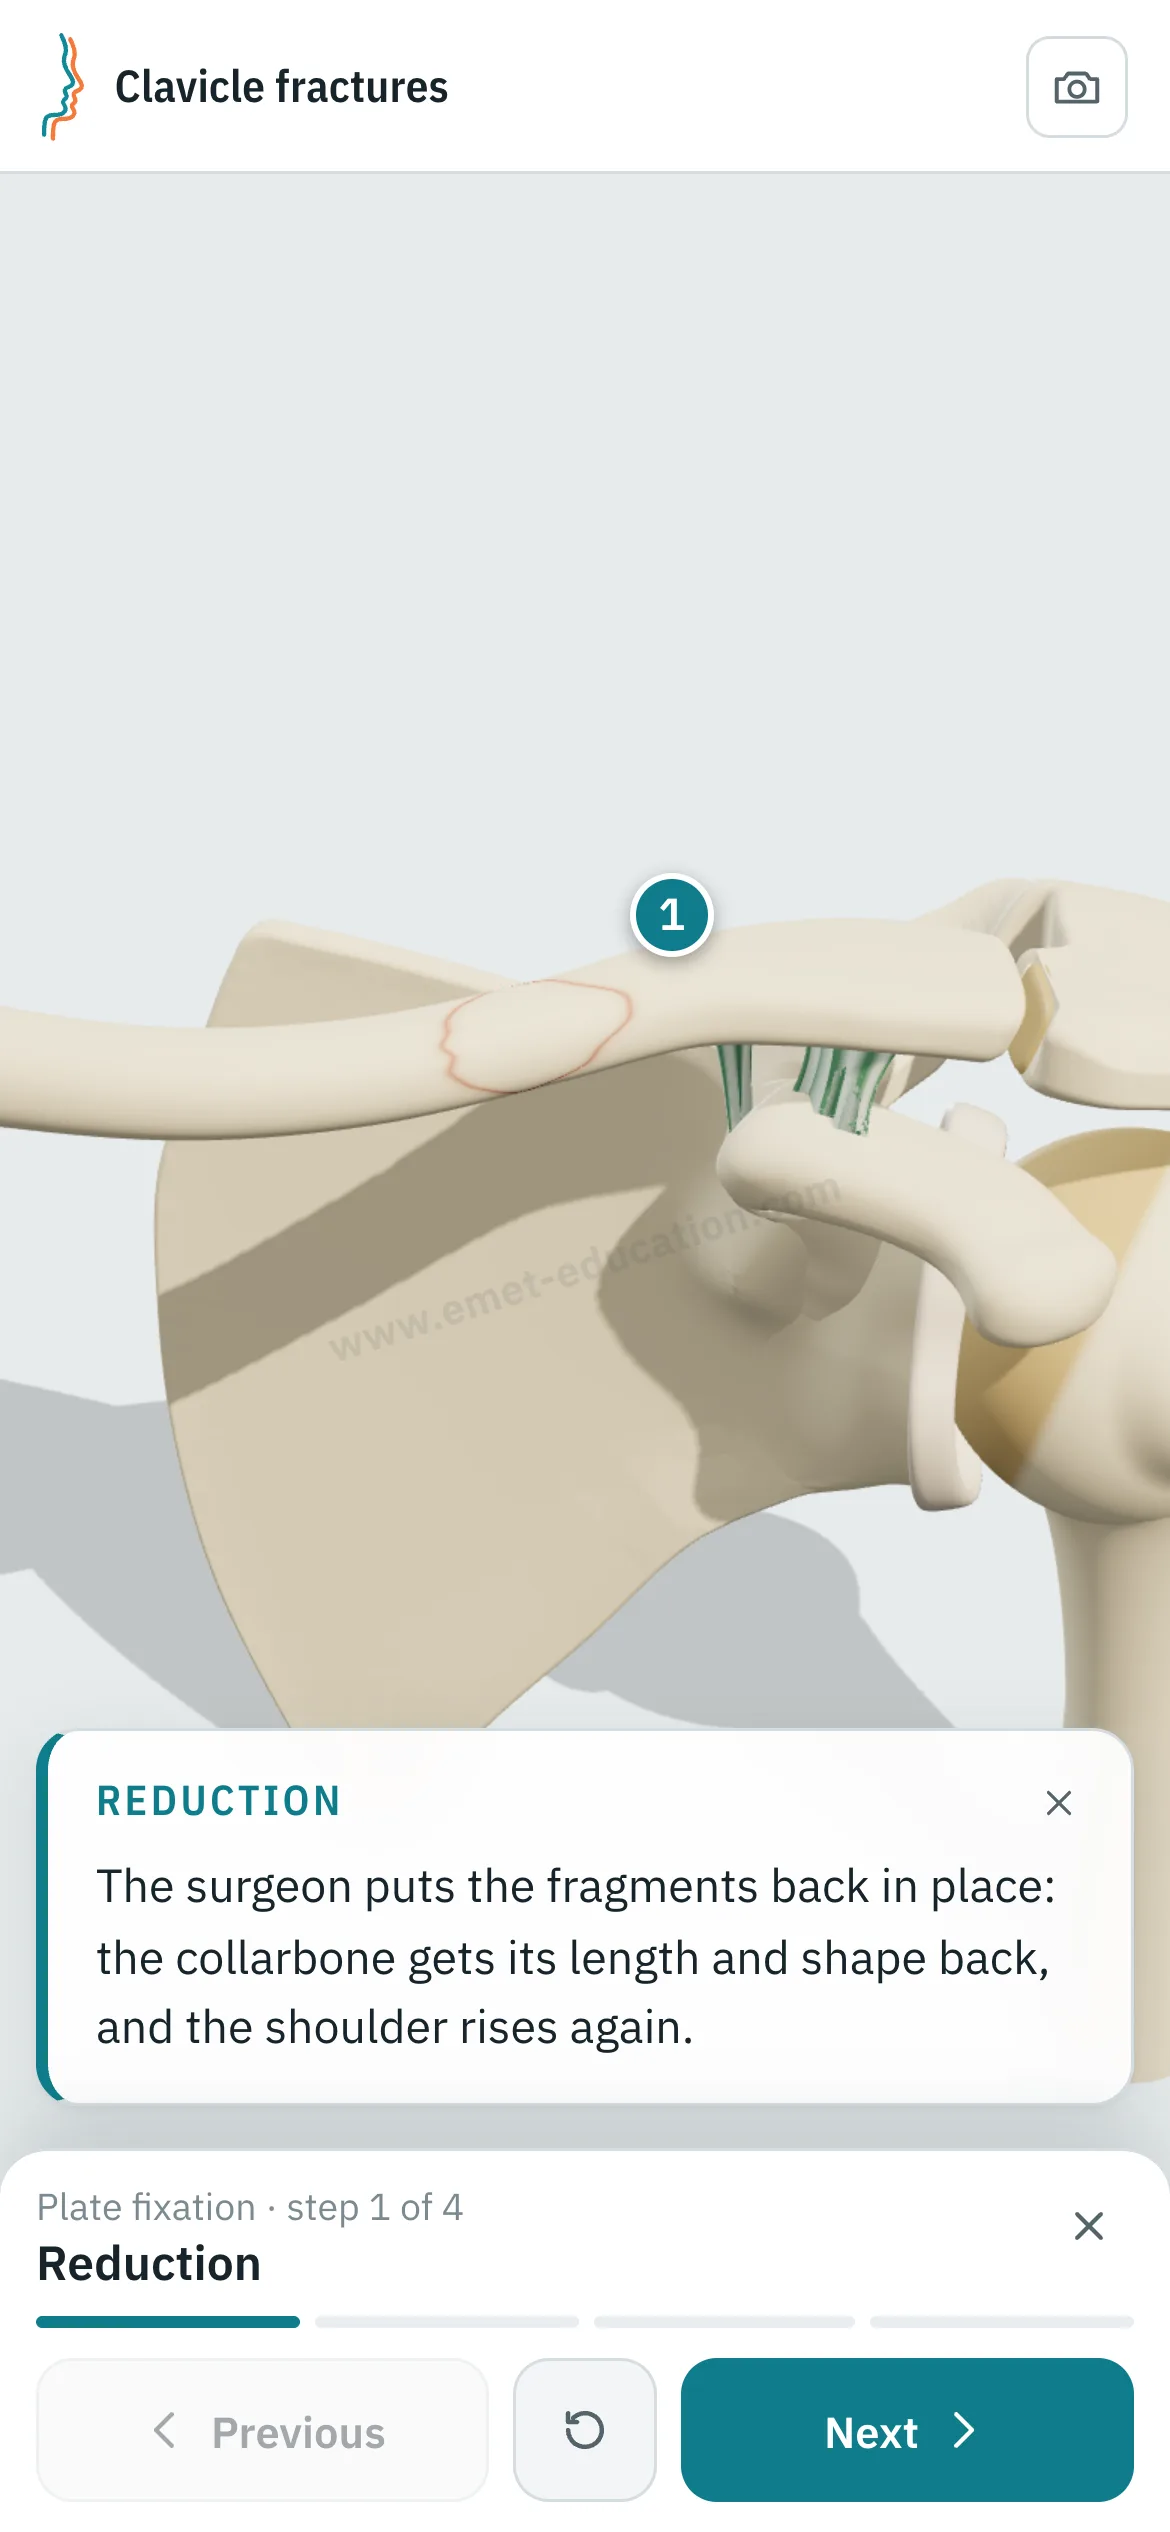
From “The proposed treatment,” the patient replays the procedure: each step plays at their own pace, with its explanation, as often as they like.

Patient view on a phone: the plate fixation replayed, step 1 of 4, reduction.
“Replay”: the procedure, step by step

Try it with your next case: the model opens in your browser, nothing to install.

Customize the fracture

Patient information

Quality information, documented

Only 12% of U.S. adults have proficient health literacy (National Assessment of Adult Literacy). A patient who sees their own fracture and the proposed treatment understands them, gives truly informed consent, and approaches surgery with confidence.

For the patient

They see their own fracture, reproduced from their imaging, and how the proposed treatment unfolds. They leave with the same material and can review it at home, with their family, as often as they like, before giving consent.

For the physician

Each visit created with an account keeps a record of the information provided: what was shown, when, and whether the patient reviewed it. The model image, with the anatomical findings, the proposed treatment and the QR code, downloads for the patient's chart and prints. Informed consent, as the Joint Commission puts it, is more than getting a signature.

  • Saved and datedThe exact state of the model: injuries shown, treatment proposed.
  • Identical, archivableThe patient receives what you showed; the image goes in the chart and prints.
  • TrackedEach time the patient opens the link is recorded.
  • AnonymousThe link given to the patient carries no identifying data.

“Document the informed consent conversation and the patient’s (or surrogate’s) decision in the medical record in some manner.”

AMA Code of Medical Ethics, Opinion 2.1.1, Informed Consent

The model supports the consent conversation and the written consent form; it does not replace them. Data and privacy: legal information (in French).

Questions

Questions from colleagues

Is the model free?

Yes: the fracture models are free. Treatments (fixation) and other features are paid options.

Do I need an account?

Not to open the model, set the fracture and walk through the treatment. After about fifteen adjustments, you will be asked to create a free account: it saves your visits, picks them up from one time to the next, and records when the patient opens the link.

What equipment do I need?

Just a web browser, nothing to install: computer, tablet or TV screen in the exam room; the patient opens it on their phone. One click saves an image, without the interface, for the chart.

What happens to patient data?

No patient names are stored. The link given to the patient carries only the state of the model: fracture, treatment, language and visit date. A name written on the image you hand out stays on that image.

Is it a medical device?

No: it is an educational tool. It does not diagnose, does not plan surgery, and does not replace the consent conversation or the written consent form. Among software functions that are not medical devices, the FDA lists those intended for general patient education and interactive anatomy diagrams used for training.

How long does it take in clinic?

Three adjustments and one procedure played: a few minutes, during the visit. The patient reviews it at home, as often as they like.

Is nonoperative treatment shown?

Yes, for the shaft as for the lateral quarter: soft callus, hard callus, then remodeling, on the fracture as displacement left it, without reduction. The callus keeps the shortening and leaves a residual bump; in the lateral quarter, the medial fragment heals in its elevated position.

Can I embed it on my website?

It is planned for upcoming plans: the model displayed on a practice or hospital website, credited to EMET Education.

Which languages?

English, Spanish, French and Russian. The patient receives the model in the language chosen during the visit, which helps with the roughly 28 million people in the U.S. with limited English proficiency, alongside a qualified interpreter, not instead of one.

Design

Who designed this model

Model designed by Dr. Mikaël Chelli, orthopedic surgeon, based on the reference classifications. Updated October 1, 2026.

Try it with your next patient

The model opens in your browser, nothing to install, no sign-up.

Know a colleague who could use it? Email this page ·