EMET Electronic Medical Twin
  1. EMET Education
  2. Musculoskeletal
  3. Hand
  4. Thumb basal joint osteoarthritis

3D model · Hand

Thumb Basal Joint Osteoarthritis 3D Model

Show your patient their worn thumb base joint, stage by stage on the Eaton-Littler scale, then the proposed treatment. They leave with their model.

Designed by an orthopedic surgeon

Opens in your browser, no sign-up. For hand and orthopedic surgeons, rheumatologists, physiatrists, radiologists and primary care physicians.

How it works

In the visit, in three steps

Structured information in a few minutes, which the patient can review at home.

  1. 1

    Show

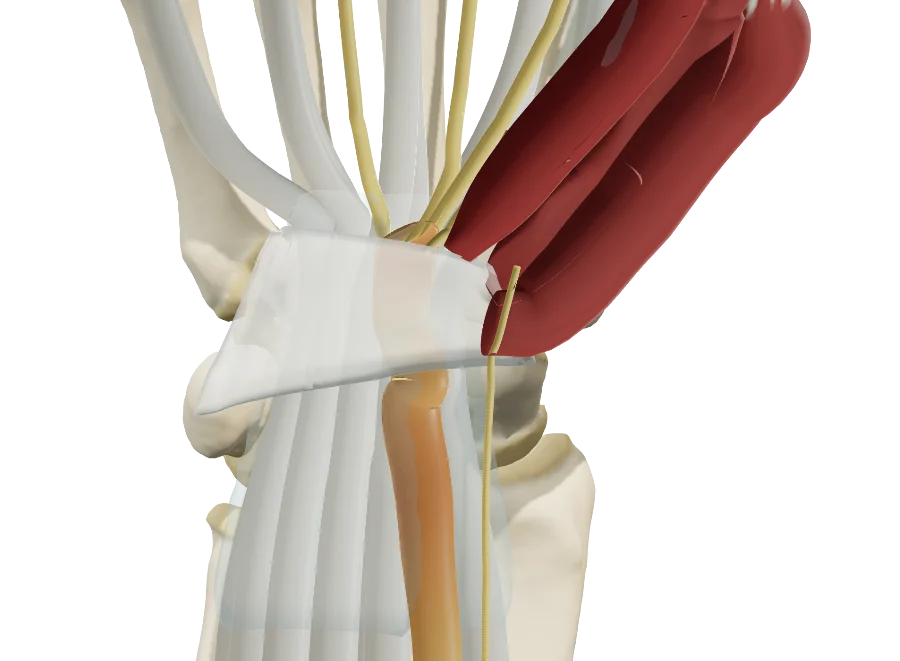
    Open the model and walk through the base of the thumb: the trapezium, the base of the first metacarpal, their cartilage-covered saddle surfaces, and the hand at rest or in pinch.

  2. 2

    Reproduce

    Set the Eaton-Littler stage from the radiograph, then the subluxation, the Z deformity and STT arthritis. Then walk through the proposed treatment, step by step.

  3. 3

    Share

    Give the patient the QR code or an image: they find their own case, in their language.

Features

Explain in detail during the visit

Every setting updates the model live: you reproduce the stage on your patient's radiograph in front of them, then walk through the treatment you recommend.

The osteoarthritis, one Eaton-Littler stage at a time

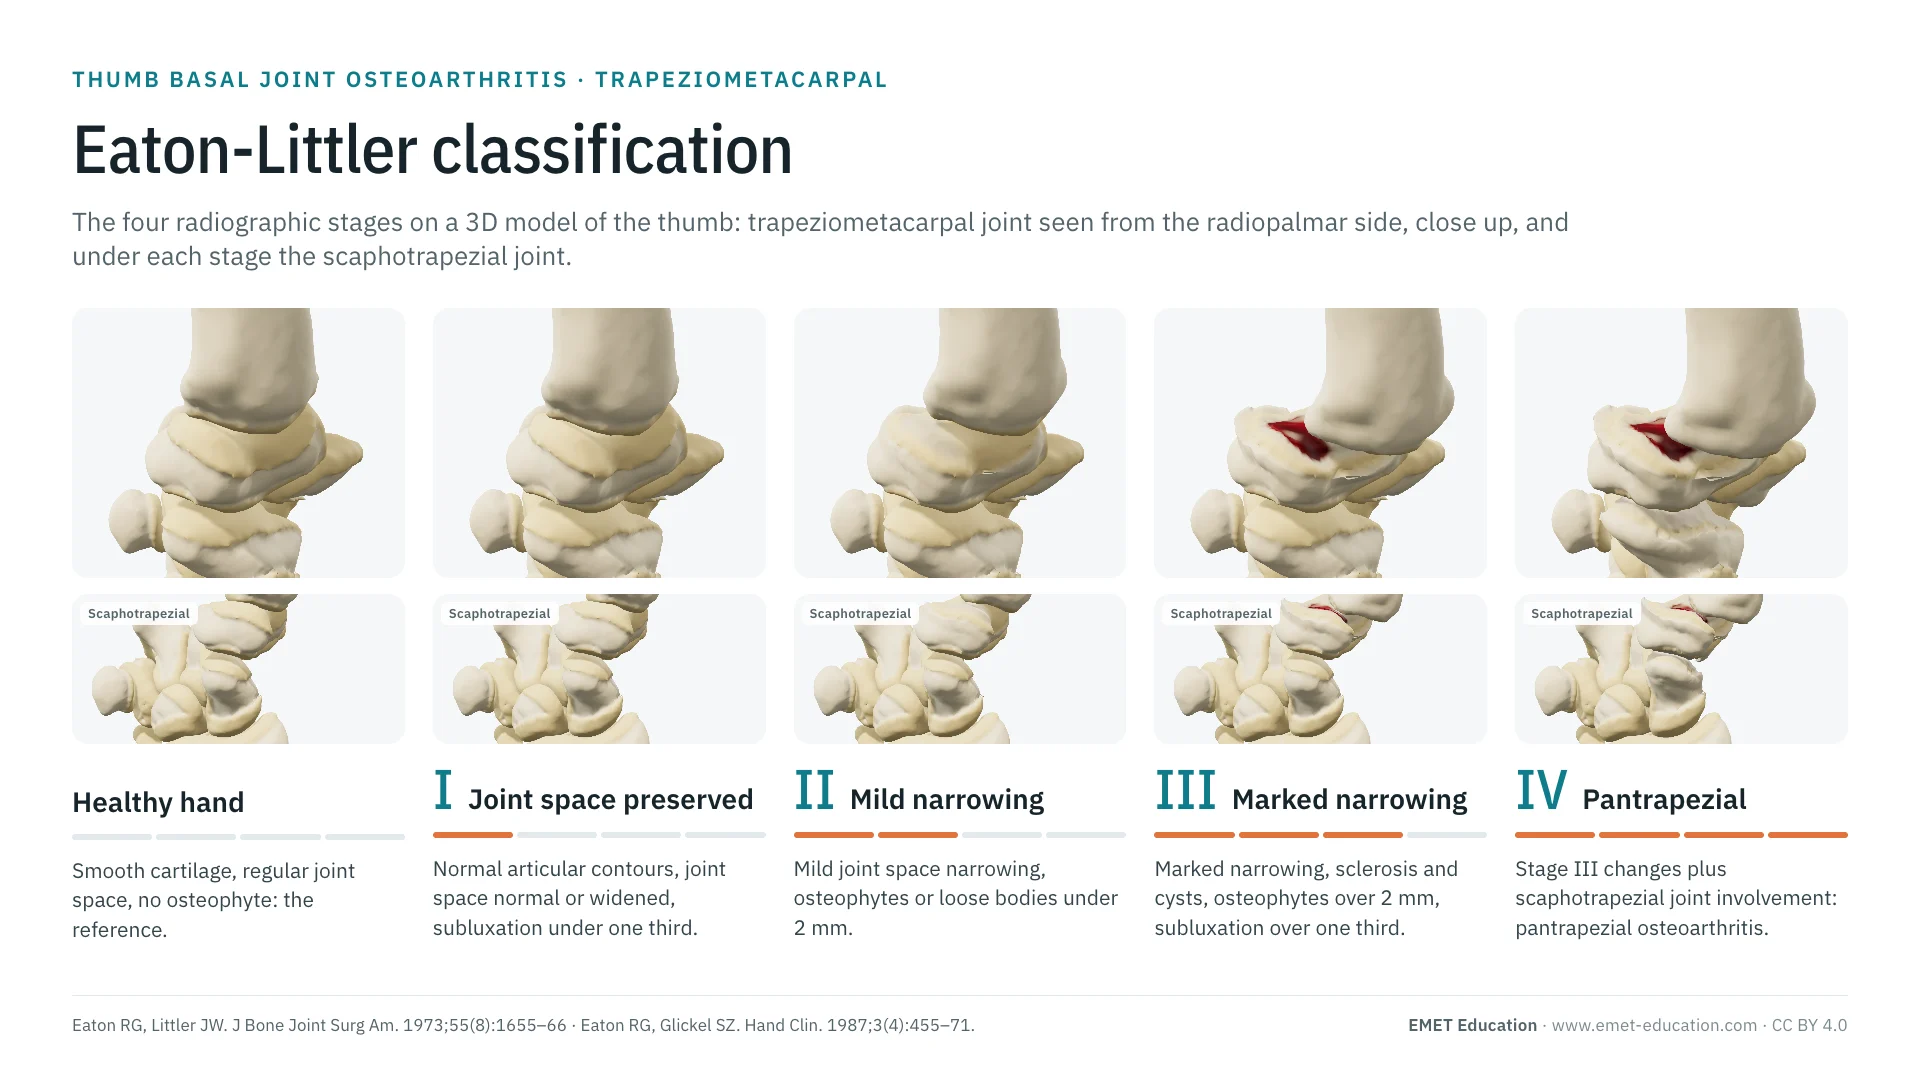
The “Pathology & lesions” panel sets the osteoarthritis with a stepped gauge: healthy, then Eaton and Glickel (1987) stages I to IV. The live readout shows the Eaton-Littler stage, the Dell grade, the joint space, the osteophytes and the subluxation; out-of-range values appear in red. Each step of the model maps to the classification as follows:

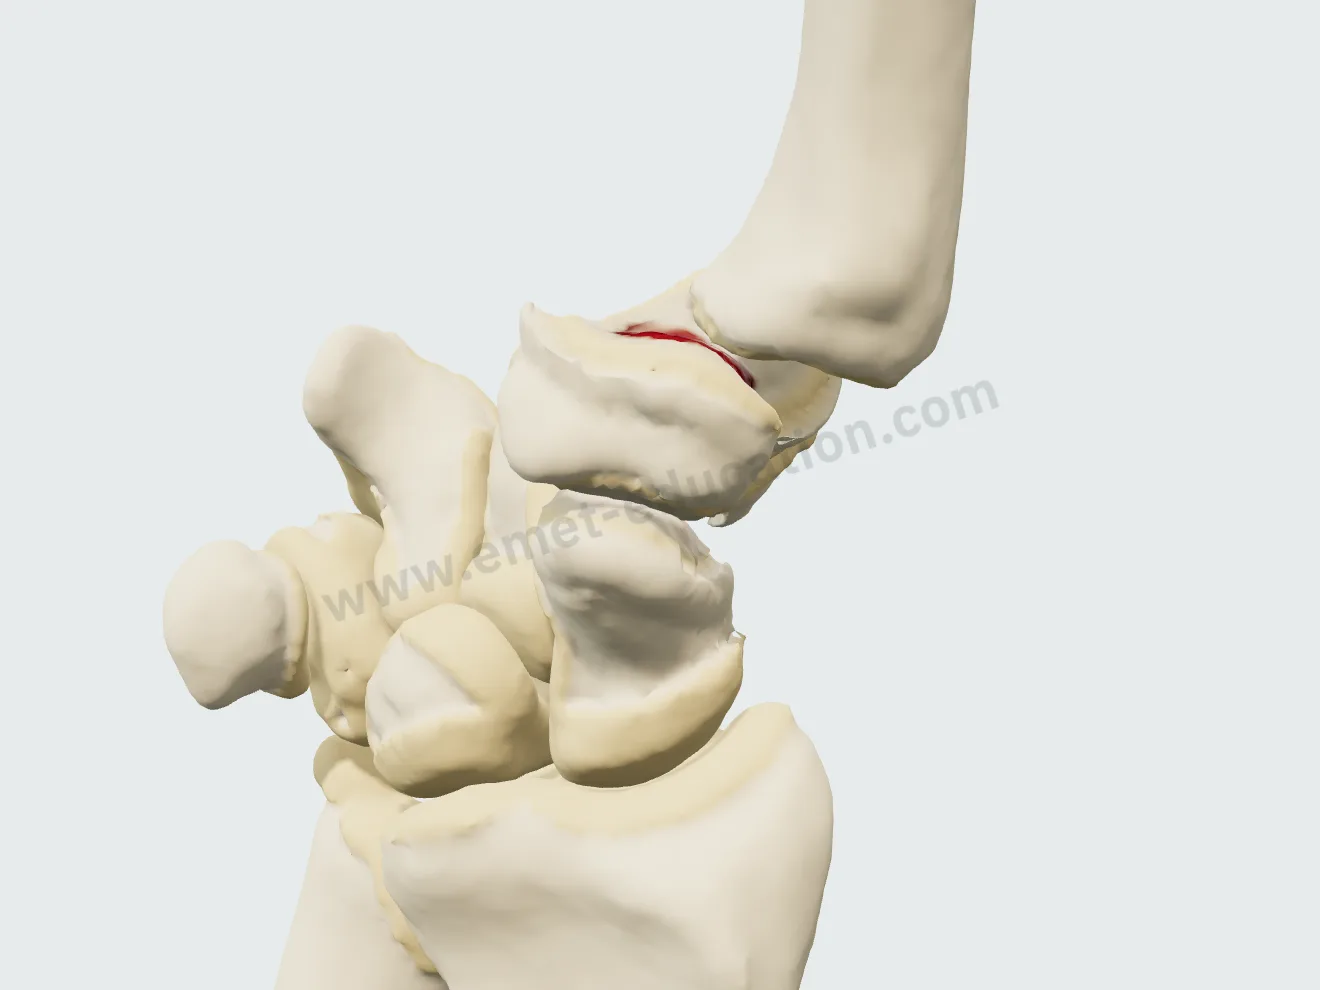
  • Stage I: dull cartilage in the palmar compartment, joint space and contours preserved, base of the first metacarpal in place.
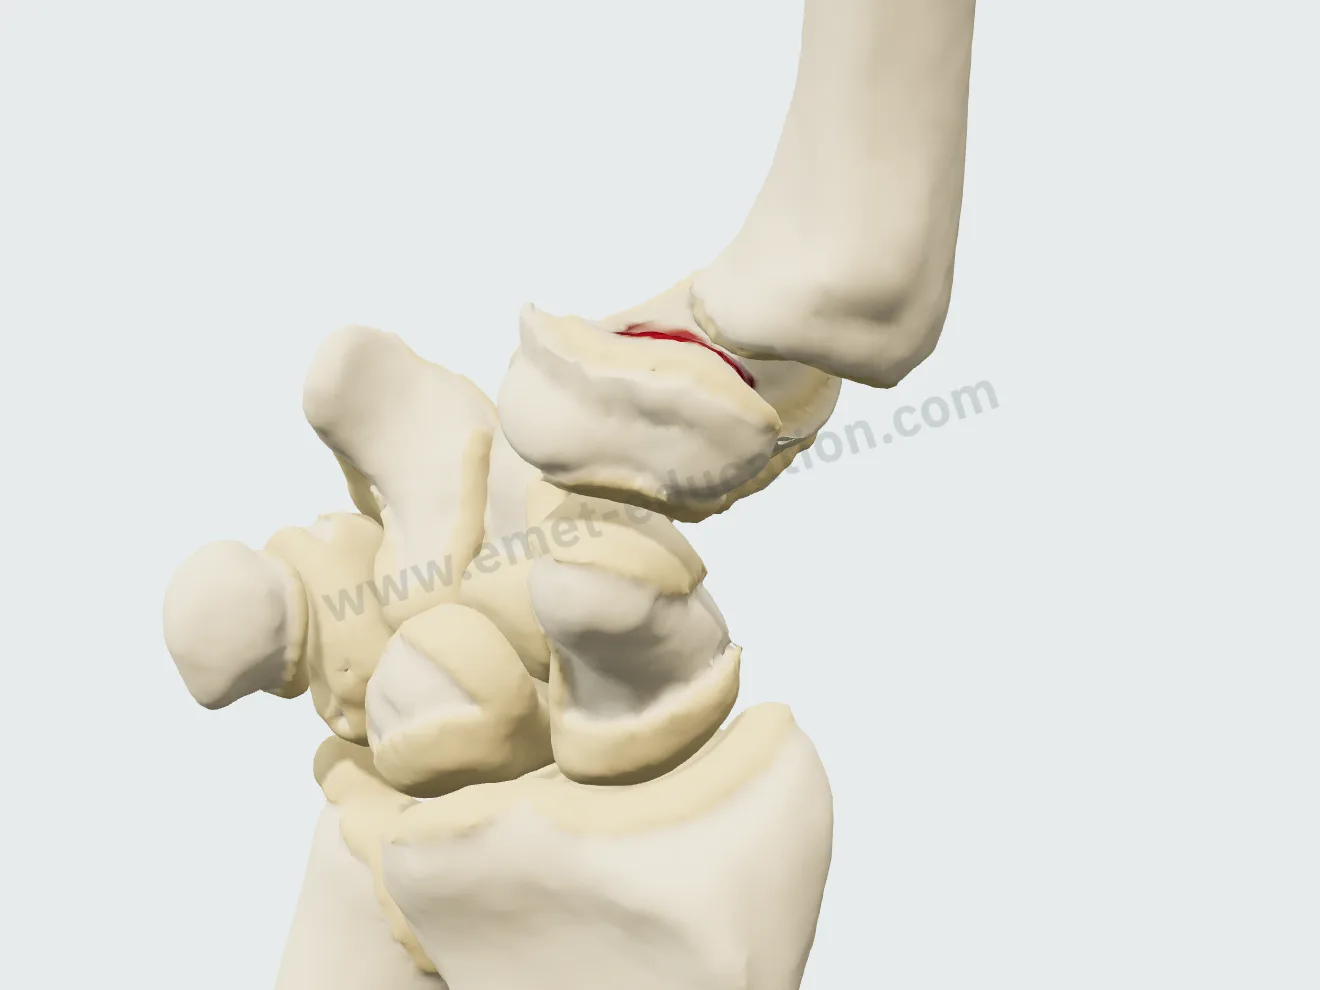
  • Stage II: cartilage thinned by half in the palmar compartment, first osteophytes (about 1.5 mm), base shifted by 22% of its width (subluxation “≤ 1/3”).
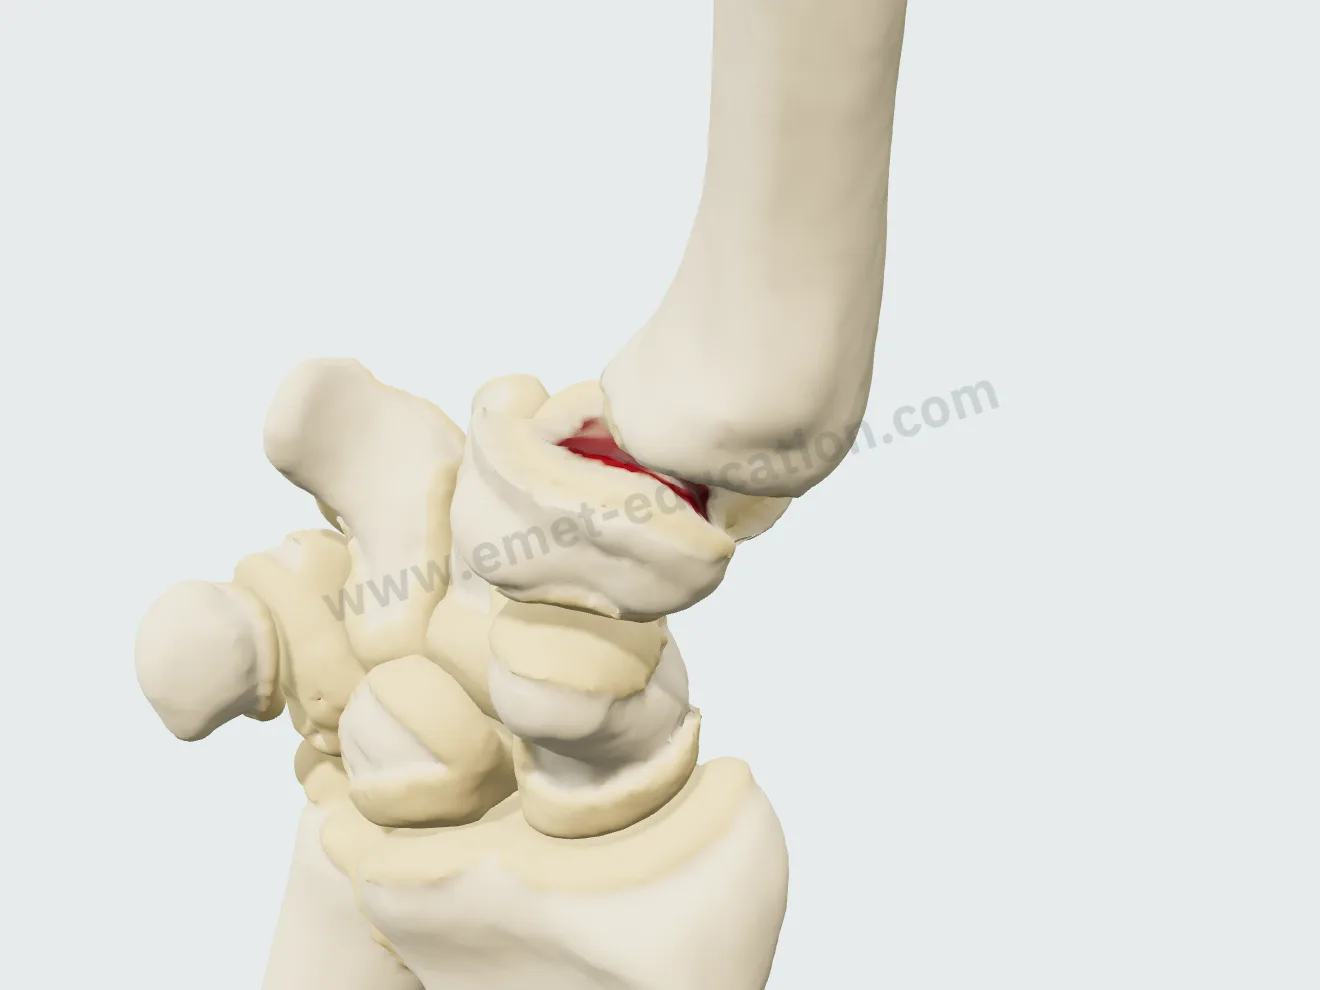
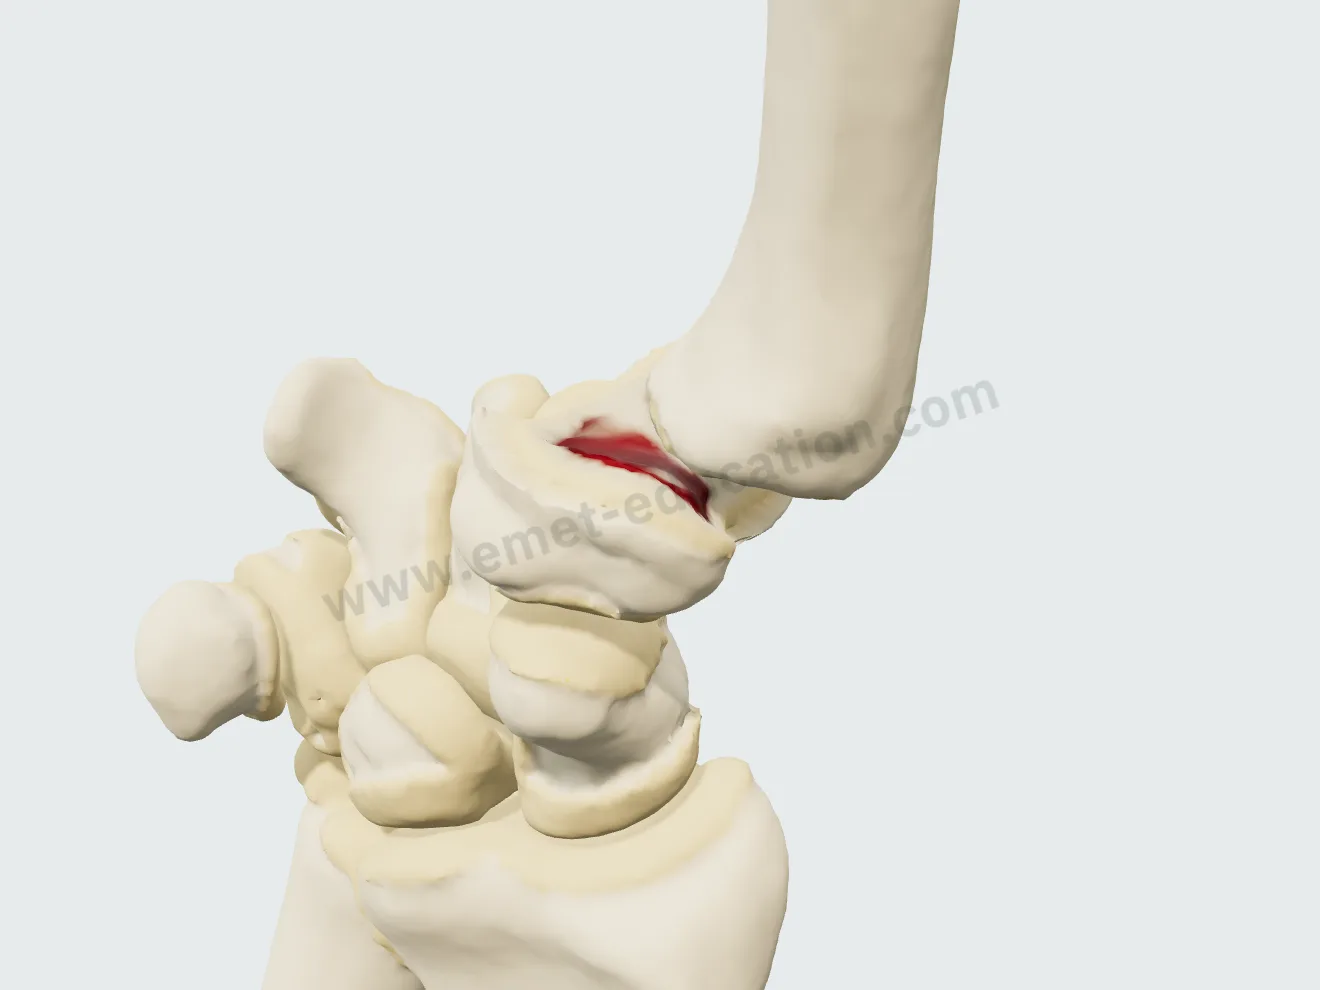
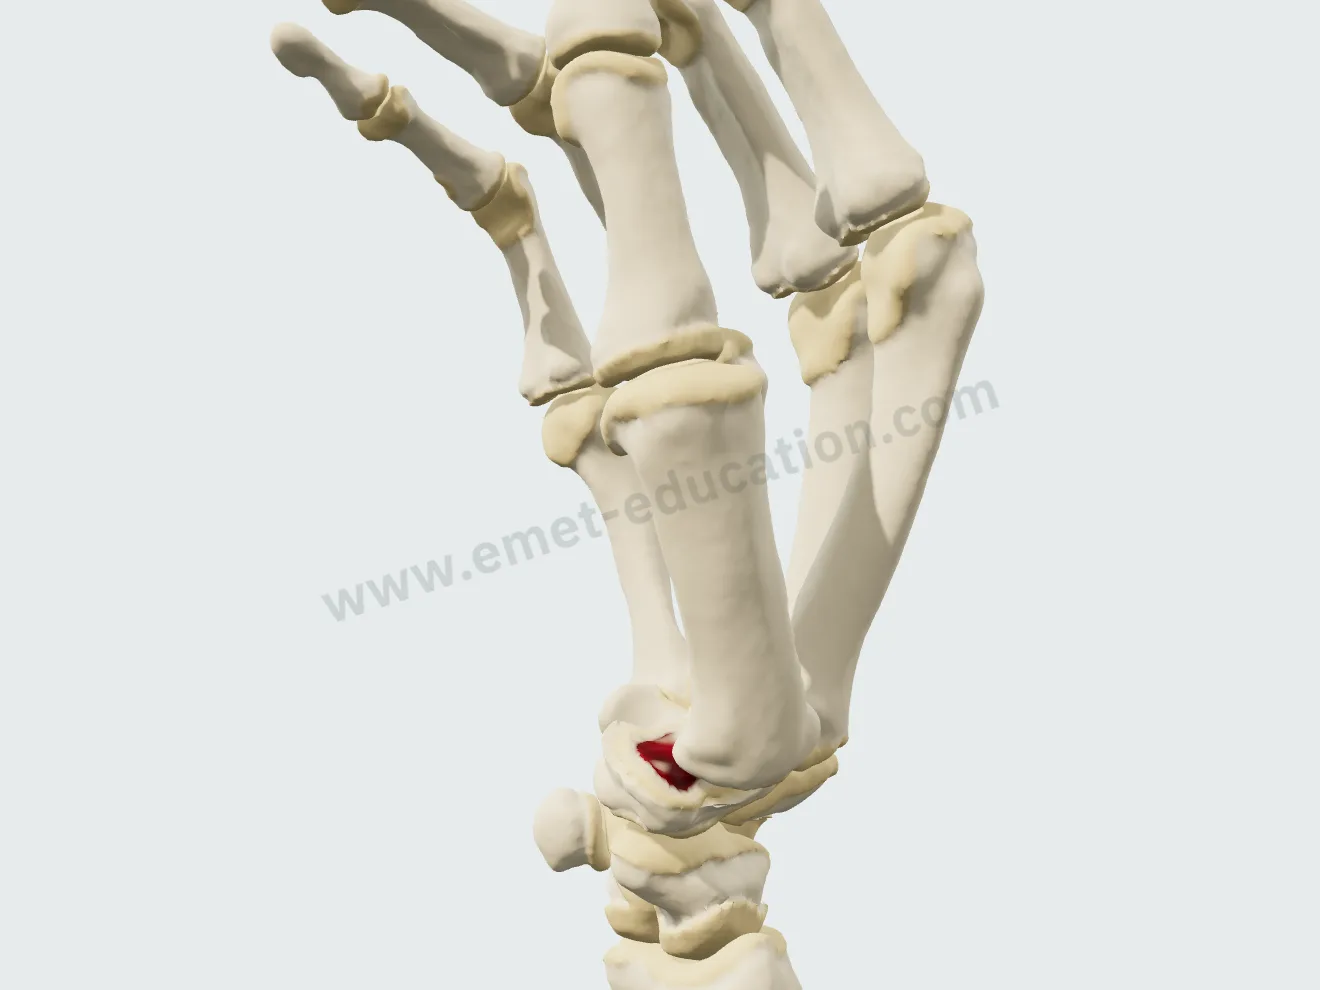
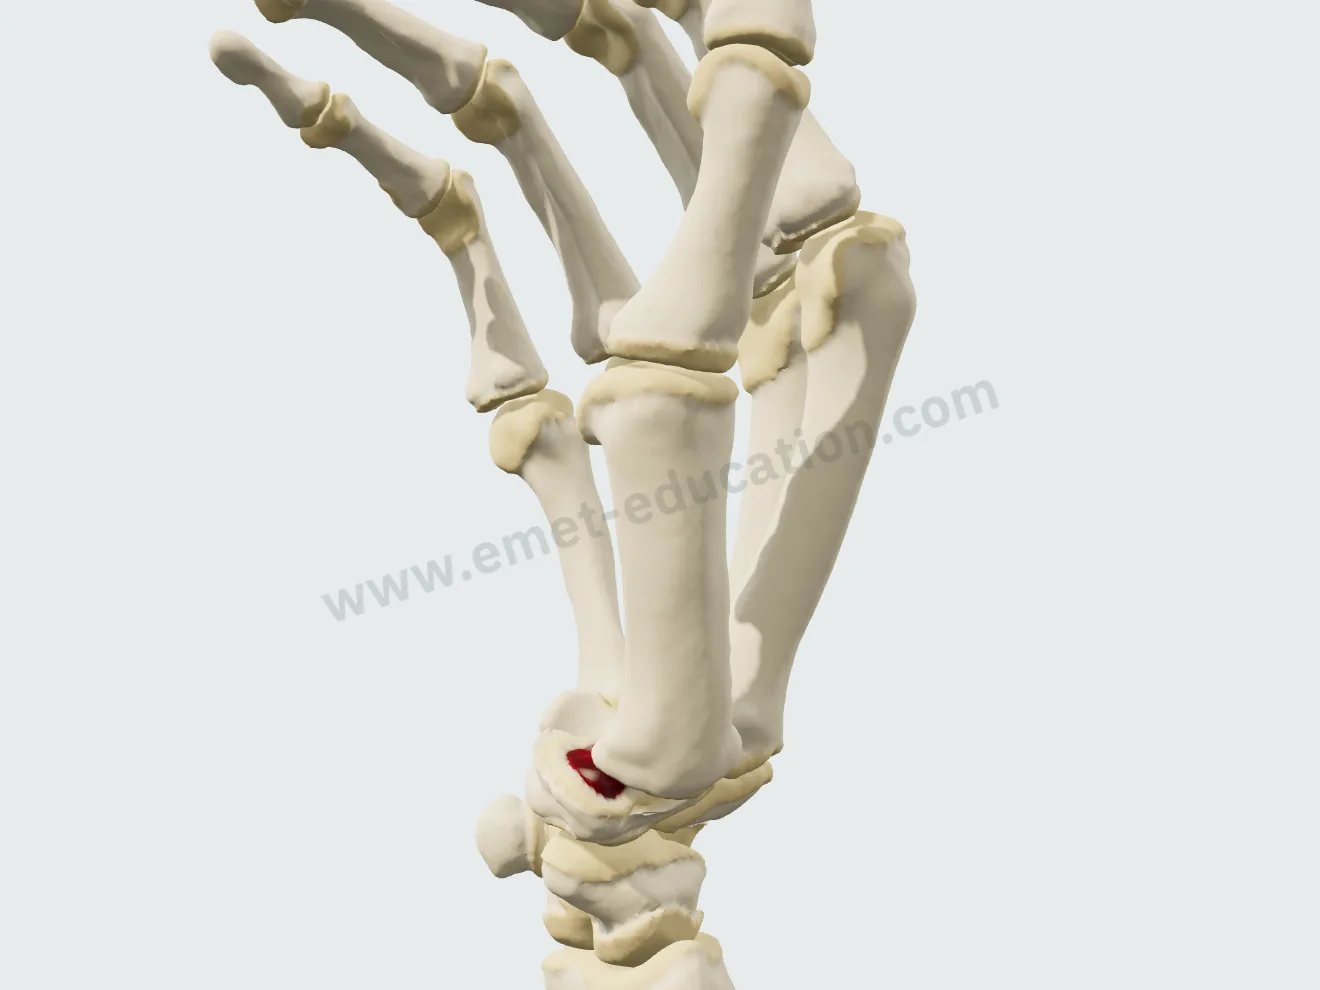
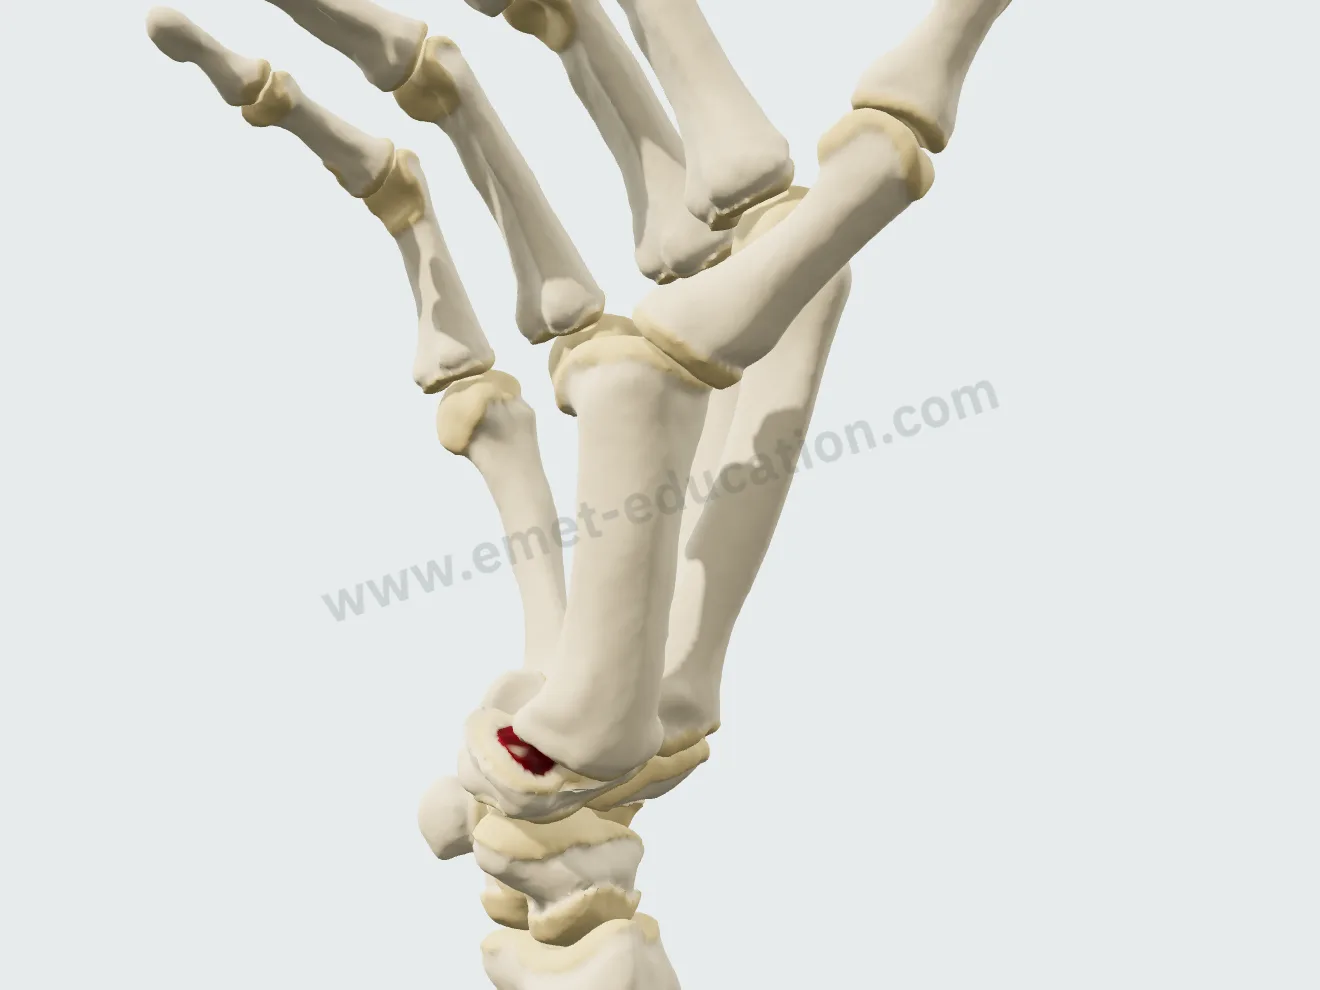
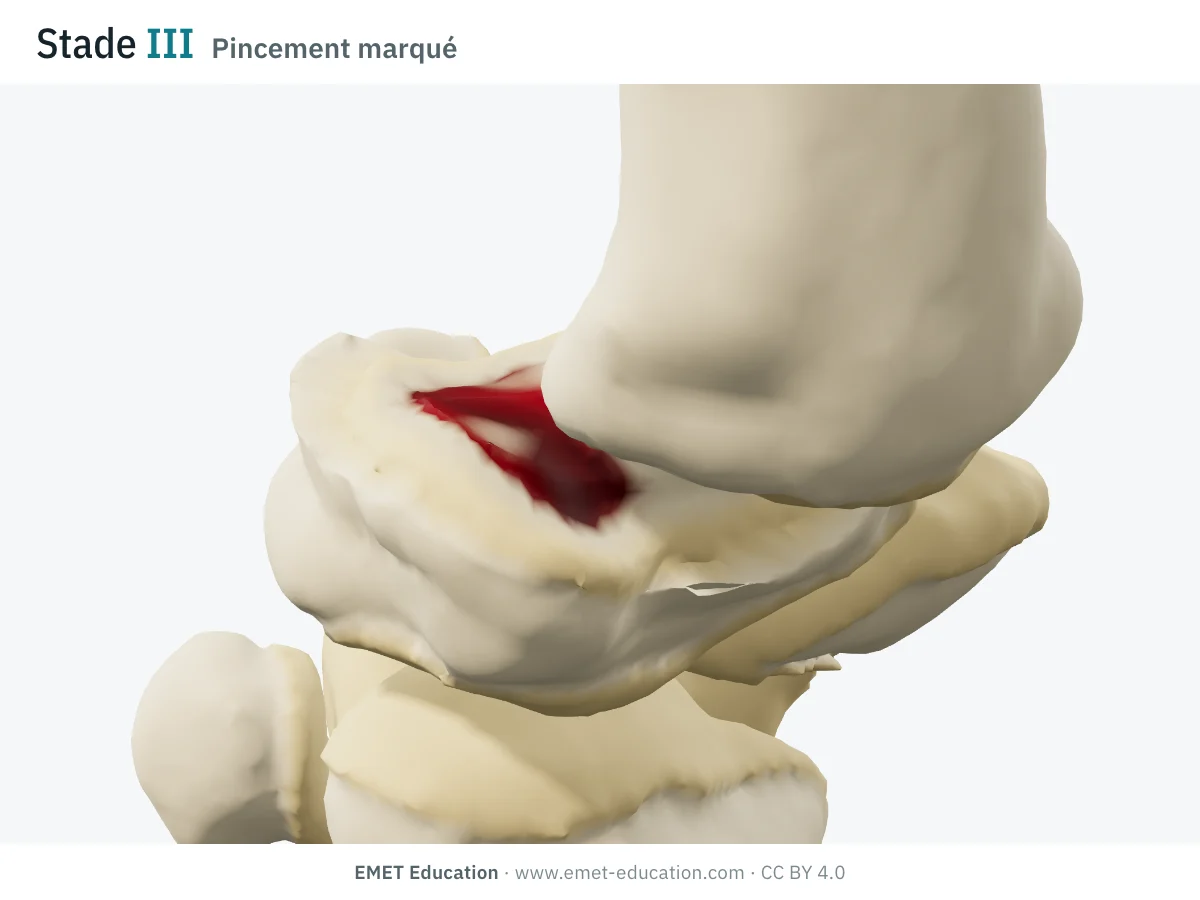
  • Stage III: bare bone in the palmar compartment, osteophytes of about 3 mm, base subluxated by 45% of its width (subluxation “> 1/3”).
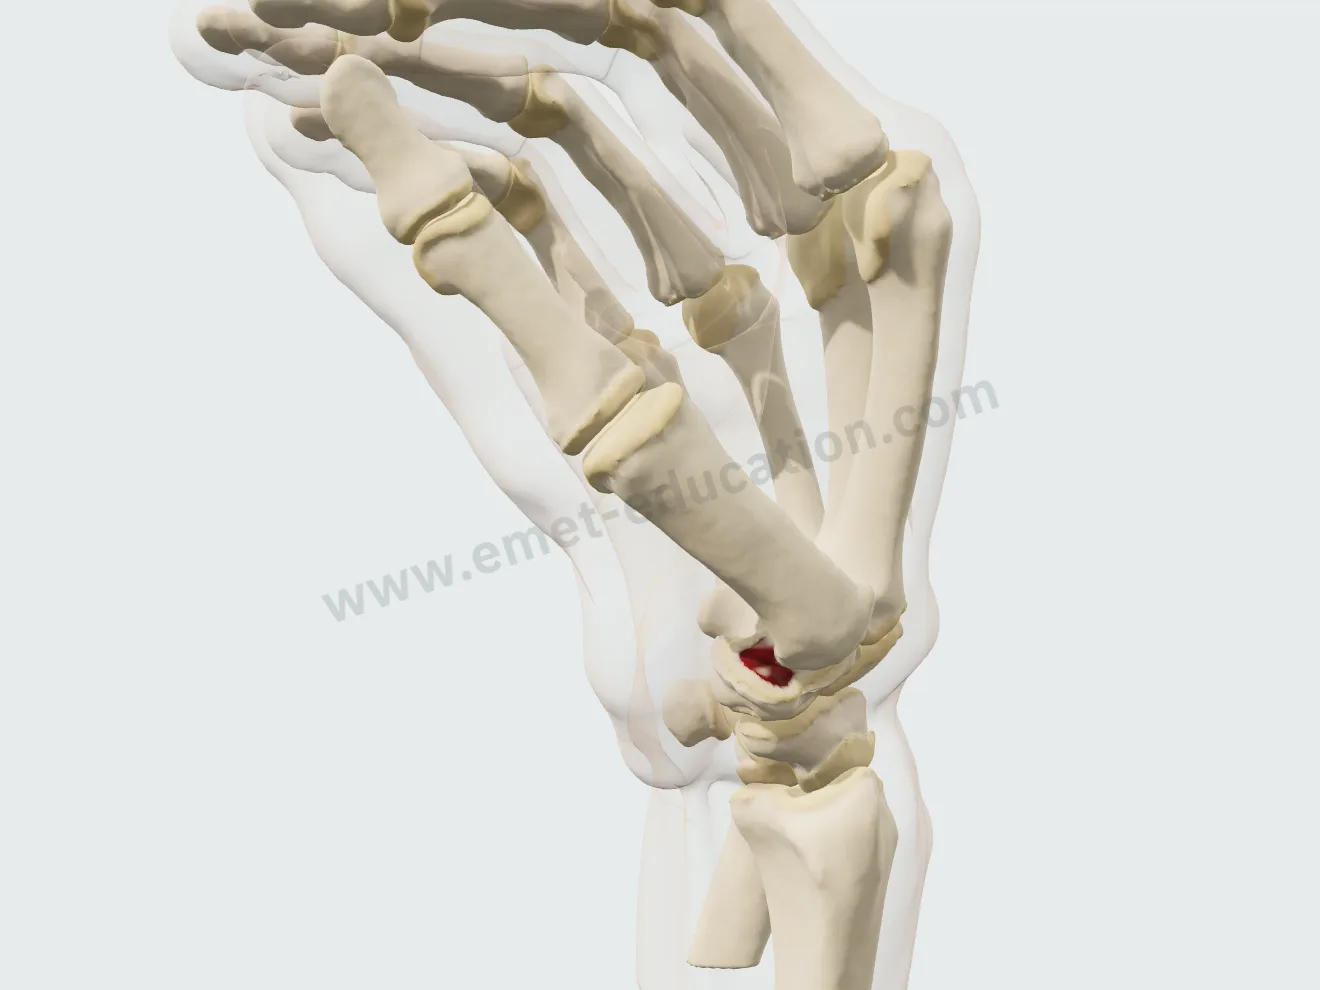
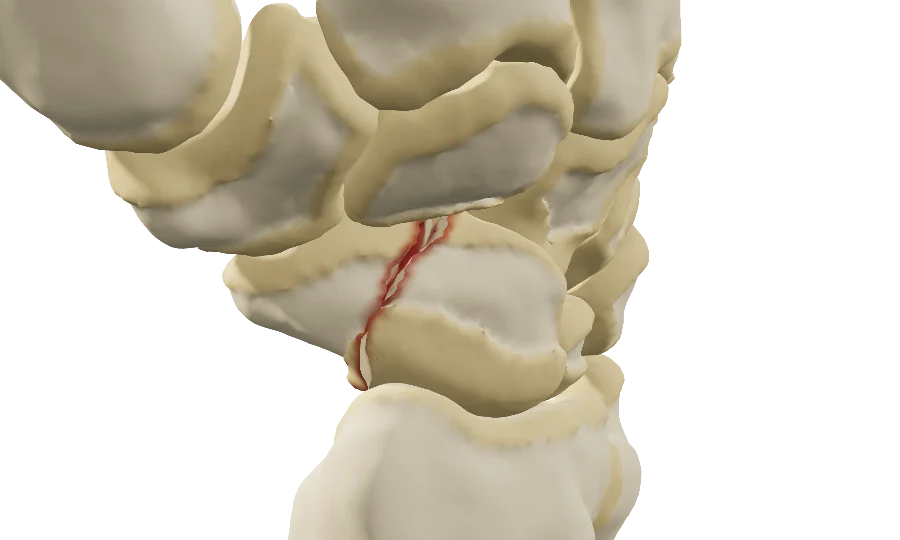
  • Stage IV: stage III plus scaphotrapeziotrapezoid (STT) osteoarthritis; the IV step of the gauge turns STT on.

The radiographic criteria for each stage, reliability and the three Eaton versions: Eaton-Littler classification in 3D.

The stage, from I to IV

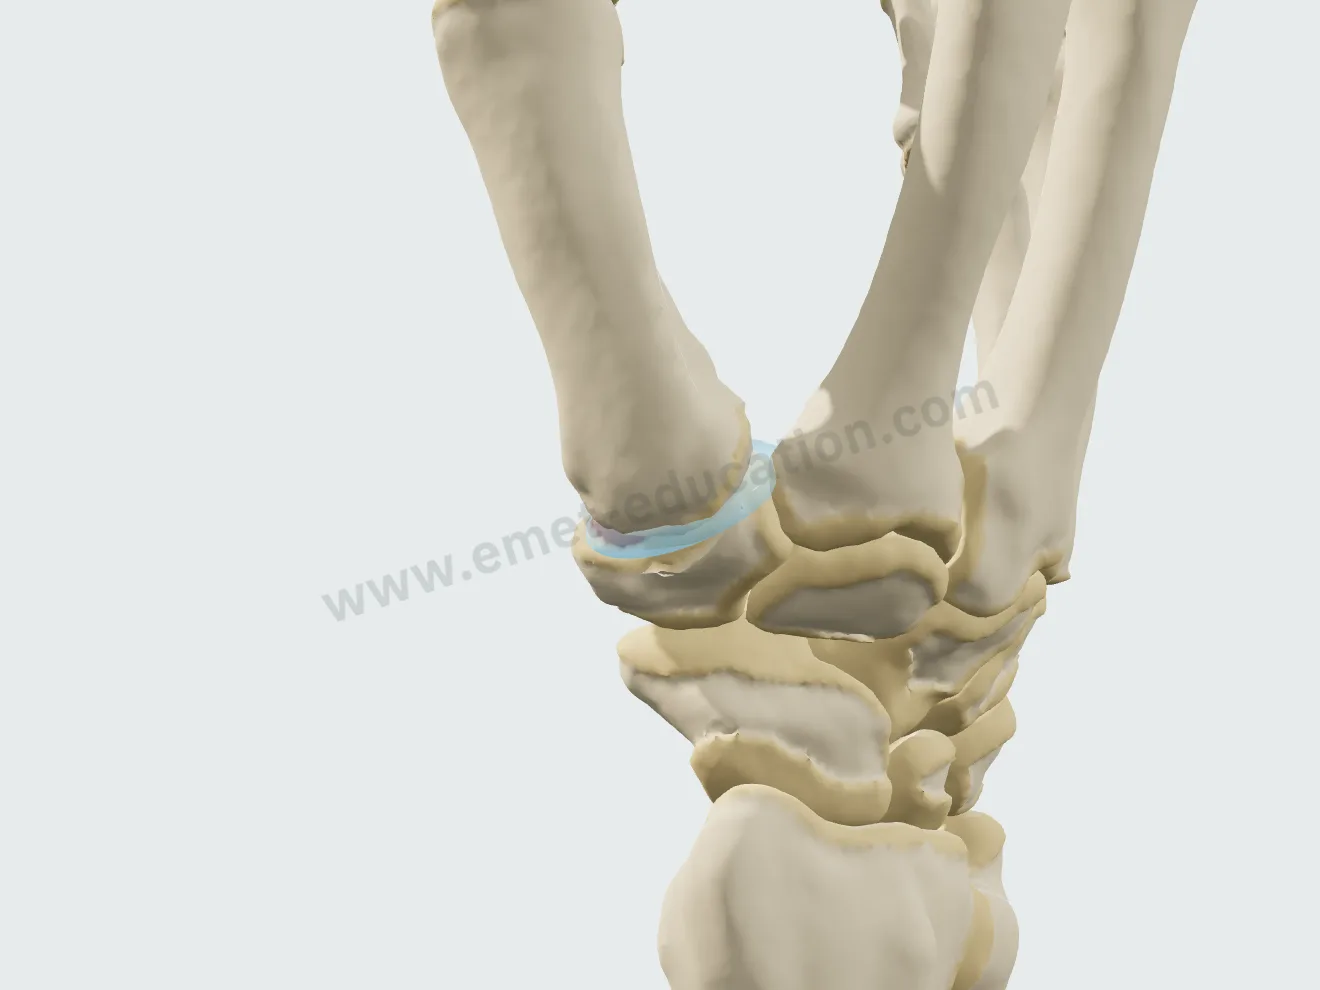
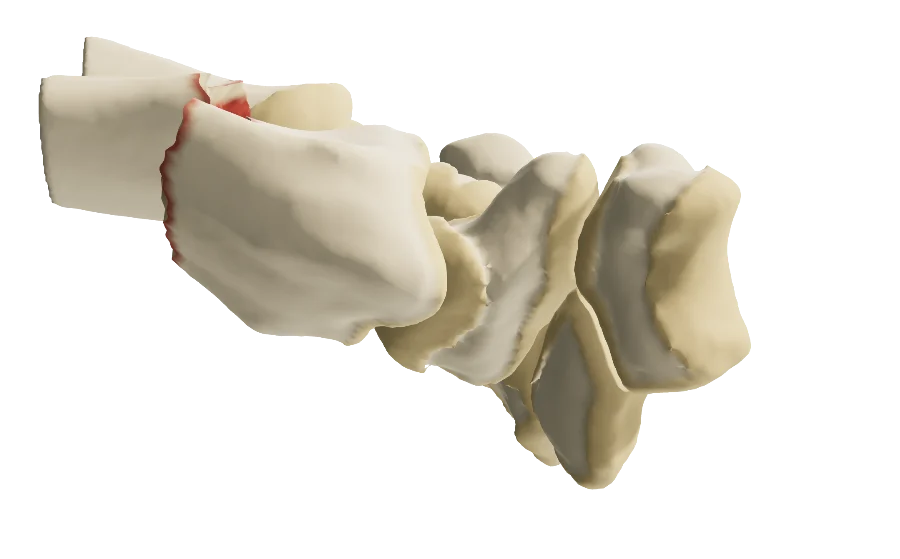
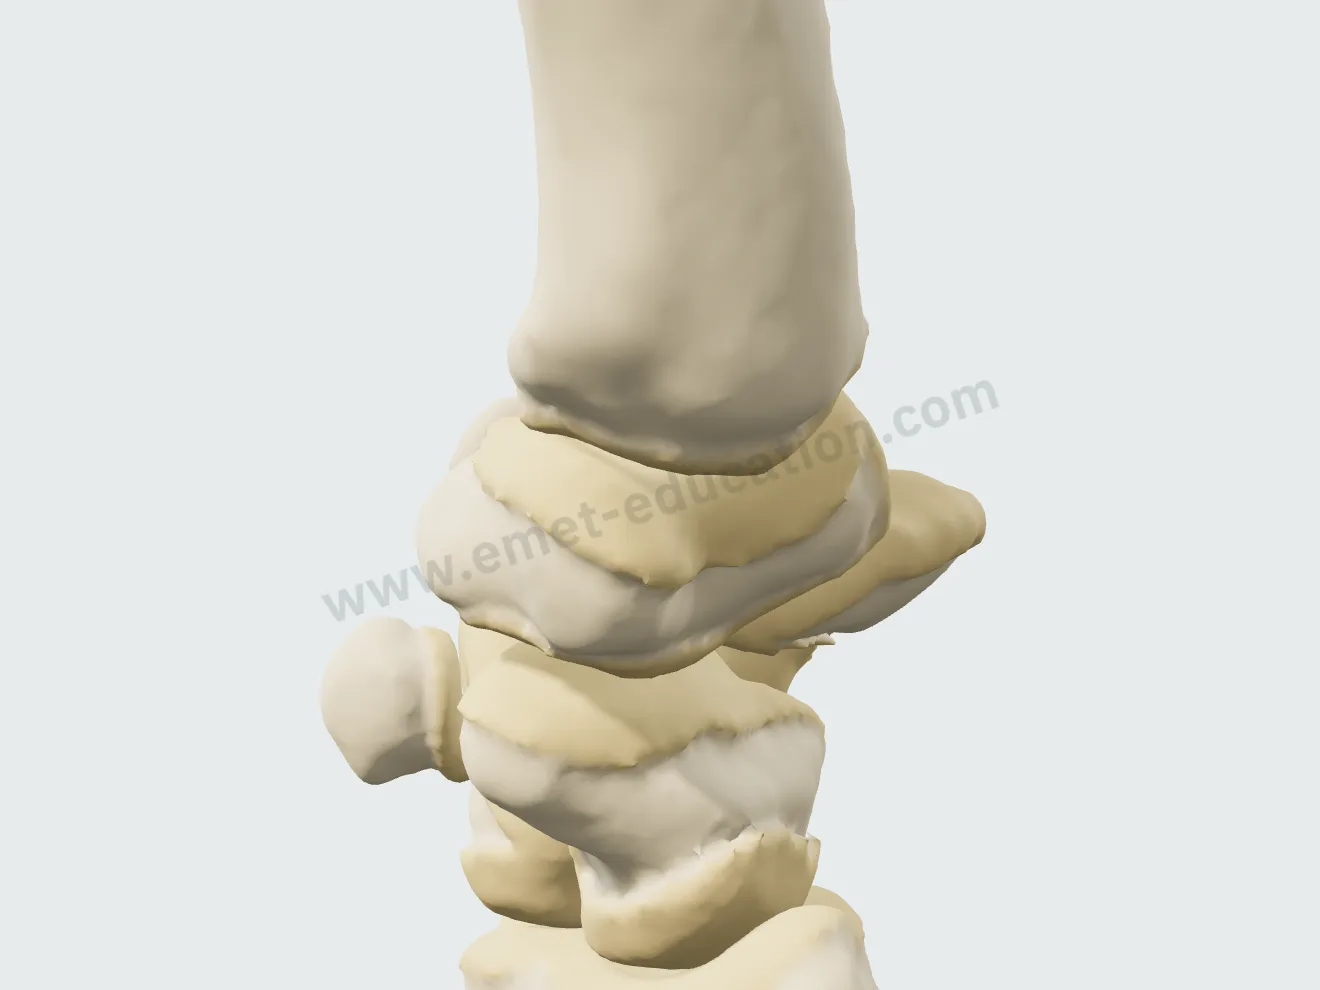
A single stepped slider: the cartilage wears, osteophytes grow at the edge of the facet, the base of the first metacarpal slides, and the two bones wear against each other without ever passing through each other. The view is of the trapeziometacarpal joint.
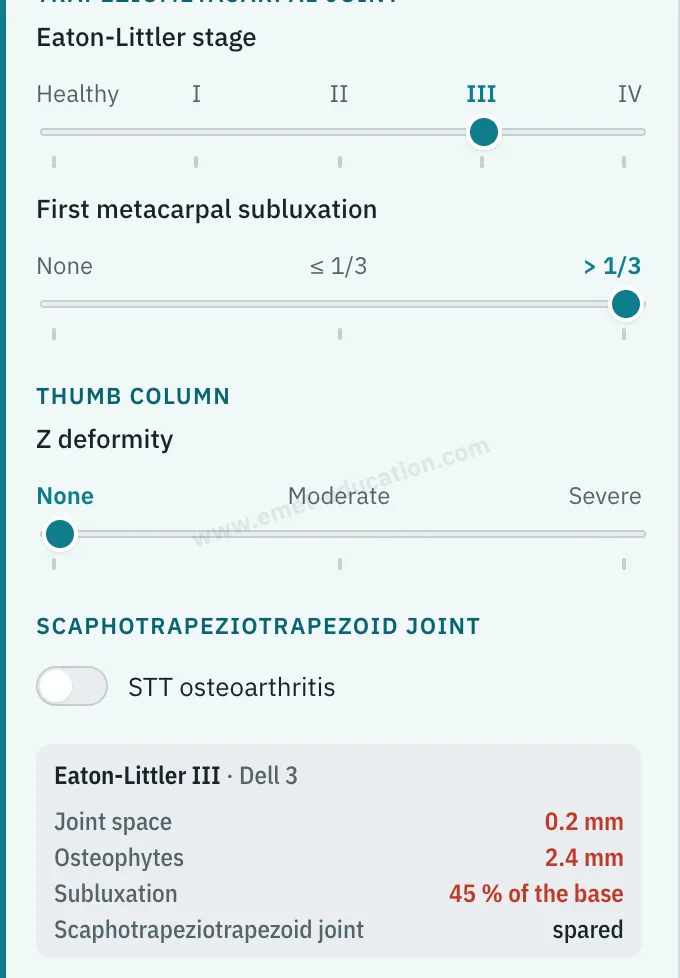
Model panel: “Eaton-Littler stage” gauge from healthy to IV, set at III, and the “Eaton-Littler III” readout.
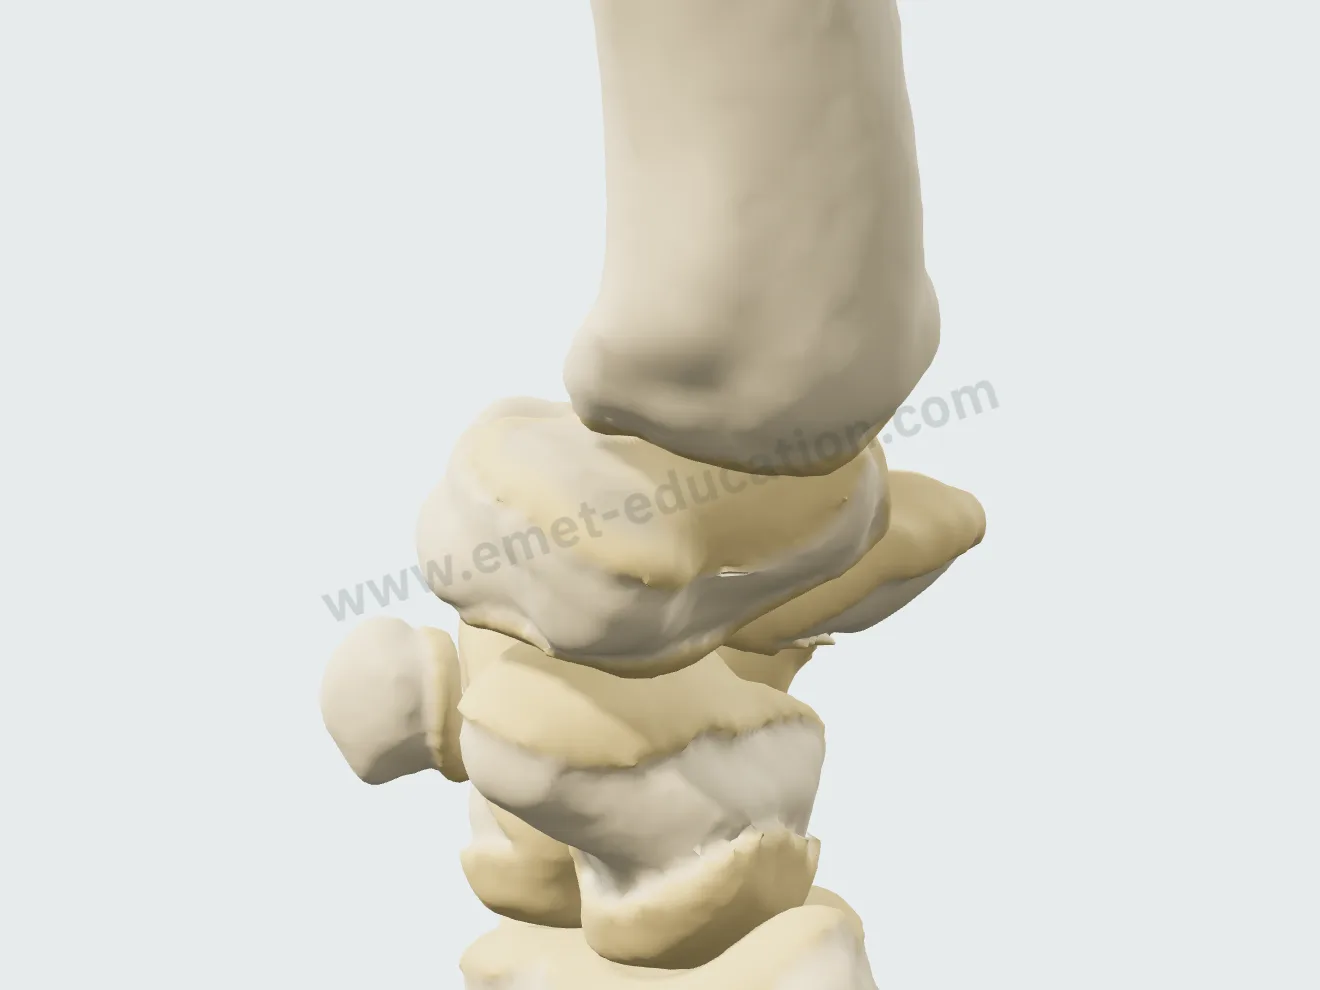
Stage I in 3D: dull cartilage in the palmar compartment, joint space preserved, base of the first metacarpal in place.
Stage I
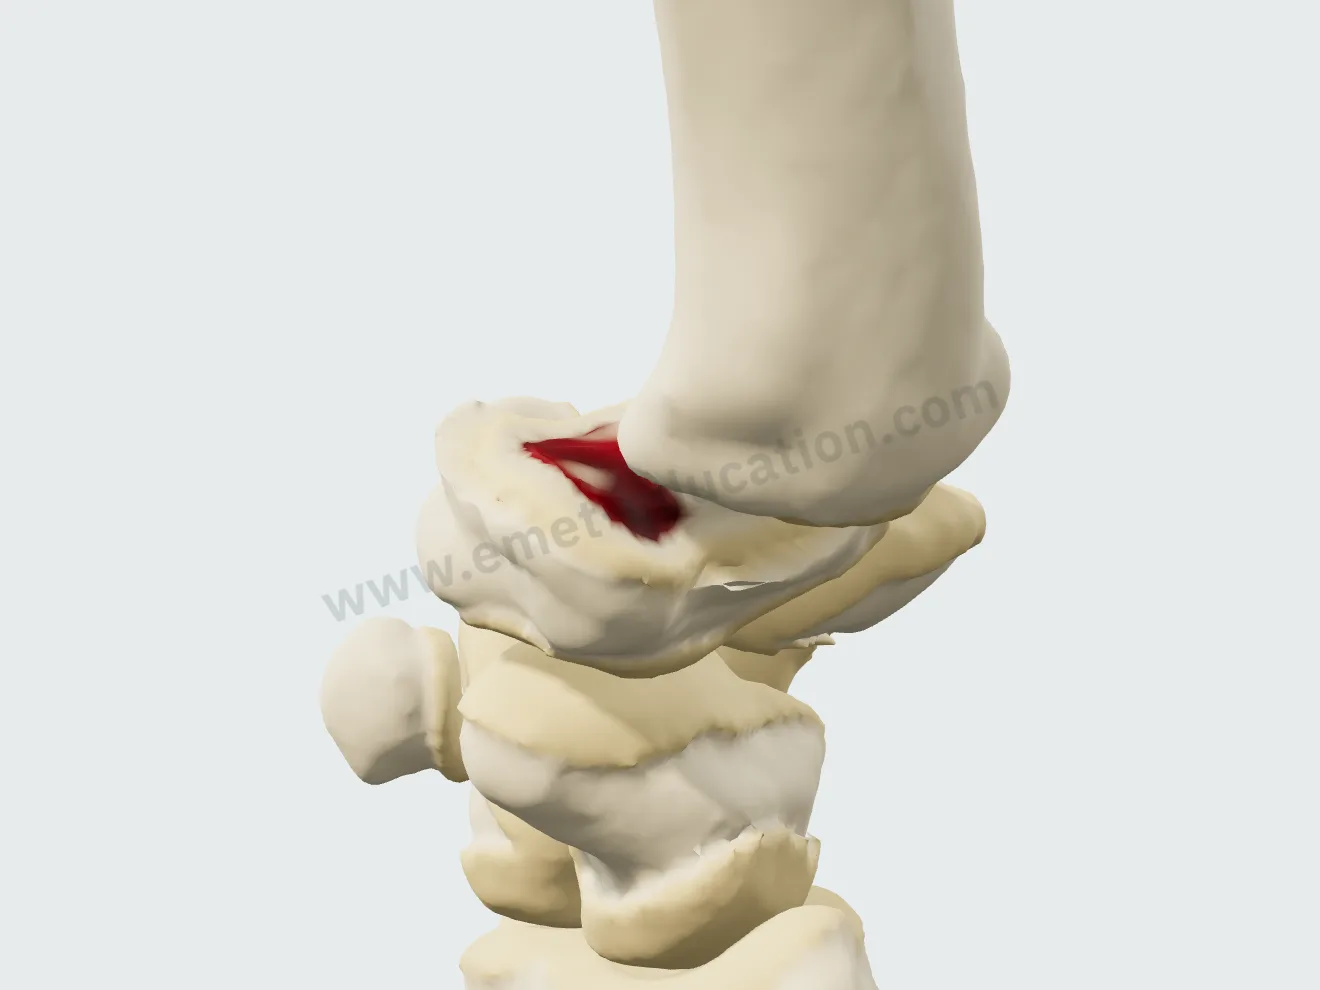
Stage II in 3D: mild narrowing, first osteophytes, base of the first metacarpal slightly shifted.
Stage II
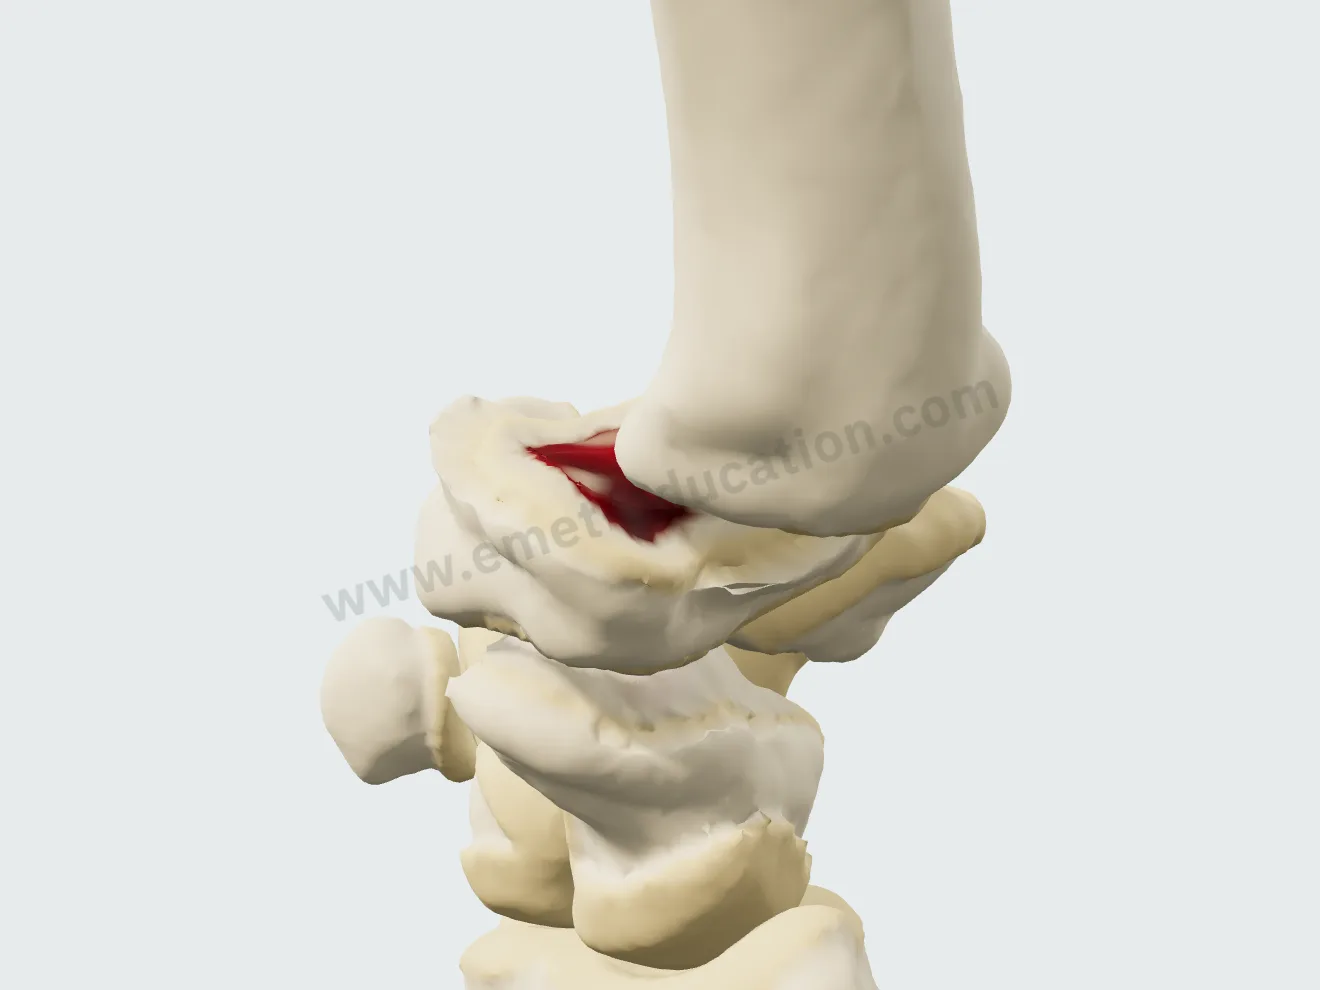
Stage III in 3D: bare bone in the palmar compartment, large osteophytes, base of the first metacarpal subluxated.
Stage III
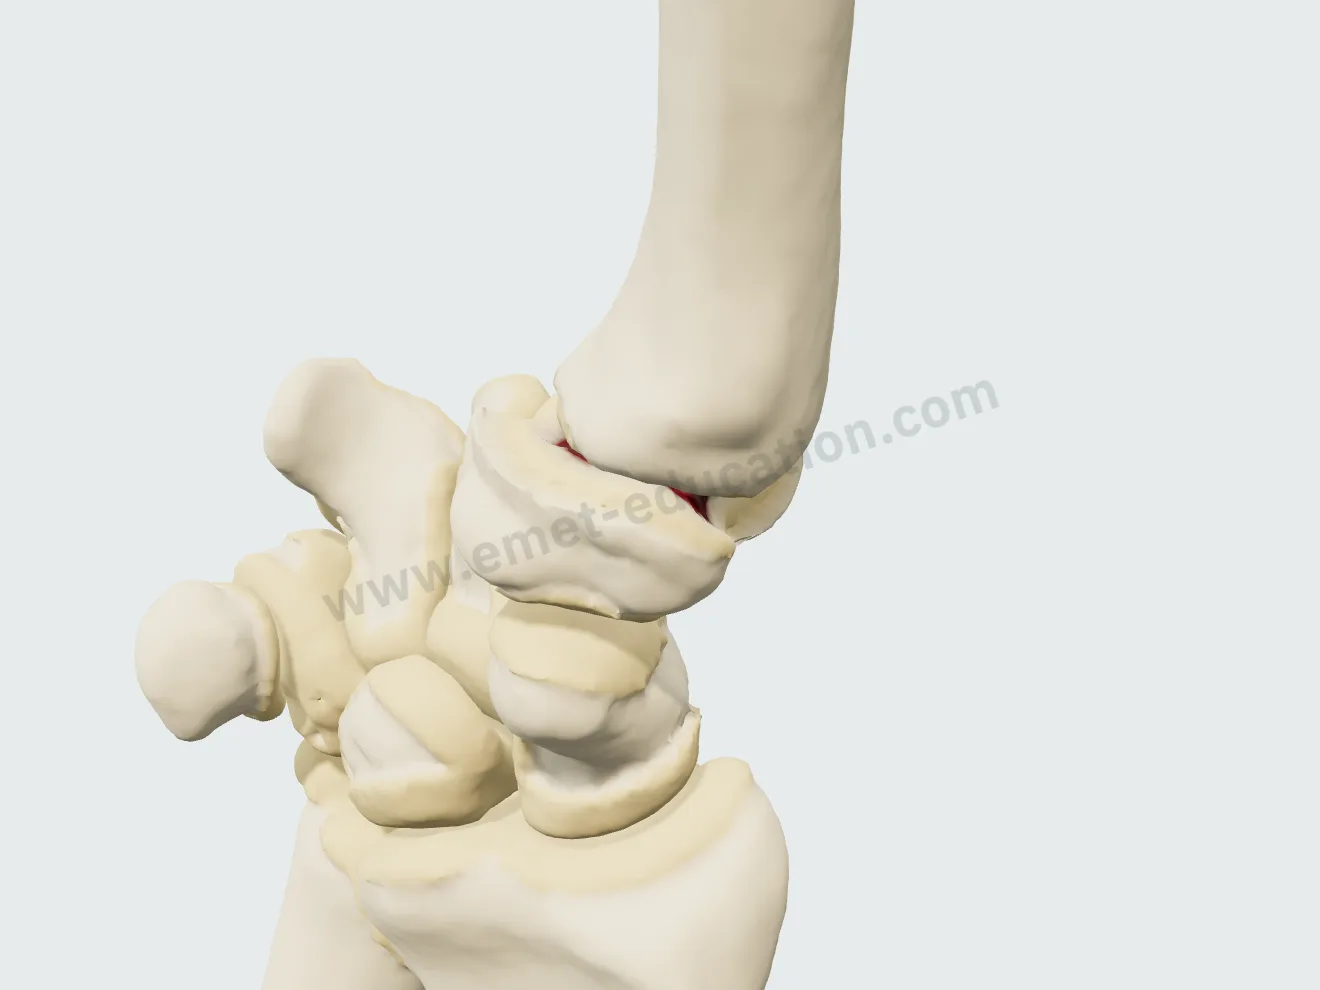
Stage IV in 3D: stage III and the scaphotrapeziotrapezoid joint involved.
Stage IV

The treatment, step by step

Five procedures, played continuously or one step at a time. None is locked: outside its usual indication (stages 0 and I for the three operations; STT arthritis for the prosthesis), the button shows a warning that only you can see. No incision is shown: the dorsoradial approach is described in words, on the step card.

Resting splint

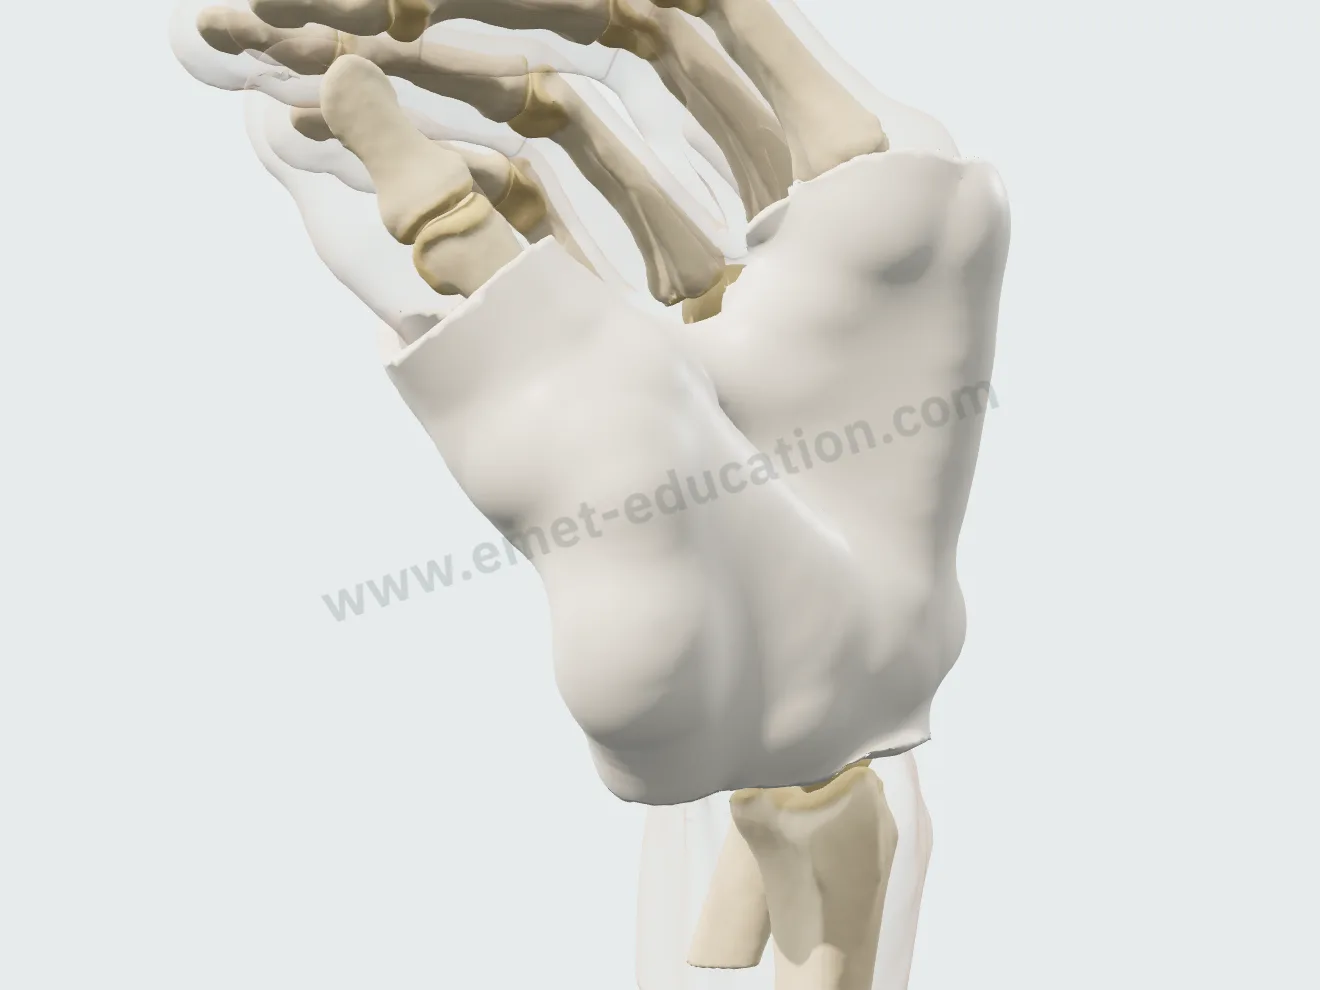
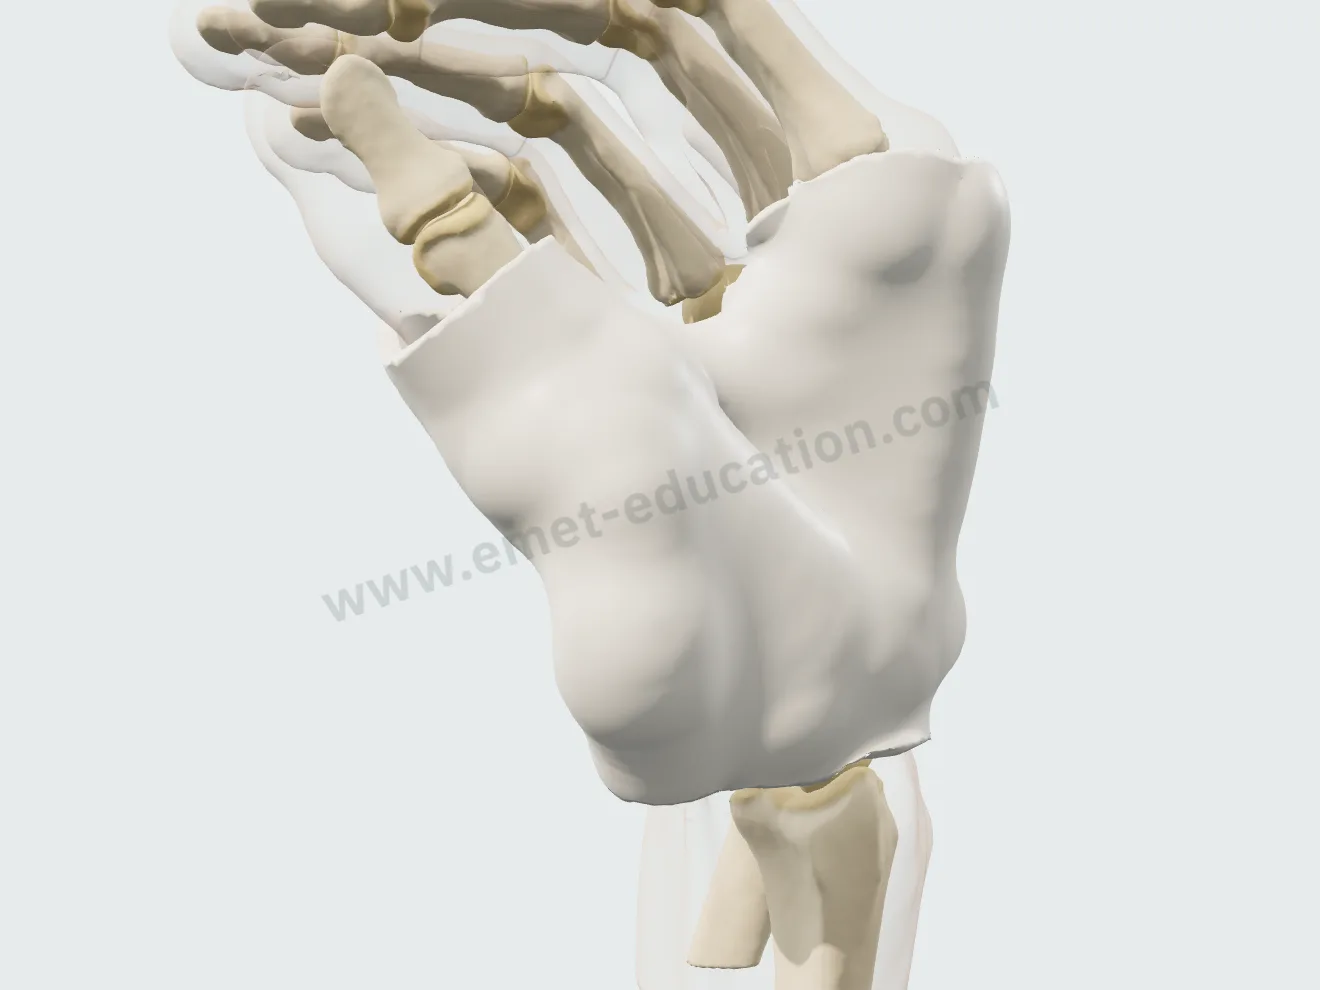
Short hand-based thumb splint, thermoformed: wrist neutral, thumb in palmar abduction, the plate molded over the palm and thumb, the interphalangeal joint free. The bones do not change: it relieves, it does not repair.

Resting splint, step 1: the position, wrist neutral, thumb in palmar abduction.
1Position
Resting splint, step 2: the thermoformed plate unrolls over the palm and thumb.
2Molding
Resting splint, step 3: the splint worn, interphalangeal joint free.
3Worn

Intra-articular corticosteroid injection

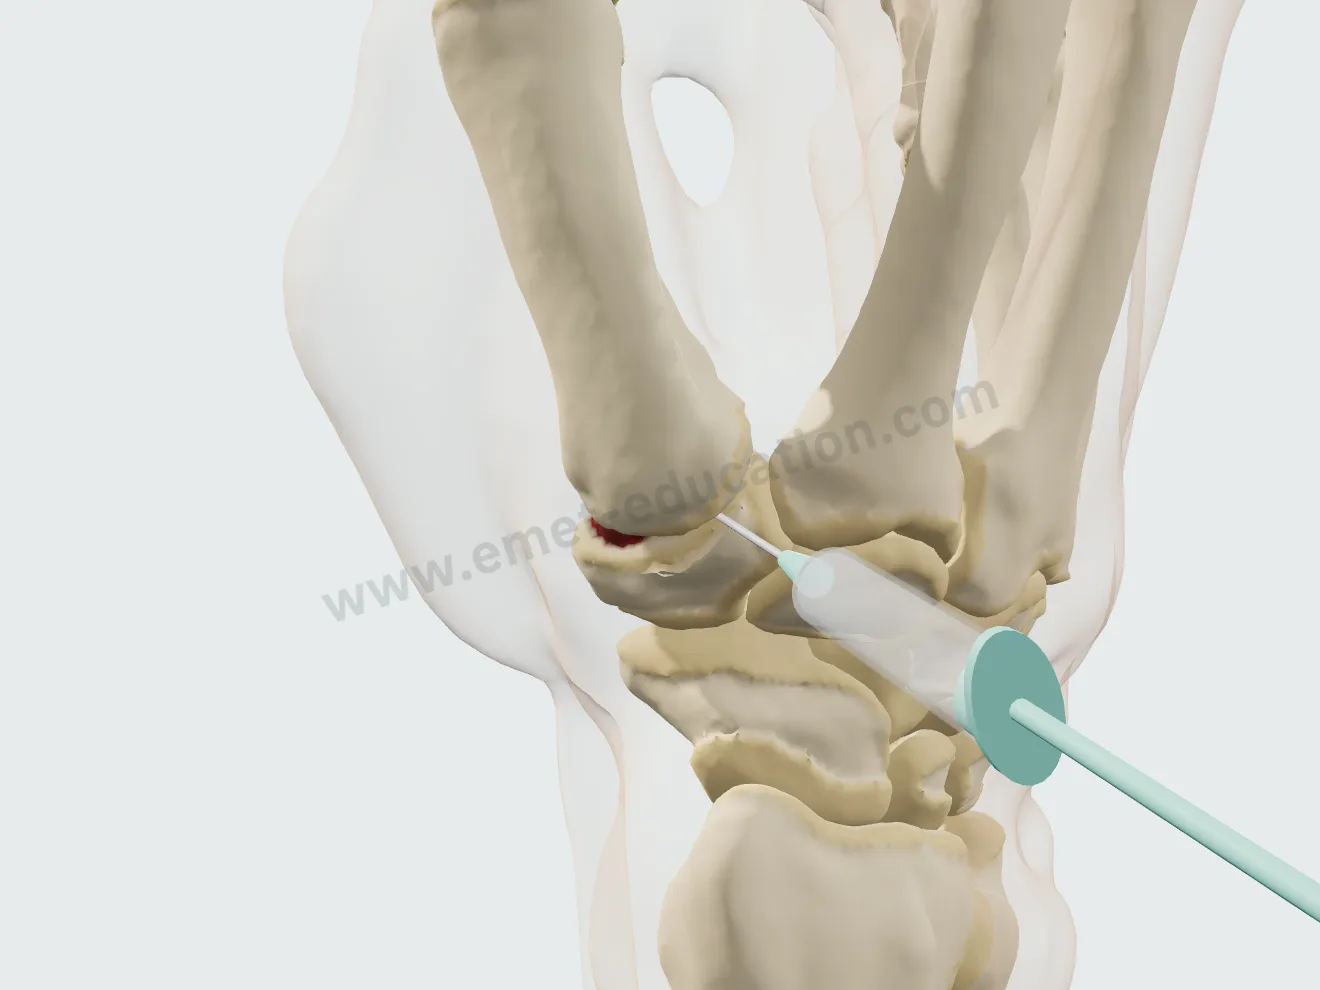
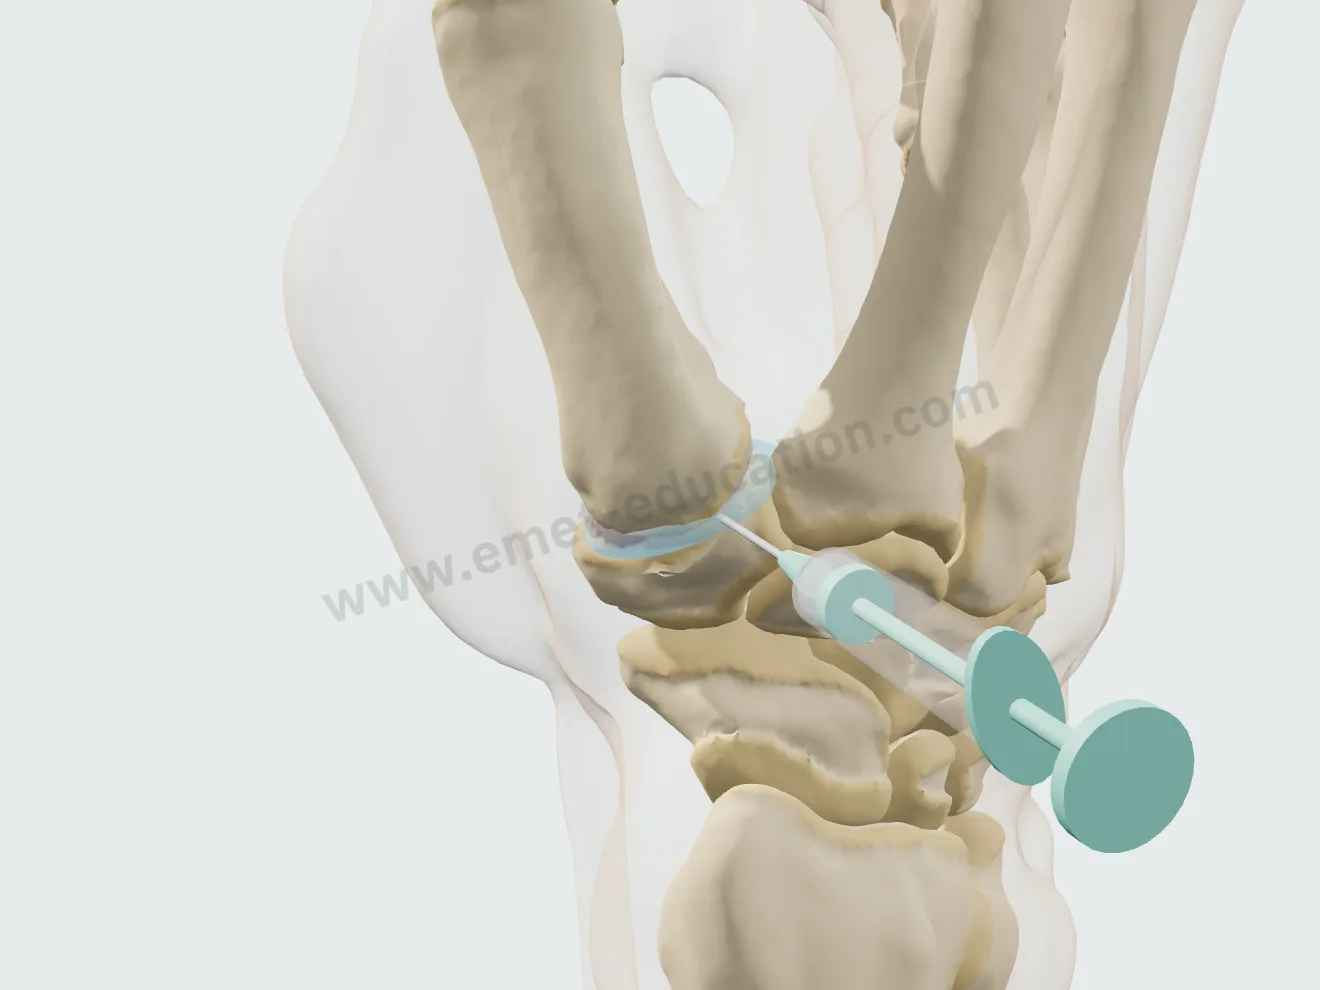
25 G needle, dorsoradial entry in the plane of the joint line, just behind abductor pollicis longus; the needle follows the subluxation and the movements. At stages III and IV, the final card says the effect is often small and short-lived.

Injection, step 1: the needle on the syringe, facing the trapeziometacarpal joint line.
1Landmark
Injection, step 2: the tip inside the joint.
2Needle
Injection, step 3: the product injected into the joint space.
3Injection

Trapeziectomy with ligament reconstruction and tendon interposition

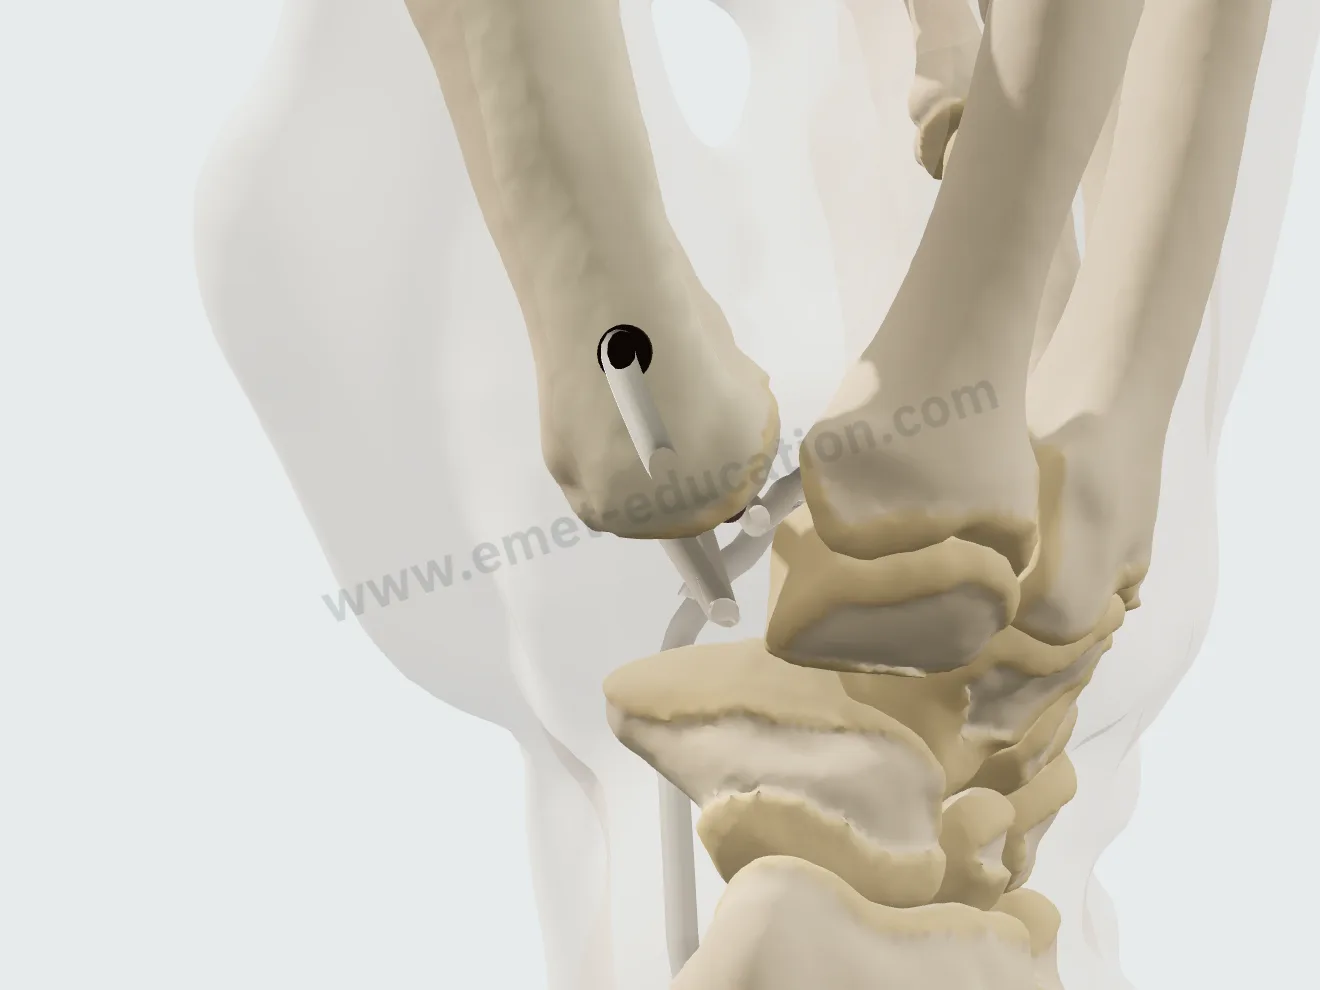
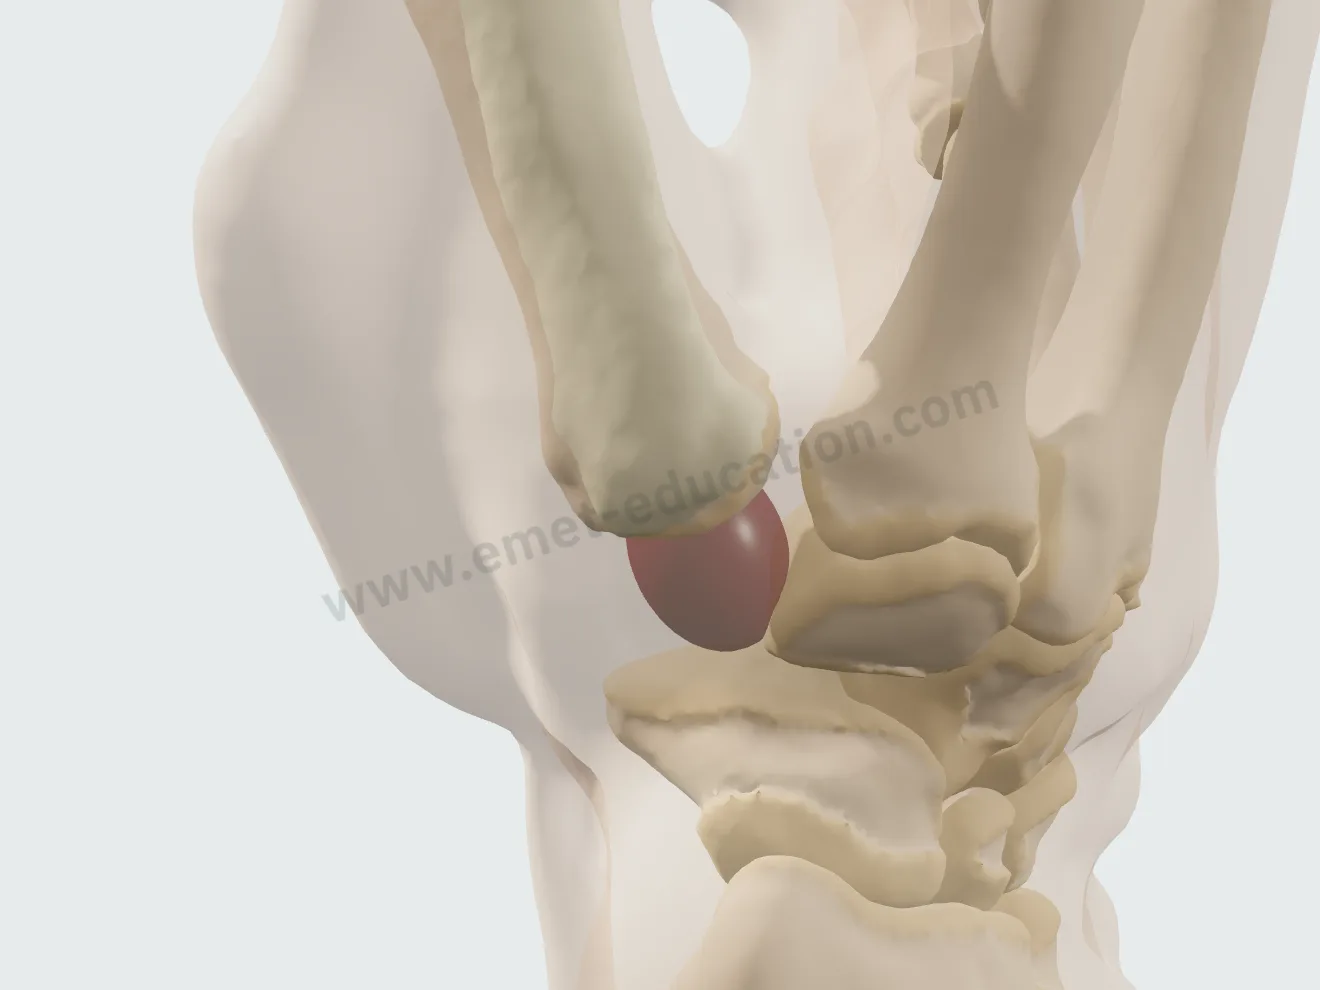
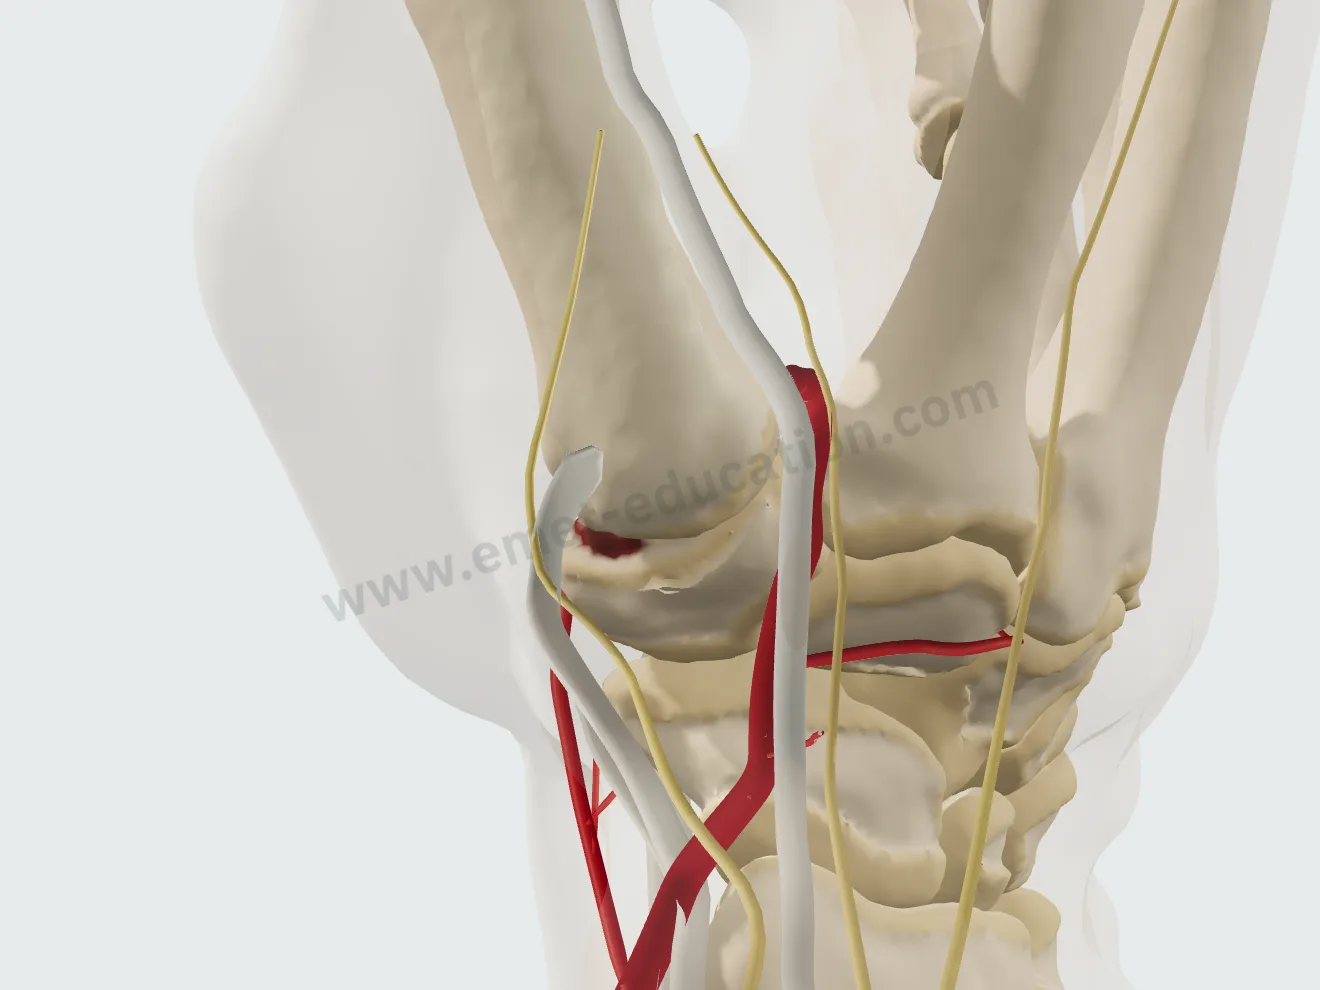
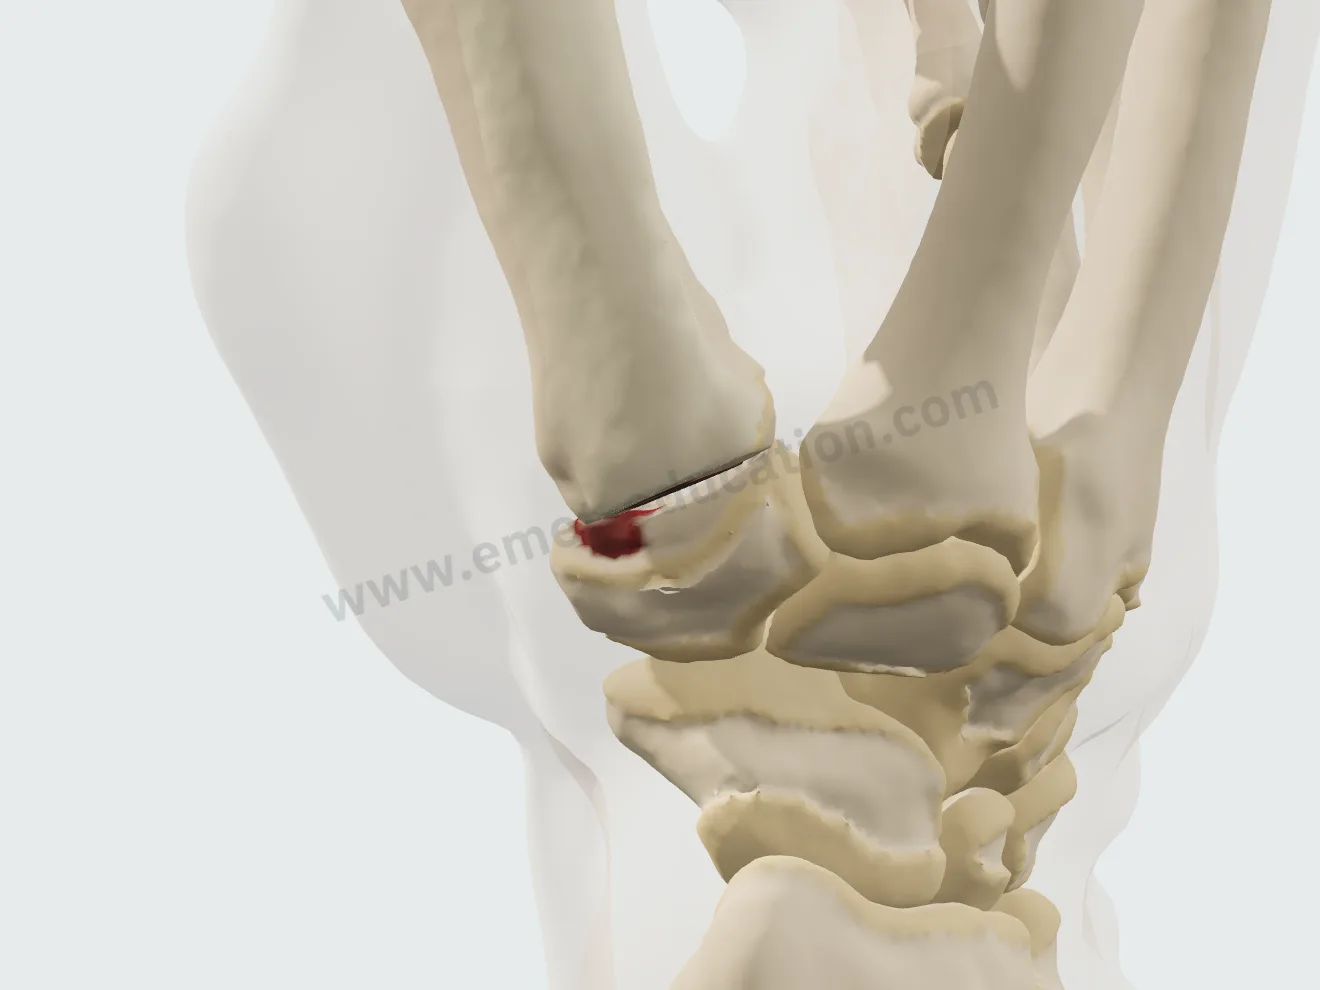
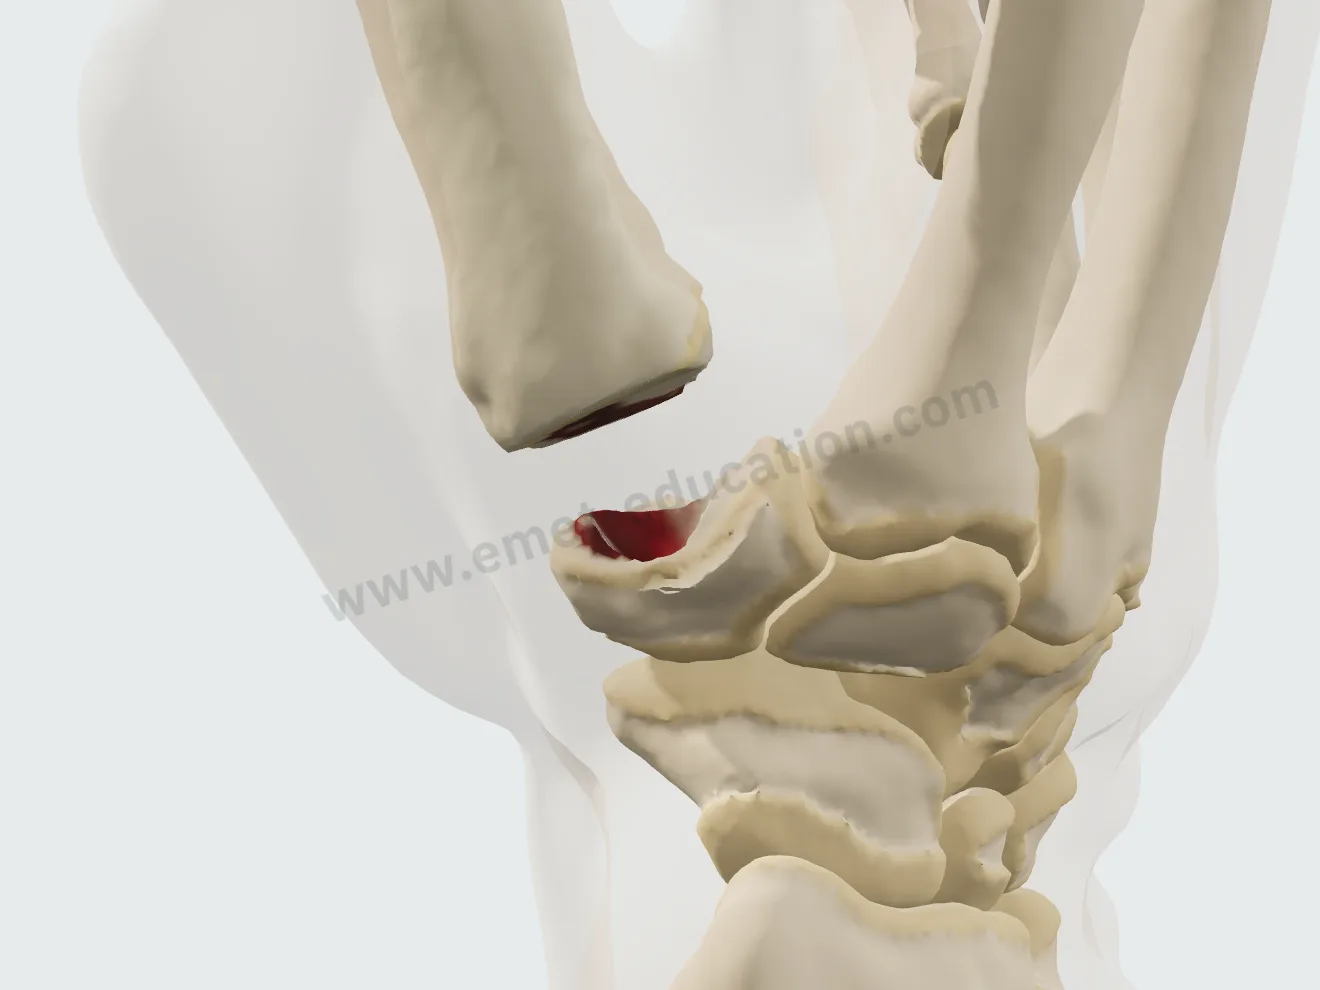
The Burton and Pellegrini technique: exposure, en bloc removal of the trapezium, harvest of a half of the flexor carpi radialis tendon, a tunnel in the base of the first metacarpal then suspension, and the rest of the graft rolled up to fill the space.

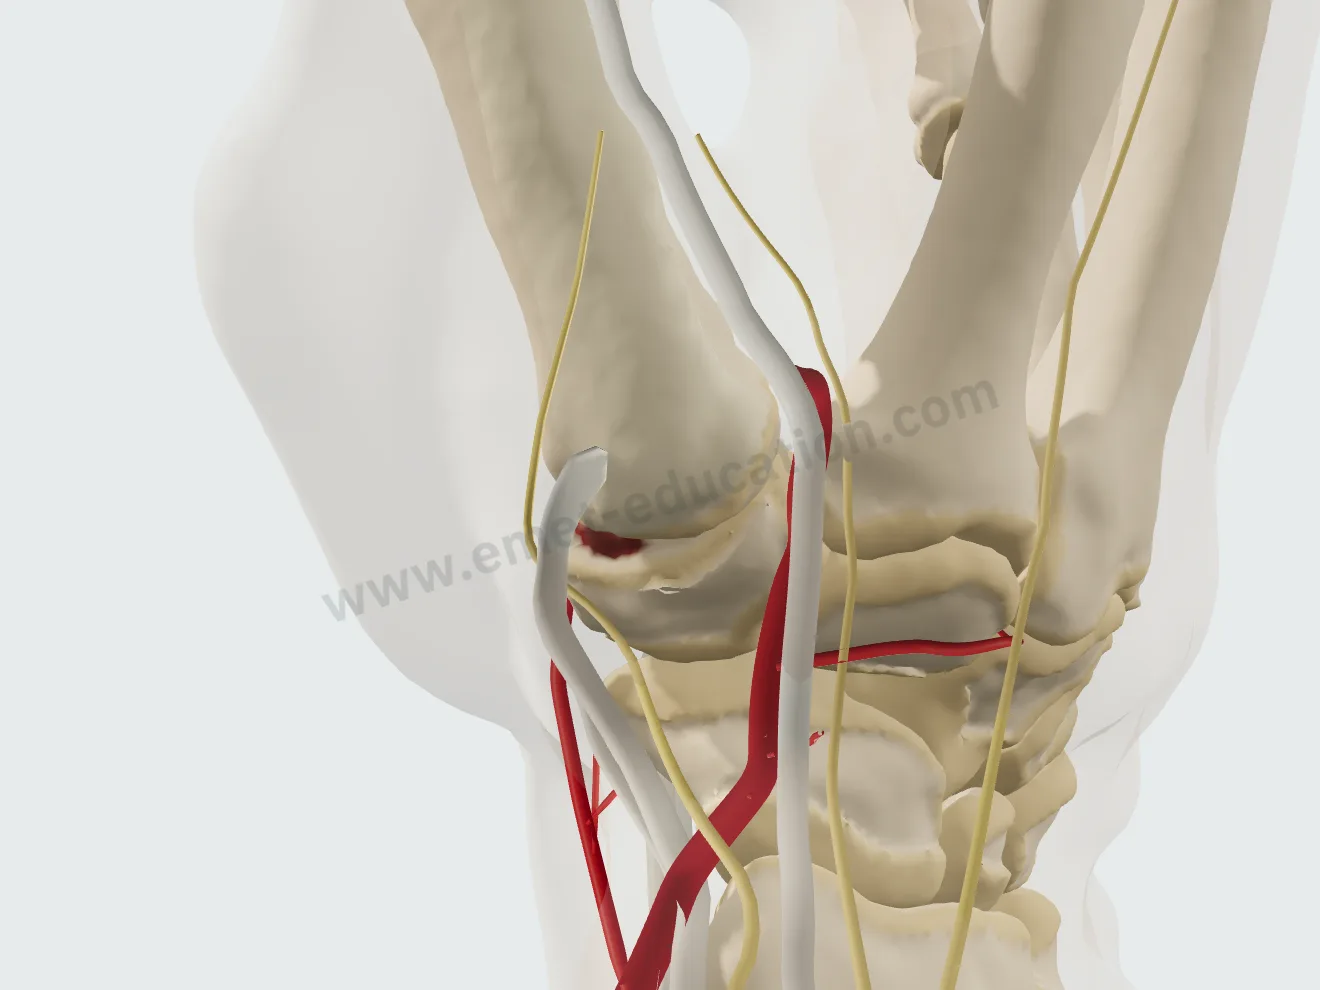
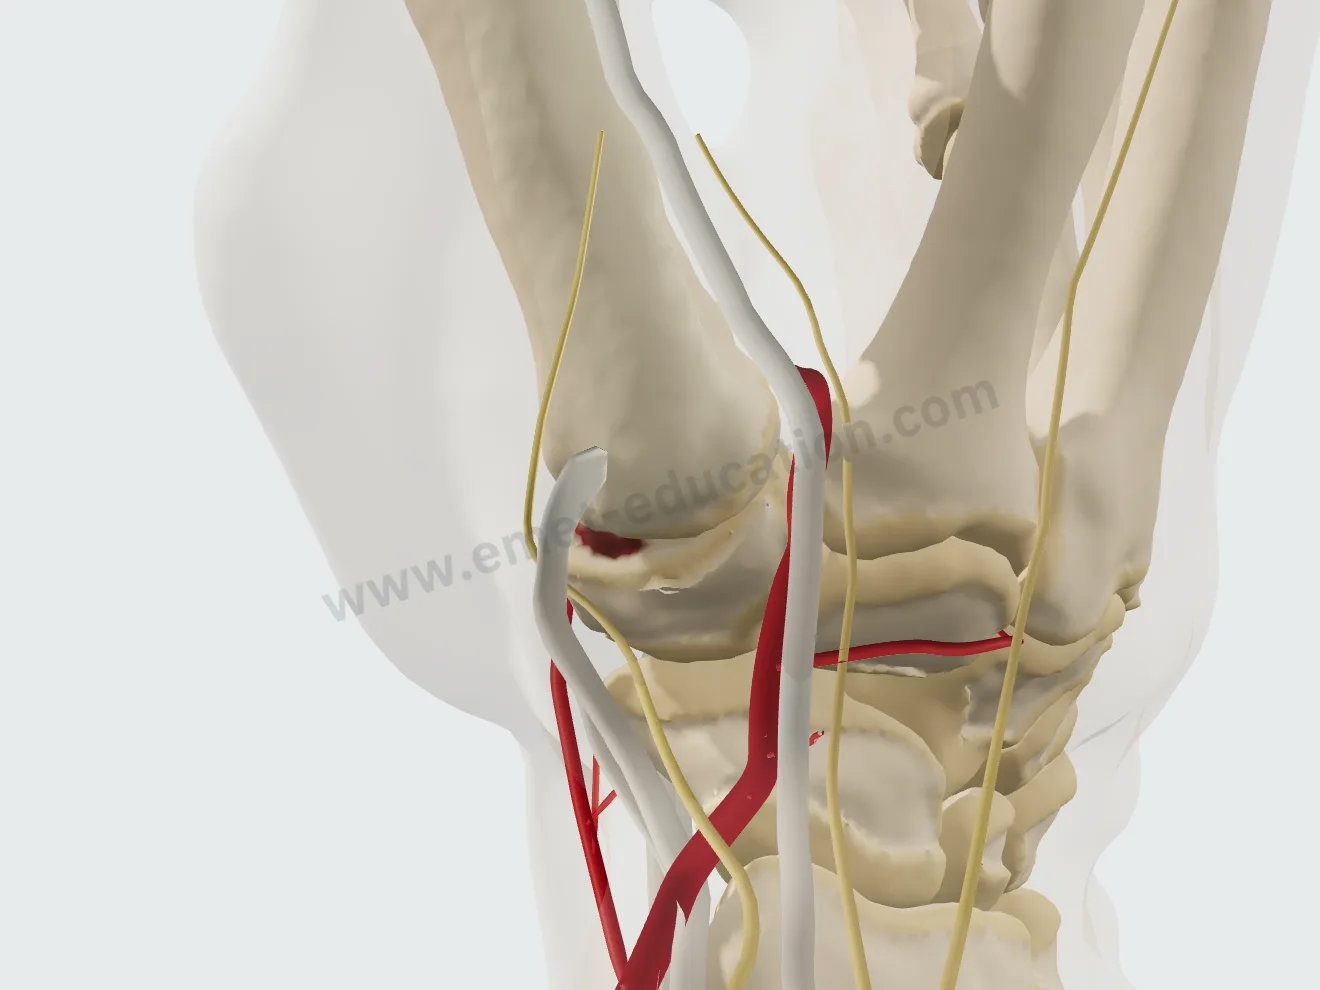
Trapeziectomy with ligament reconstruction, step 1: exposure, tendons and nerve retracted.
1Exposure
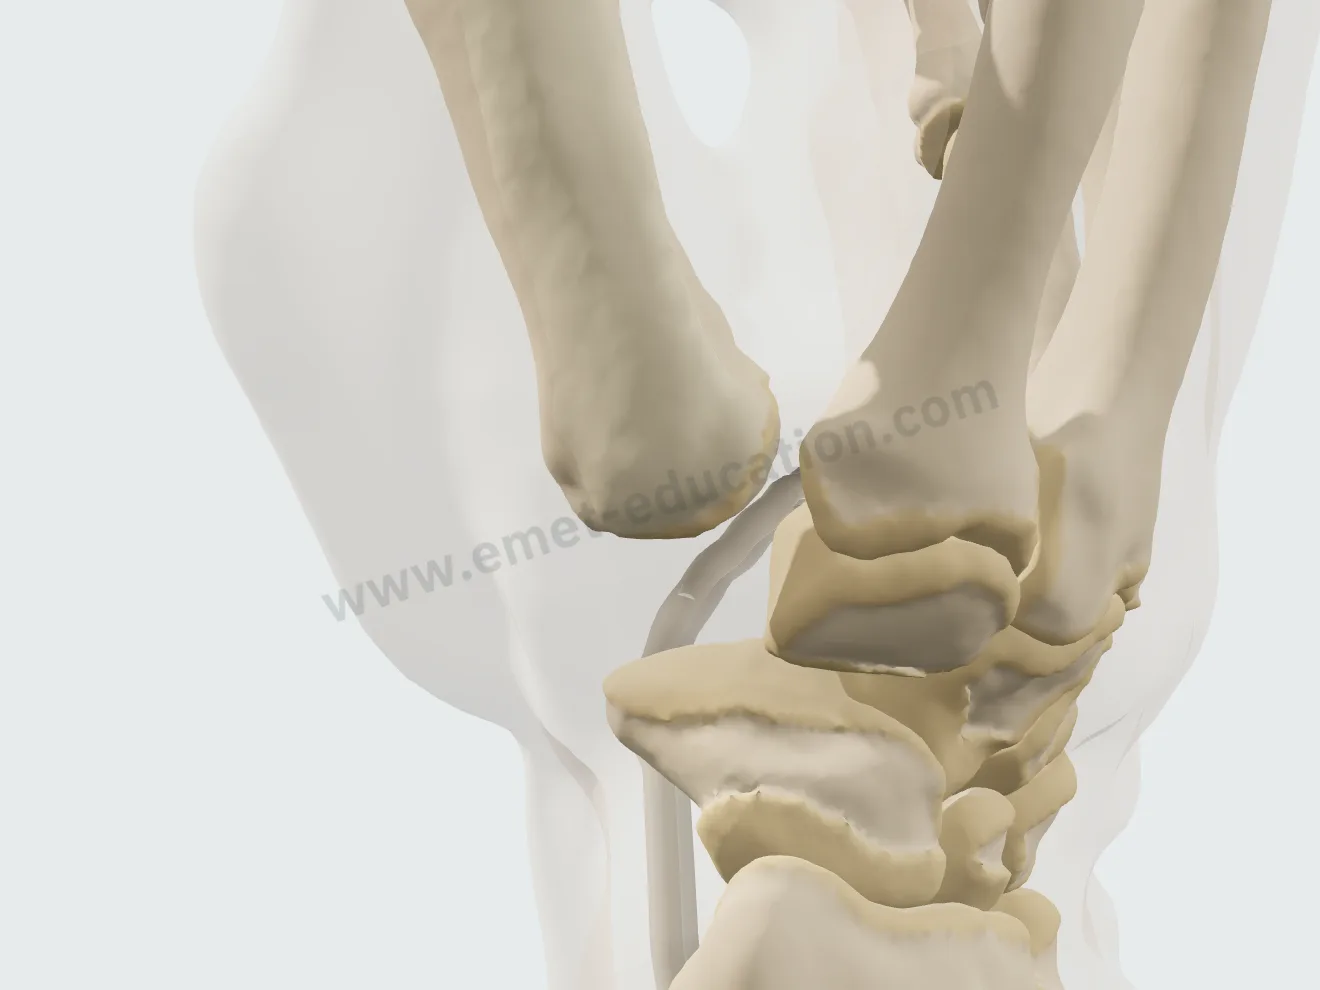
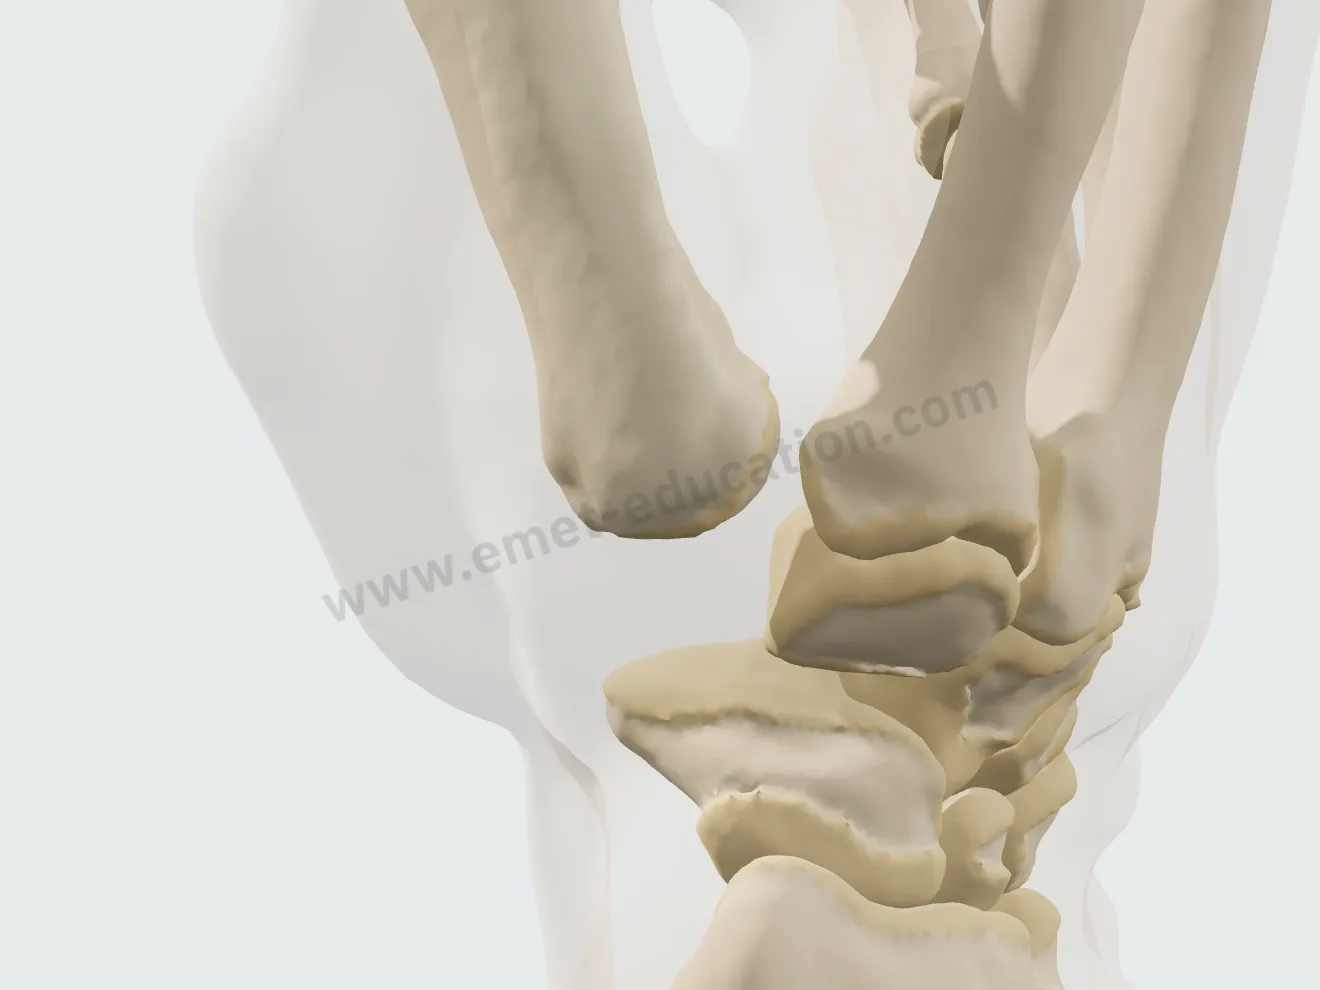
Step 2: the trapezium removed en bloc.
2Trapezium removal
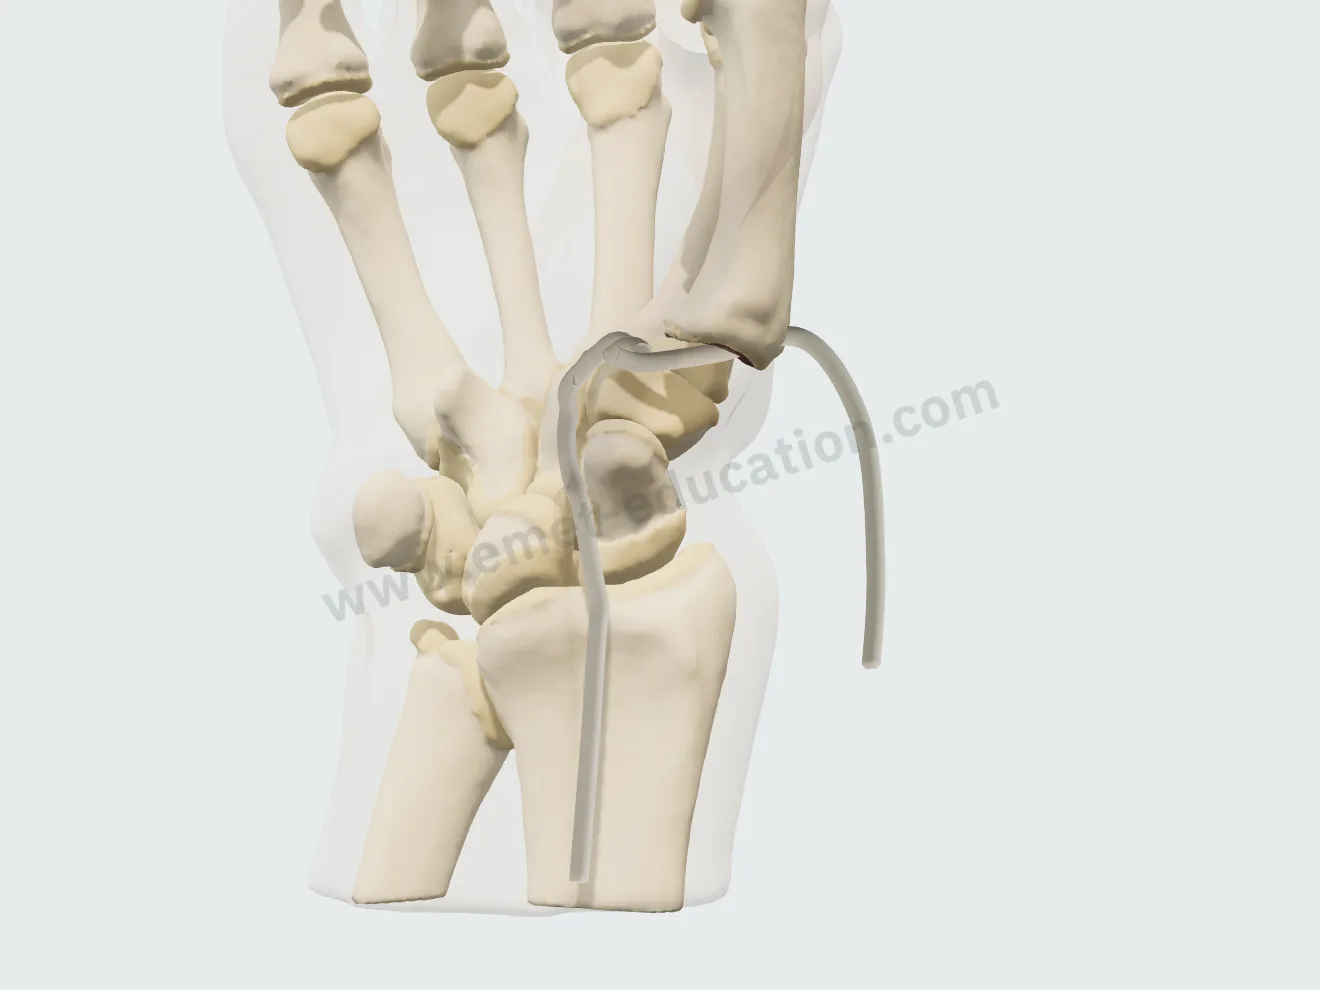
Step 3: the half flexor carpi radialis tendon harvested.
3Harvest
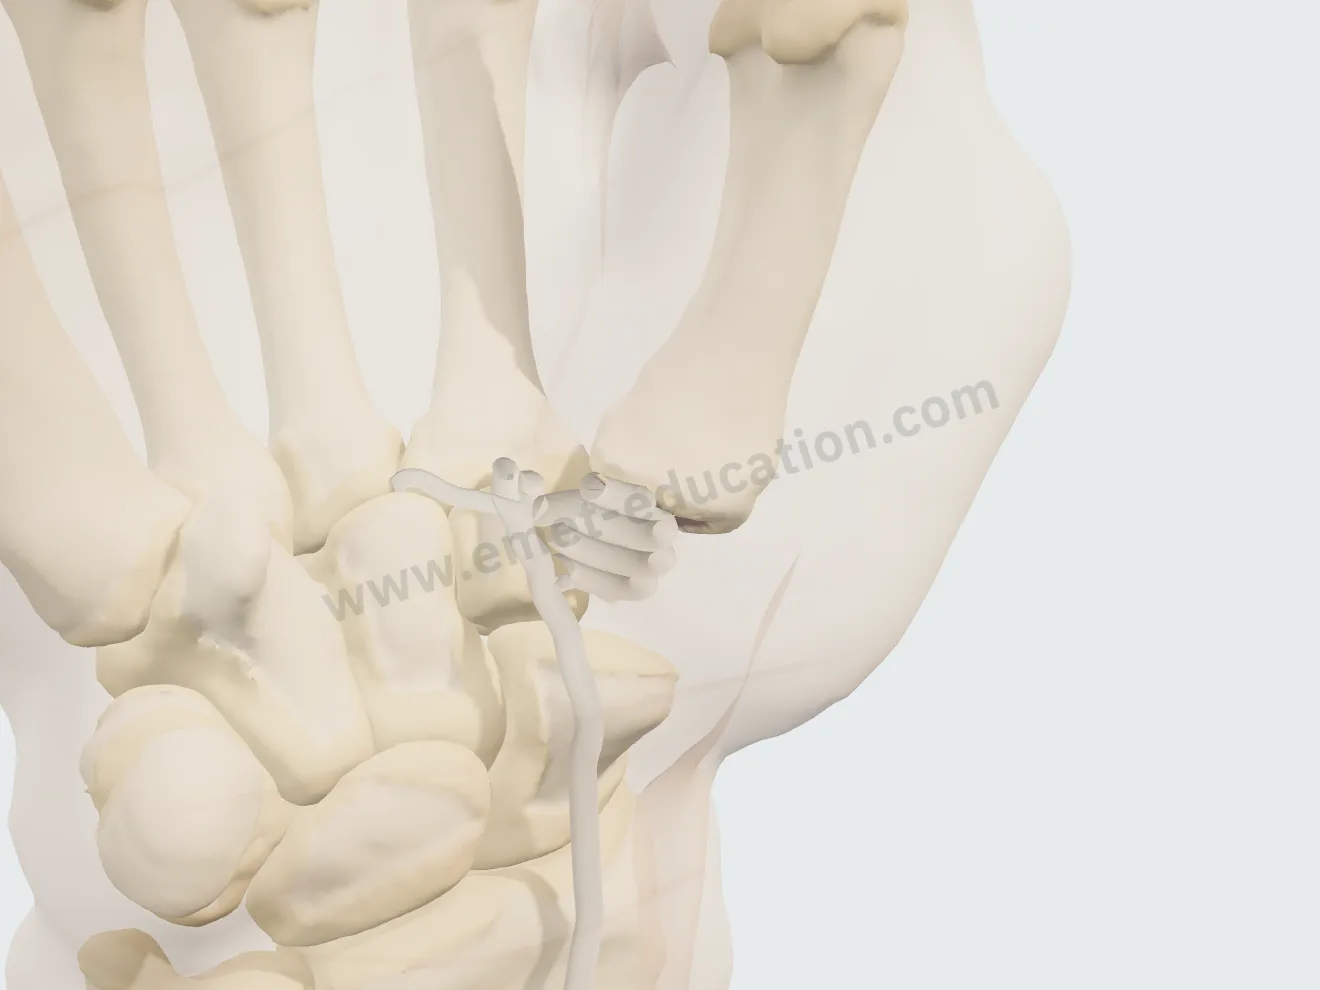
Step 4: the strip passed through the tunnel in the base of the first metacarpal.
4Ligament reconstruction
Step 5: the rest of the strip rolled up, filling the space left by the trapezium.
5Interposition

Trapeziectomy alone

Exposure, en bloc removal of the trapezium, then closure: the space left by the trapezium fills with hematoma.

Trapeziectomy alone, step 1: exposure.
1Exposure
Trapeziectomy alone, step 2: the trapezium removed en bloc.
2Trapezium removal
Trapeziectomy alone, step 3: the trapezium space filled with hematoma.
3Closure

Dual-mobility trapeziometacarpal prosthesis

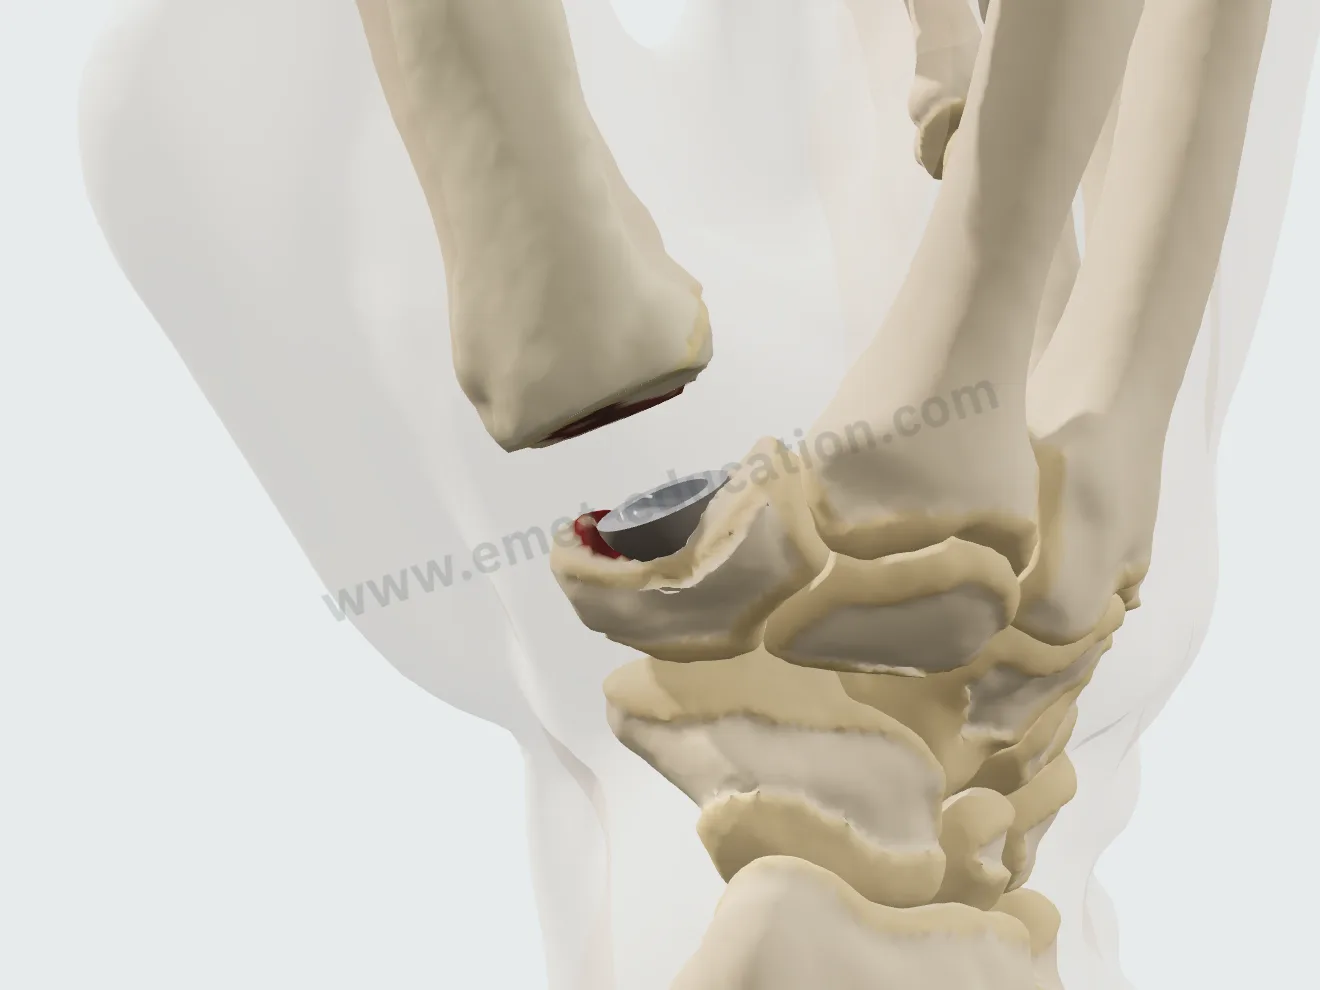
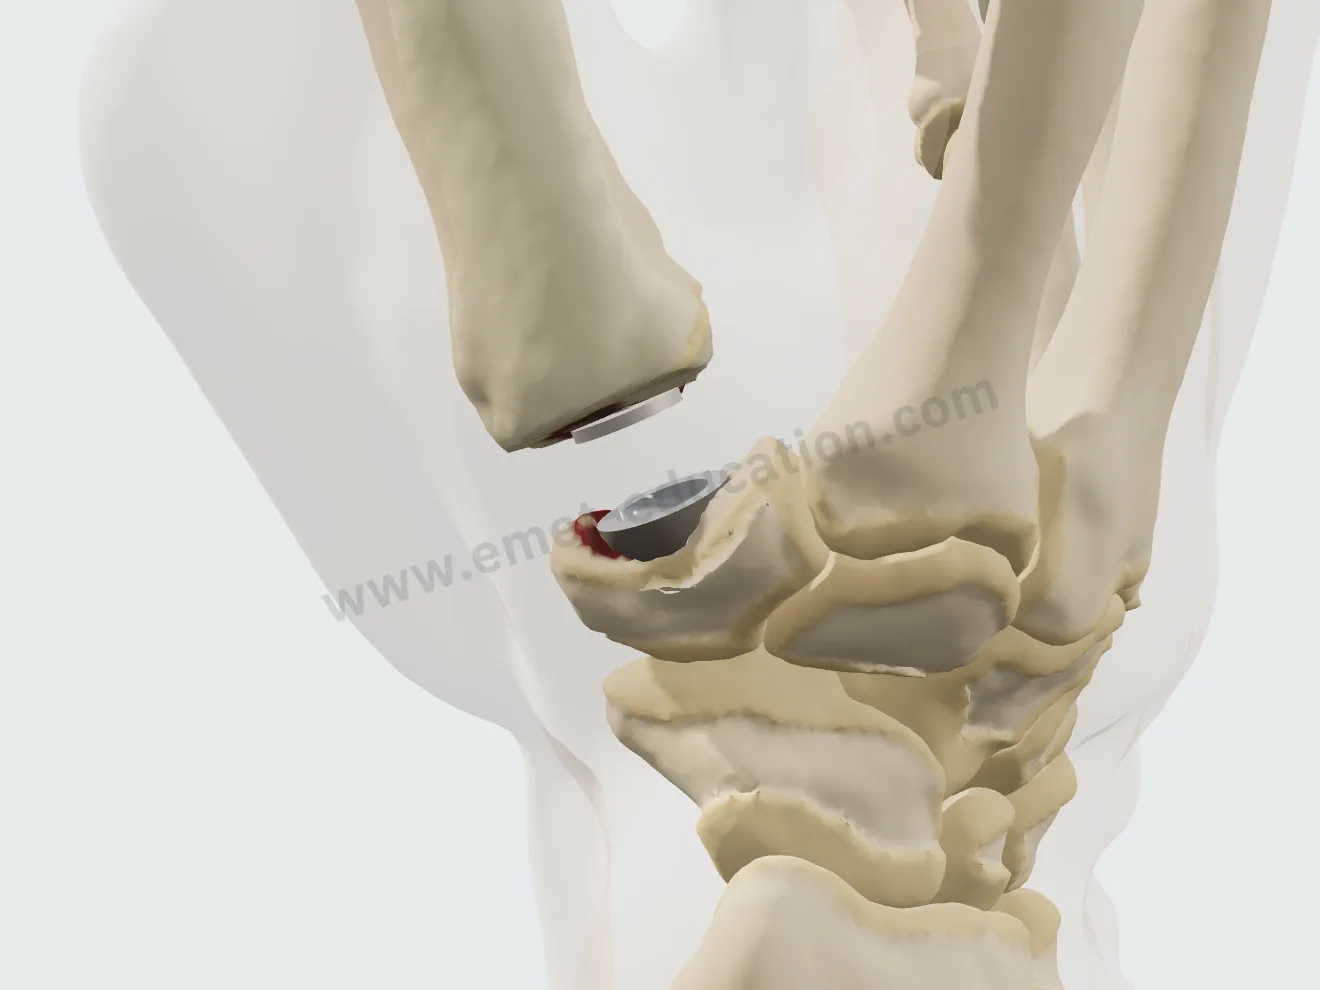
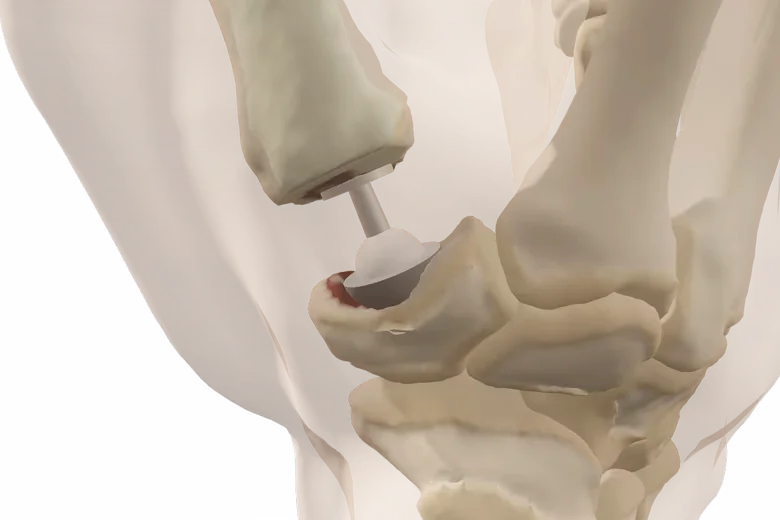
A generic implant, no brand design: cut of the base of the first metacarpal, trapezium reamed to a hemisphere, press-fit cup, stem in the canal, then head and mobile insert; the reduction recenters the base of the first metacarpal and corrects the subluxation.

Prosthesis, step 1: exposure of the joint.
1Exposure
Prosthesis, step 2: cut of the base of the first metacarpal.
2M1 cut
Prosthesis, step 3: the hemispherical reamer hollows the saddle of the trapezium.
3Trapezium reamed
Prosthesis, step 4: the cup impacted into the trapezium.
4Cup
Prosthesis, step 5: the stem in the first metacarpal, its collar resting on the cut.
5Stem
Prosthesis, step 6: the neck and head, then the mobile insert, as the head enters the cup.
6Head and insert

After the visit

The patient leaves with their 3D model

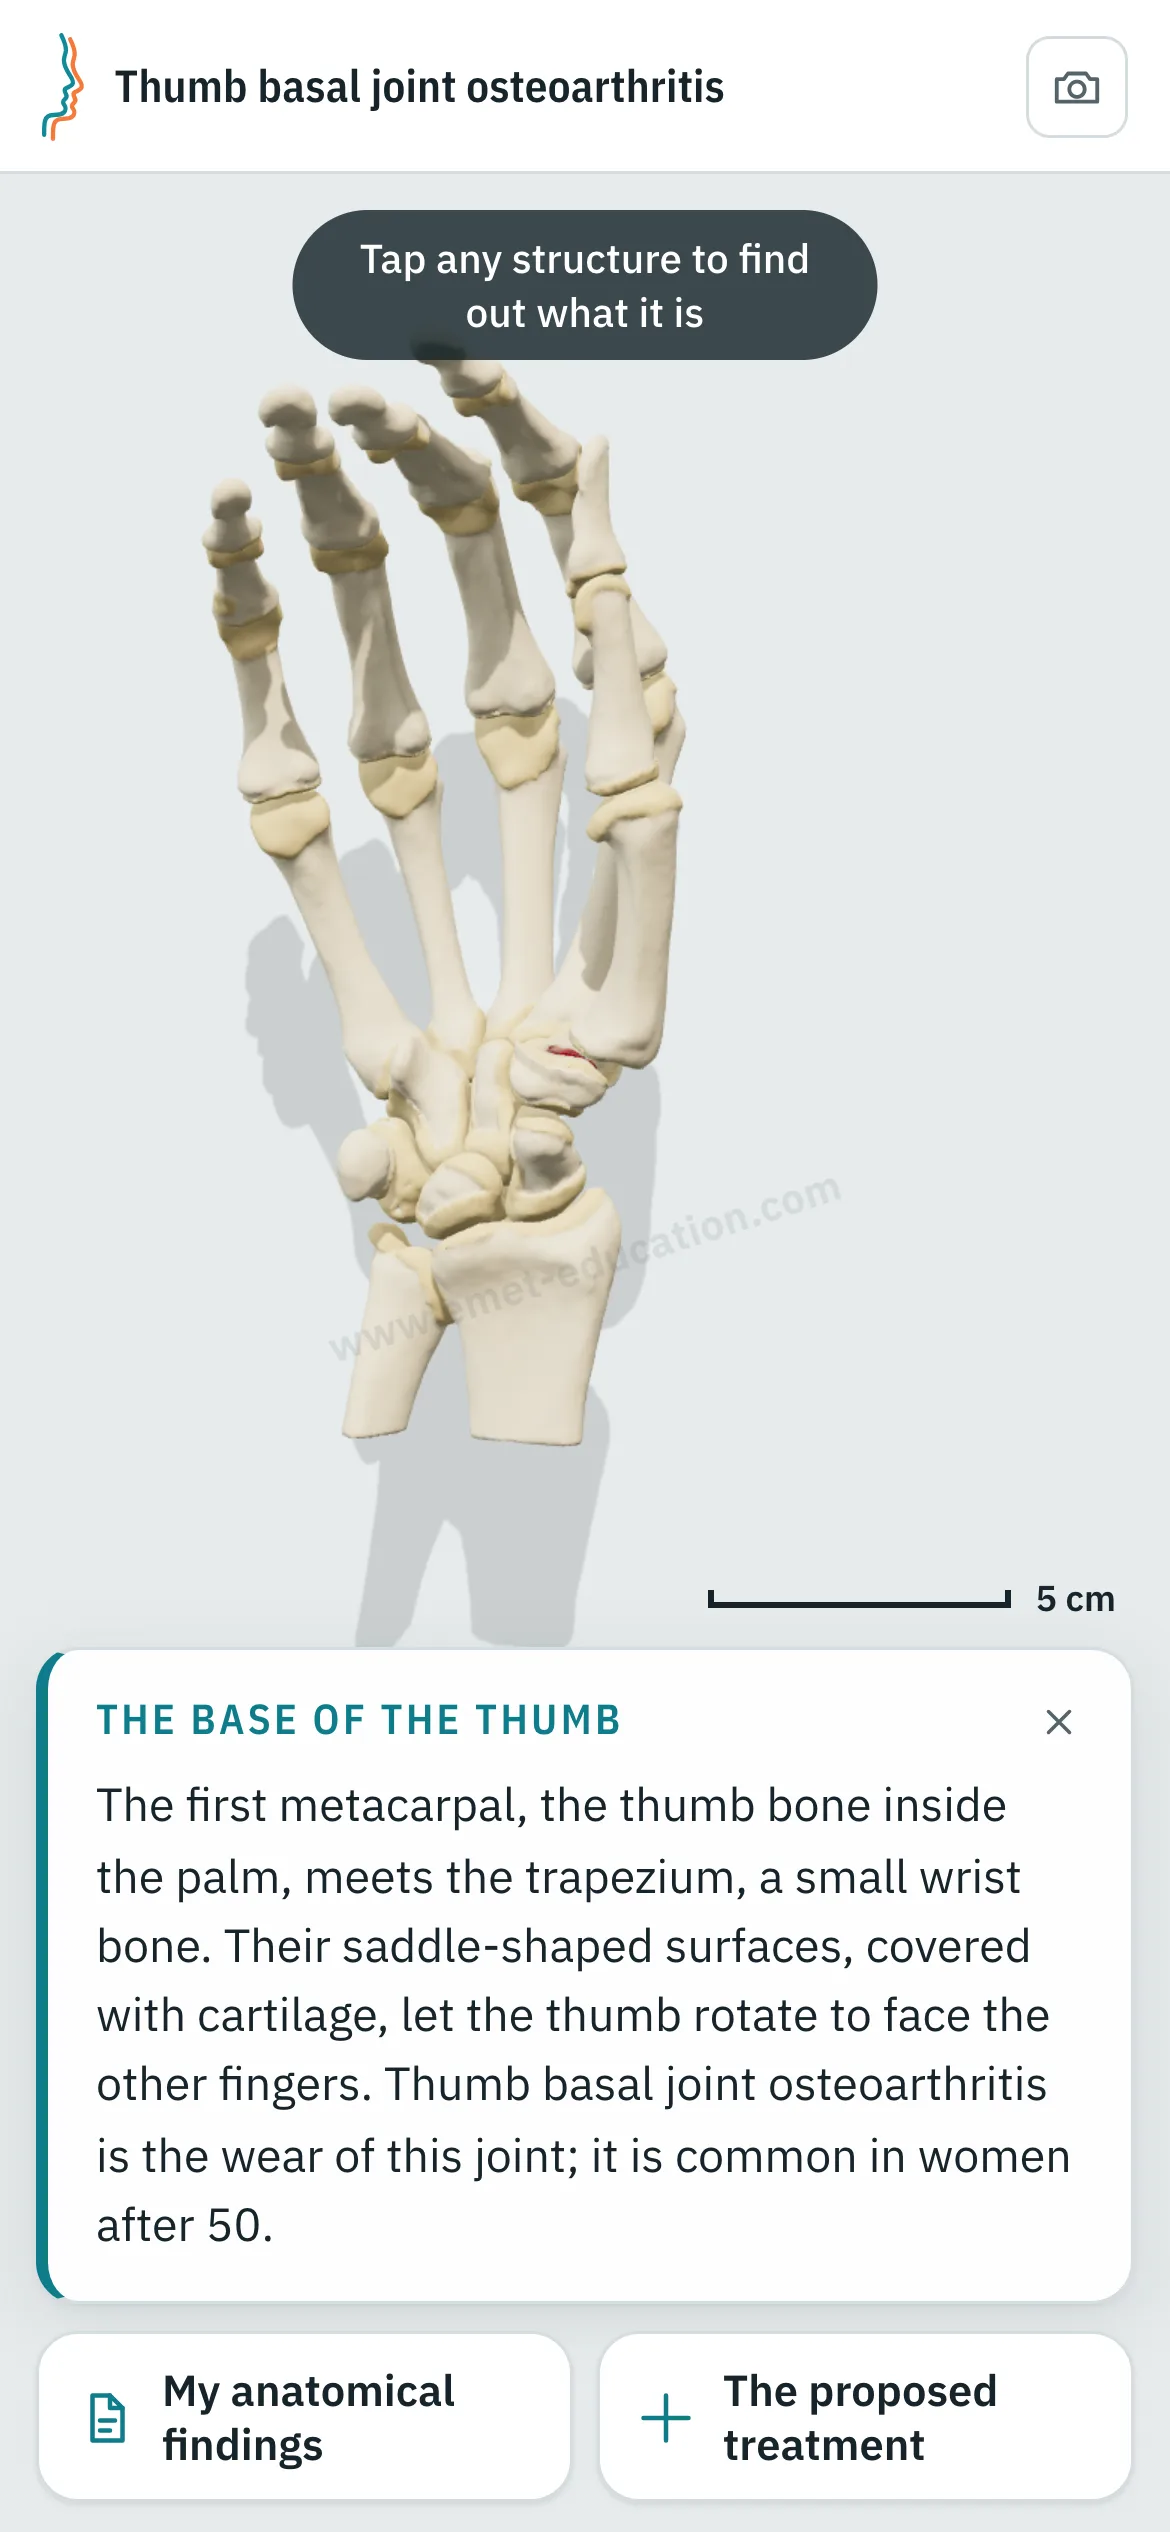
They scan the QR code: the model, their findings and the proposed treatment follow them on their phone, in their language.

The model, exactly as you set it

At the end of the visit, the Consultation panel shows the anatomical findings, the proposed treatment and a QR code. The patient scans it and finds the model on their phone exactly as you set it, in their language.

  • Their lesions, set as in the visit, and the explanatory card.
  • Their anatomical findings and the explanatory card.
  • No identifying data in the link.
Patient view on a phone: the 3D hand as set during the visit, with the “The base of the thumb” card.
What the patient sees after scanning the QR code

Every structure explains itself on tap

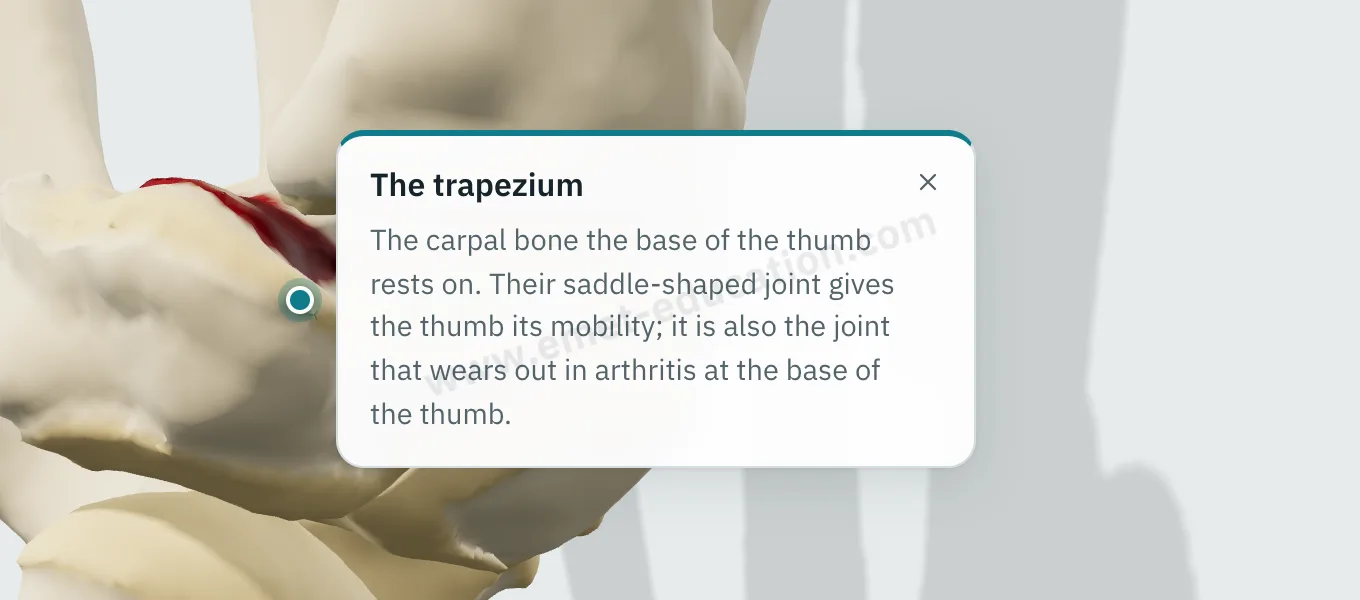
Tap the trapezium, the base of the first metacarpal, an osteophyte: its name and an explanation appear.

  • One explanation per structure: bones, worn cartilage, osteophytes, subluxation, scaphotrapeziotrapezoid joint.
  • Written for the patient, in their language.
  • They can reread it on their own, on the tablet or at home.
Explanation bubble “Trapezium” shown after tapping the bone.
“What is this?” on tap

Try it with your next case: the model opens in your browser, nothing to install.

Customize the lesions

Patient information

Quality information, documented

Only 12% of U.S. adults have proficient health literacy (National Assessment of Adult Literacy). A patient who sees their own worn joint and the proposed treatment understands them, gives truly informed consent, and better accepts a long splint period or surgery.

For the patient

They see their own lesions, reproduced from their imaging, and how the proposed treatment unfolds. They leave with the same material and can review it at home, with their family, as often as they like, before giving consent.

For the physician

Each visit created with an account keeps a record of the information provided: what was shown, when, and whether the patient reviewed it. The model image, with the anatomical findings, the proposed treatment and the QR code, downloads for the patient's chart and prints. Informed consent, as the Joint Commission puts it, is more than getting a signature.

  • Saved and datedThe exact state of the model: injuries shown, treatment proposed.
  • Identical, archivableThe patient receives what you showed; the image goes in the chart and prints.
  • TrackedEach time the patient opens the link is recorded.
  • AnonymousThe link given to the patient carries no identifying data.

“Document the informed consent conversation and the patient’s (or surrogate’s) decision in the medical record in some manner.”

AMA Code of Medical Ethics, Opinion 2.1.1, Informed Consent

The model supports the consent conversation and the written consent form; it does not replace them. Data and privacy: legal information (in French).

Questions

Questions from colleagues

Is the model free?

Yes: the model and its lesions are free. Treatments (splint, injection, trapeziectomy, prosthesis) and other features are paid options.

Do I need an account?

Not to open a model, set the lesion and walk through the treatment. After about fifteen adjustments, you will be asked to create a free account: it saves your visits, picks them up from one time to the next, and records when the patient opens the link.

What equipment do I need?

Just a web browser, nothing to install: computer, tablet or TV screen in the exam room; the patient opens it on their phone. One click saves an image, without the interface, for the chart.

What happens to patient data?

No patient names are stored. The link given to the patient carries only the state of the model: lesion, treatment, language and visit date. A name written on the image you hand out stays on that image.

How long does it take in clinic?

Three adjustments and one procedure played: a few minutes, during the visit. The patient reviews it at home, as often as they like.

Which languages?

English, Spanish, French and Russian. The patient receives the model in the language chosen during the visit, which helps with the roughly 28 million people in the U.S. with limited English proficiency, alongside a qualified interpreter, not instead of one.

Is it a medical device?

No: it is an educational tool. It does not diagnose, does not plan surgery, and does not replace the consent conversation or the written consent form. Among software functions that are not medical devices, the FDA lists those intended for general patient education and interactive anatomy diagrams used for training.

Which classification?

The Eaton-Littler classification in the Eaton and Glickel (1987) version: stages I to IV, with IV defined by scaphotrapezial involvement. Subluxation (one-third threshold) is set separately; the Dell grade appears only in the live readout.

Does the treatment depend on the stage?

The model does not choose: you do. It only flags, with a warning that only you can see, a procedure outside its usual indication: any of the three operations at stages 0 and I, the prosthesis with STT arthritis. The injection shows a different card at stages III and IV.

What does the model not draw?

Cysts, synovitis, loose bodies and the widened joint space of stage I. The trapeziometacarpal capsule and ligaments are not modeled: subluxation is shown with the bones alone. The model illustrates each stage on a single hand; it does not reproduce a radiograph.

Design

Who designed this model

Model designed by Dr. Mikaël Chelli, orthopedic surgeon, based on the reference classifications and studies. Updated November 2, 2026.

  • Eaton RG, Littler JW. Ligament reconstruction for the painful thumb carpometacarpal joint. J Bone Joint Surg Am. 1973;55(8):1655–66. doi:10.2106/00004623-197355080-00010
  • Eaton RG, Glickel SZ. Trapeziometacarpal osteoarthritis. Staging as a rationale for treatment. Hand Clin. 1987;3(4):455–71. PMID 3693416
  • Kennedy CD, Manske MC, Huang JI. Classifications in Brief: The Eaton-Littler classification of thumb carpometacarpal joint arthrosis. Clin Orthop Relat Res. 2016;474(12):2729–33. doi:10.1007/s11999-016-4864-6
  • Holzbauer M, Behawy M, Diepold J, Mihalic J. Intrarater and interrater reliability of three published versions of Eaton classification for trapeziometacarpal joint osteoarthritis. J Hand Surg Am. 2026;51(5):502.e1–502.e8. doi:10.1016/j.jhsa.2025.12.026
  • Burton RI, Pellegrini VD Jr. Surgical management of basal joint arthritis of the thumb. Part II. Ligament reconstruction with tendon interposition arthroplasty. J Hand Surg Am. 1986;11(3):324–32. doi:10.1016/s0363-5023(86)80137-x
  • Kroon FPB, Carmona L, Schoones JW, Kloppenburg M. Efficacy and safety of non-pharmacological, pharmacological and surgical treatment for hand osteoarthritis: a systematic literature review informing the 2018 update of the EULAR recommendations for the management of hand osteoarthritis. RMD Open. 2018;4(2):e000734. doi:10.1136/rmdopen-2018-000734

Try it with your next patient

The model opens in your browser, nothing to install, no sign-up.

Know a colleague who could use it? Email this page ·